


50 Top Detailing Tips
A full half-century of professional tricks and tips put together specifically to push your detailing to the next level.

 Skip to content
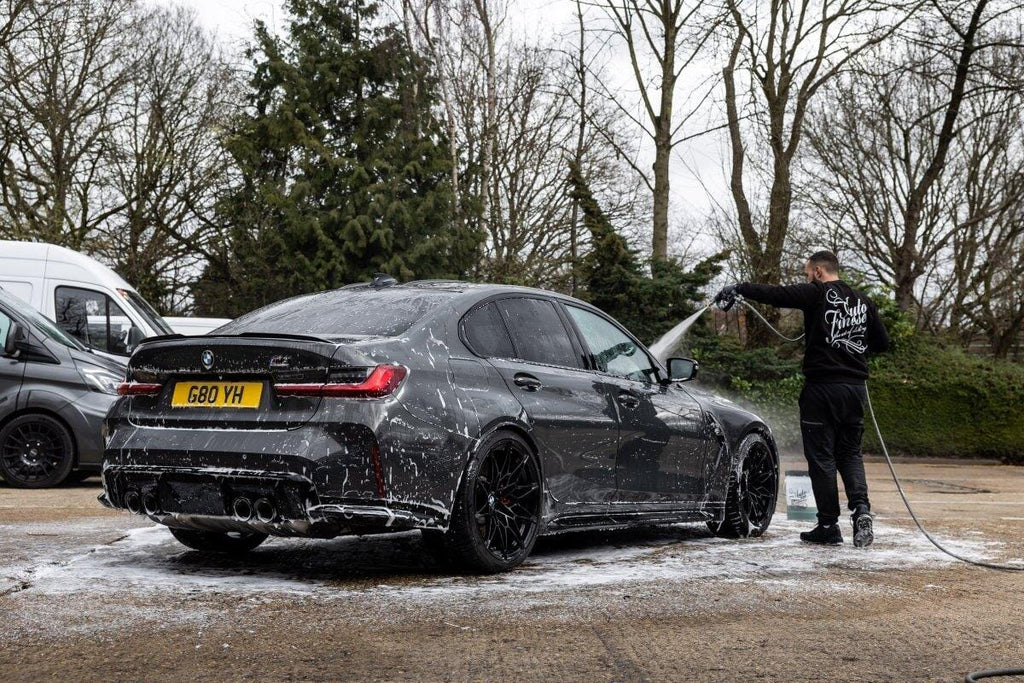

Just because you haven't got a hose or pressure washer at home doesn't mean that you can't perform a top-notch maintenance wash yourself. You see, here at Auto Finesse we may be car detailing professionals with all the fancy kit, but we understand that not every detailing enthusiast has a drive, let alone access to power, water and a pressure washer. Then again, you could just be on a water meter, or prefer to do your detailing away from the roadside, there's all sorts of reasons why taking your detailing away from where you park at night may be preferable.
So, what do you do if you fall into one of these categories? Or if you live in a swish city apartment and would still like to detail your car yourself? Well, the answer is simple - get down to your local petrol station and make use of their (non-automated) jet wash.
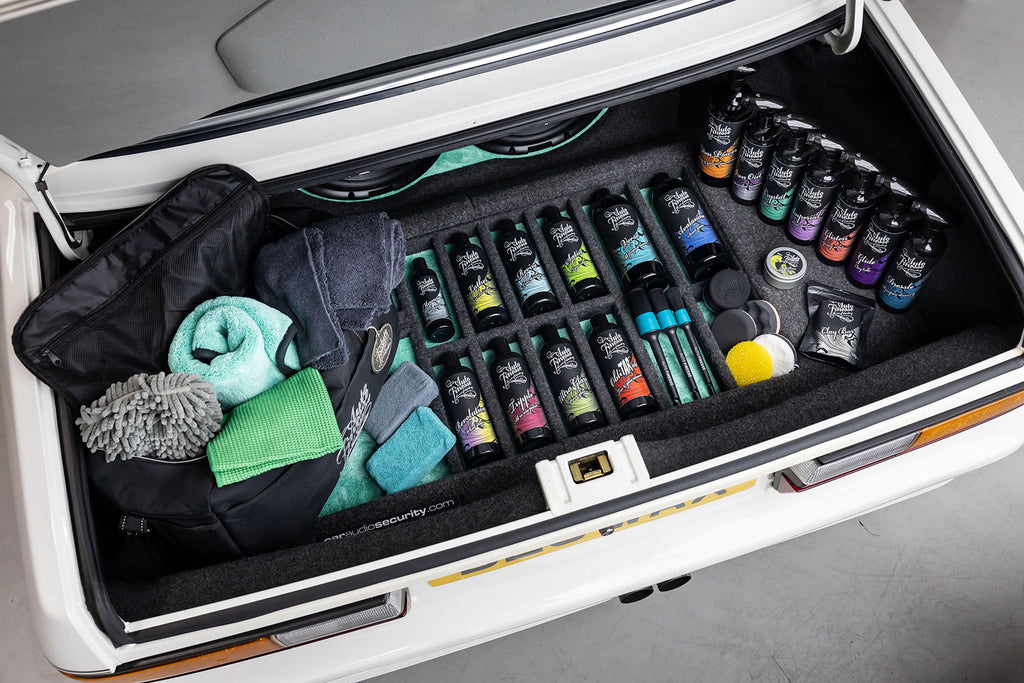
It's actually easier than you might think. And, to prove it, we've put together a special maintenance kit containing everything you need, along with a simple step-by-step guide on how to get the job done right.
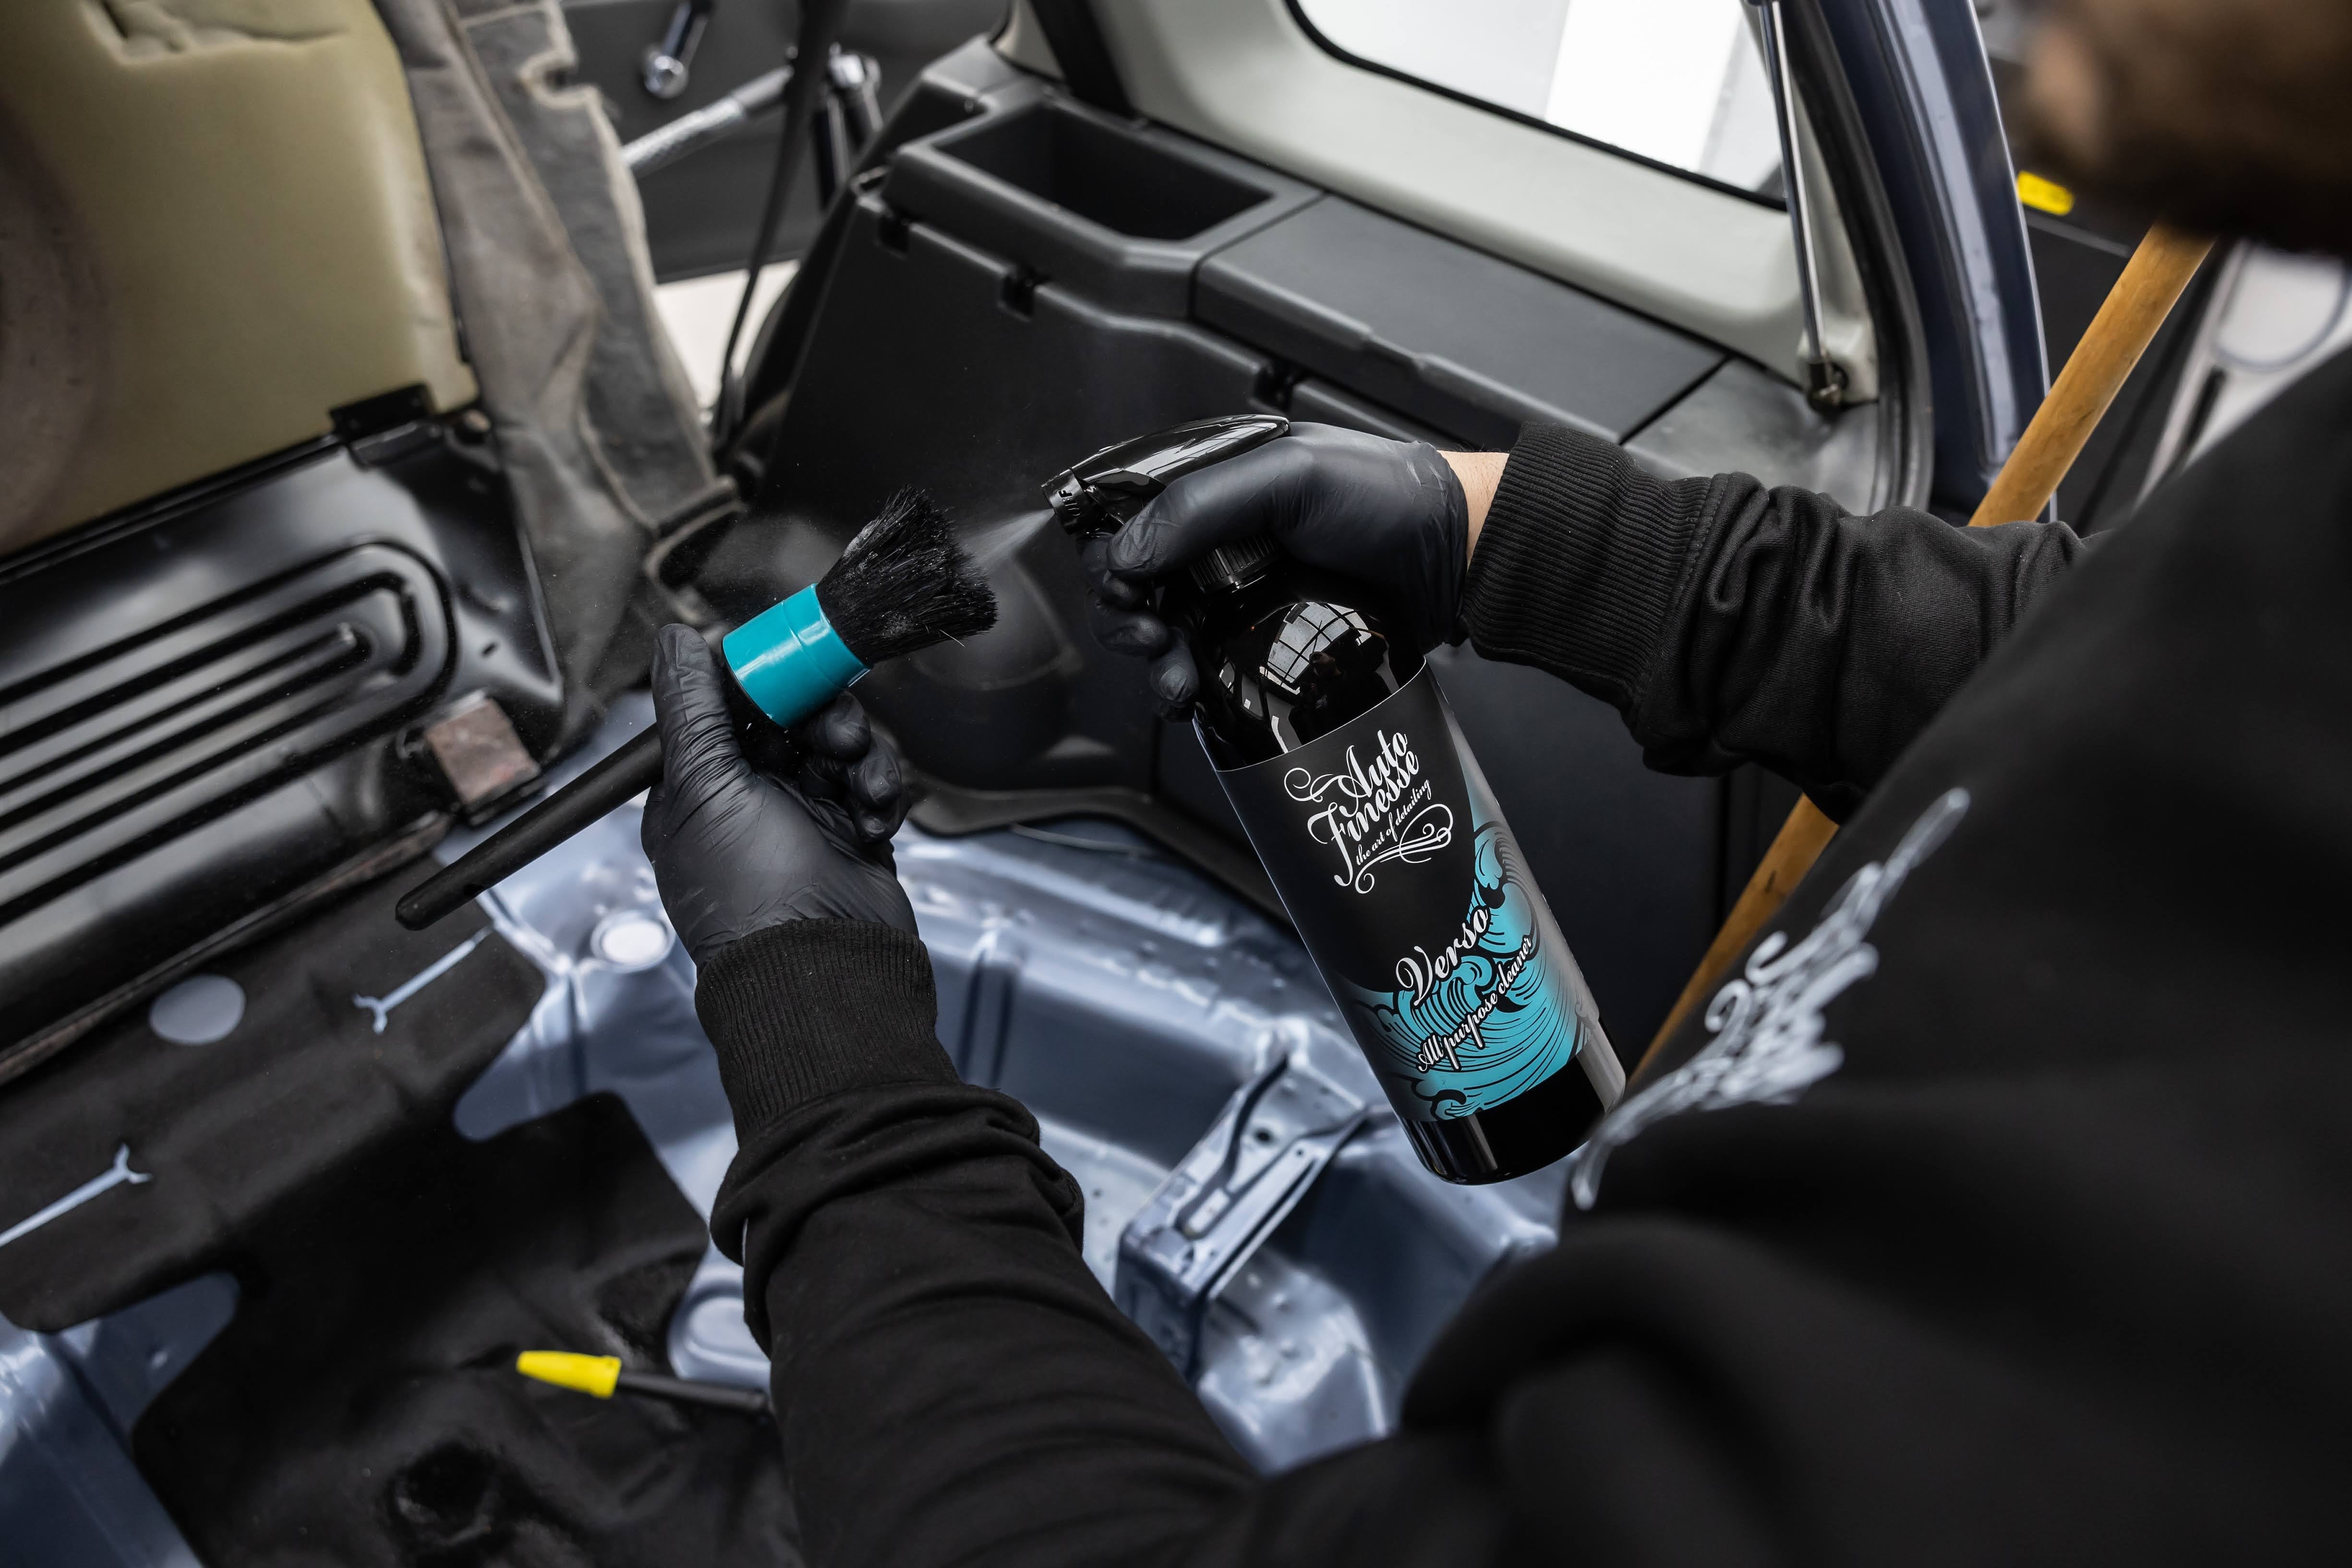
It goes without saying that you don't want to use a big gritty brush, or hit the car shampoo and hot wax settings here. While using our far superior detailing products, the only part of the jet wash you need to utilise is the plain water rinse from the lance.
The only real difference with using an industrial jet wash, as opposed to a home pressure washer, is that you need to try and maximise the time you have while the water is on. Most forecourt jet washes will have a limit of three or four minutes from the moment you put in the minimum amount, so during your wash it's best to double up, doing jobs like filling your buckets and rinsing certain parts together, just so you don't leave the lance idle for any extended period.
Also be sure take a few coins with you, just to be safe. A fiver should be more than enough, and only put your coins in the slot as and when you need them.
As always, the first job is to rid your wheels of any loose grime with a thorough pre-rinse. At home we'd usually clean wheels one by one, but as we're on a time limit here (and most importantly there's no danger of products drying on the car) you can pre-soak all four with the first pass.
To start off grab your Imperial Alloy Wheel Cleaner and quickly apply liberally to each wheel, allowing the hard-hitting formula to pre-soak while you pop your first coin into the jet wash.
Now you can rinse your wheels to remove the worst of the contaminants, before immediately moving on to fill your wheel bucket with clean water. Drop a little Lather Car Shampoo from your kit in the bucket and whisk it up, this will serve as a great cleaner and lubricant to help with the next step.
A little more thorough cleaning of the wheels will usually be necessary after the pre-rinsing stage, so re-apply your Imperial and start to brush it in with the Lather solution.
Agitating our flagship wheel cleaner will provide even more brake dust-shifting power, so (one wheel at a time) start with the dirtier inners using a Barrel Brush and then move on to the faces - here it's best to use a Hog Hair Brush, or a Detailing Brush, followed by a wash mitt. Again, as long as there's no danger of the wheels drying out, you can brush Imperial into all four corners before moving on.
Here is where we'd usually rinse the wheels, but first you can start your pre-wash by quickly applying Citrus Power Bug & Grime Remover to the bodywork. While this powerful pre-wash cleaner gets to work breaking down and lifting the heavy grime, rinse off your wheels first, and then start rinsing away the dirt on the bodywork, as always do this from the top down. Be thorough here, and slot in another coin if you have to. When you've finished rinsing, you can use the rest of the time to fill your wash buckets.
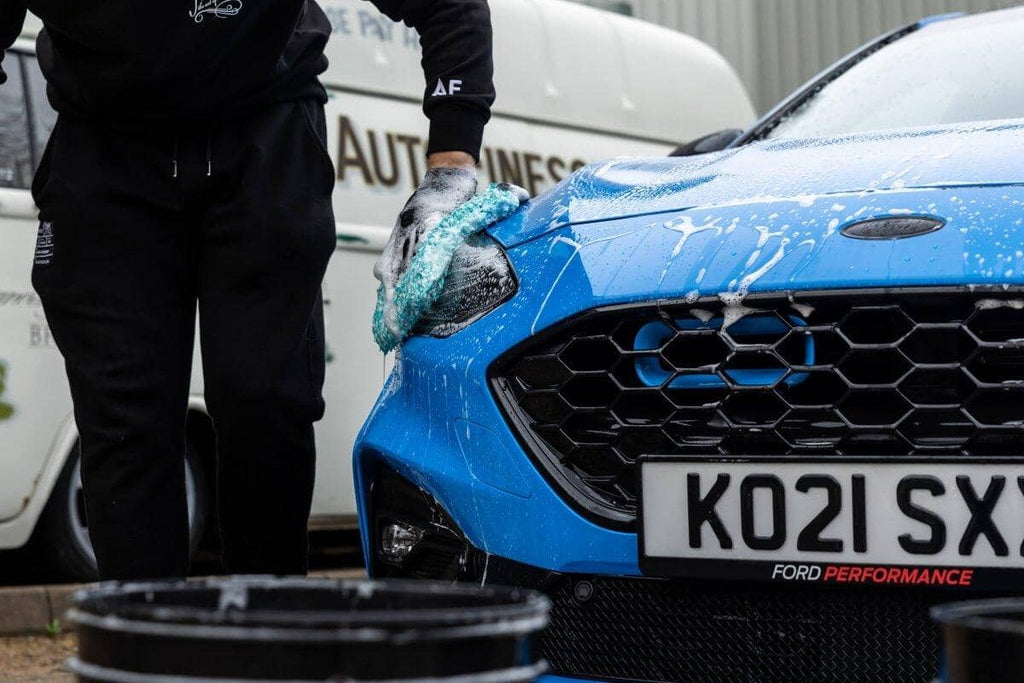
Obviously, to ensure a swirl-free wash, it's still important to use two buckets - one containing 3-4 capfuls of Lather car shampoo and the other plain water. When contact washing, the usual rules apply here. Take on the less contaminated areas (the roof, windscreen and bonnet) first, and always clean out your mitt in the rinse bucket before loading up with more suds.
Once you've completed the whole car, you can move on to the final rinse - this is the last time you'll have to use the lance.
It's always important to dry your car after washing, it's simply the only way to prevent watermarks and spotting. For this part use the Aqua Deluxe Drying Towel included, starting with the bodywork, moving on to the door jambs and boot shuts, and finishing off with the wheels. Of course, in the unlikely event that you're holding up a queue at the jet wash, it's no problem if you need to move the car a short distance to another part of the forecourt.
The key thing to remember when drying is to take your time, and make sure you get all the water. Clean, unfiltered water isn't pure like rainwater, and that's why it can leave marks, especially in hard water areas. This is the reason we always, always dry a car after washing.
You're on to the finishing stages now, the first being buffing your windows and mirrors to a smear-free finish using Crystal Glass Cleaner.
Taking on one window at a time, just spray directly onto glass, and wipe with your Glass Waffle Cloth. After a quick final buff, the exterior windows will be immaculate. With Crystal you simply can't go wrong.
Oh, and as it only takes a few seconds, there's also a good opportunity to clean the inside of the windows here. Spritz onto your cloth and give them a meticulous wipe over. Remember that there's nothing that lets a detail down more than smeary glass, especially when it shows through from the inside.
The last two stages not only add a little protection to surfaces but they massively take your detail to the next level. In fact, some say that these simple steps are the difference between a maintenance wash and a maintenance detail. And, best of all, they take next to no time!
A little Satin Tyre Dressing - applied with the supplied Tyre and Trim Applicator - is the perfect finishing touch and will also nourish your rubber, adding protection from UV-induced cracking and fading along the way.
The last stage is to, as we always say, "finish it with Finale'. With our master Quick Detailer you can mop up any last stray droplets, or water that may have dripped out of crevices after you dried. It's also the perfect product to finish off paintwork, removing any water marks, and leaving behind a warm glow.
Simply apply a fine mist to one section at a time, spread with your Primo Plush microfibre cloth, and then fold (to a dry part of the cloth) and buff until the finish is clear.
Being infused with Carnauba, Finale also adds a little protection making your car easier to clean the next time around.