


50 Top Detailing Tips
A full half-century of professional tricks and tips put together specifically to push your detailing to the next level.

 Skip to content
It's true that some of the fastest and most desirable vehicles on the road have two wheels rather than four, and you'll find that many a car fanatic has the odd bike stashed away in their garage. But, what happens when it comes to effective detailing?
You see, our customer service team are often asked the differences in detailing cars and motorbikes, and how everything from special superbikes to daily-driven tourers can be cleaned, enhanced and protected without the risk of causing damage to various parts of the vehicle. What's more, too, we think questions like these deserve definitive answers, so allow us to explain how it's done by the pros…
Apart from the obvious - the two wheels verses four bit - there really isn't a huge amount of difference between the two. In fact, the vast majority of detailing processes we use on cars can be utilised - or at least adapted - for any motorbike. So, just like any car, they can be washed, decontaminated, enhanced, polished or protected, and then maintained through any season. They key here is simply to use caution and good judgement throughout each key process.
There are a few subtle differences of course, bikes don't have interiors, so their seats and even their gauges are designed for exposure outside, arguably making them tougher and much more likely to stand up to stronger exterior cleaning solutions than the leather or upholstery you'll find on the inside of a car.
But, what's also apparent is that bikes shouldn't be underestimated when it comes to effective cleaning and finishing. Some say that detailing a motorbike is far easier than a car, purely because of the size. After all, there's not a huge amount to polish, protect or refine, right? But, in reality, where they may give you more time on some areas, they do tend to take away from others. Bikes can be far more intricate and contain far more dirt traps than cars. A real case of "six of one, half a dozen of the other'.
Here's how you can perform a great enhancement detail, along with the main areas to look out for when cleaning any motorbike, and a whole load of other advice to help you push your detail even further…
As with any kind of detailing, different circumstances and even different models of vehicle will require different levels of work. This can depend on everything from how contaminated the vehicle is, to how the vehicle is constructed and driven, what's on show, and even the age of the bike itself.
The difference with bikes over cars is that every part is continually exposed to the elements, and while this does mean that most sensitive components like air filters and electrics are far better protected than they would be on a car, it still pays to be careful where you point your pressure washer, simply misting over areas that look like they may cause problems, rather than poking it in there and blasting away. In a way you'd treat detailing a bike rather like rinsing a car engine bay - go carefully and always take into consideration the age - like retro cars, older and modified bikes may have complete exposed electrics or open filters.
Motorbikes also tend to have more intricate metal parts on show, this may not be as prevalent on a sports bike of course, but try polishing a big tourer like a Harley Davidson… you can certainly be there some time with the Mercury Metal Polish!
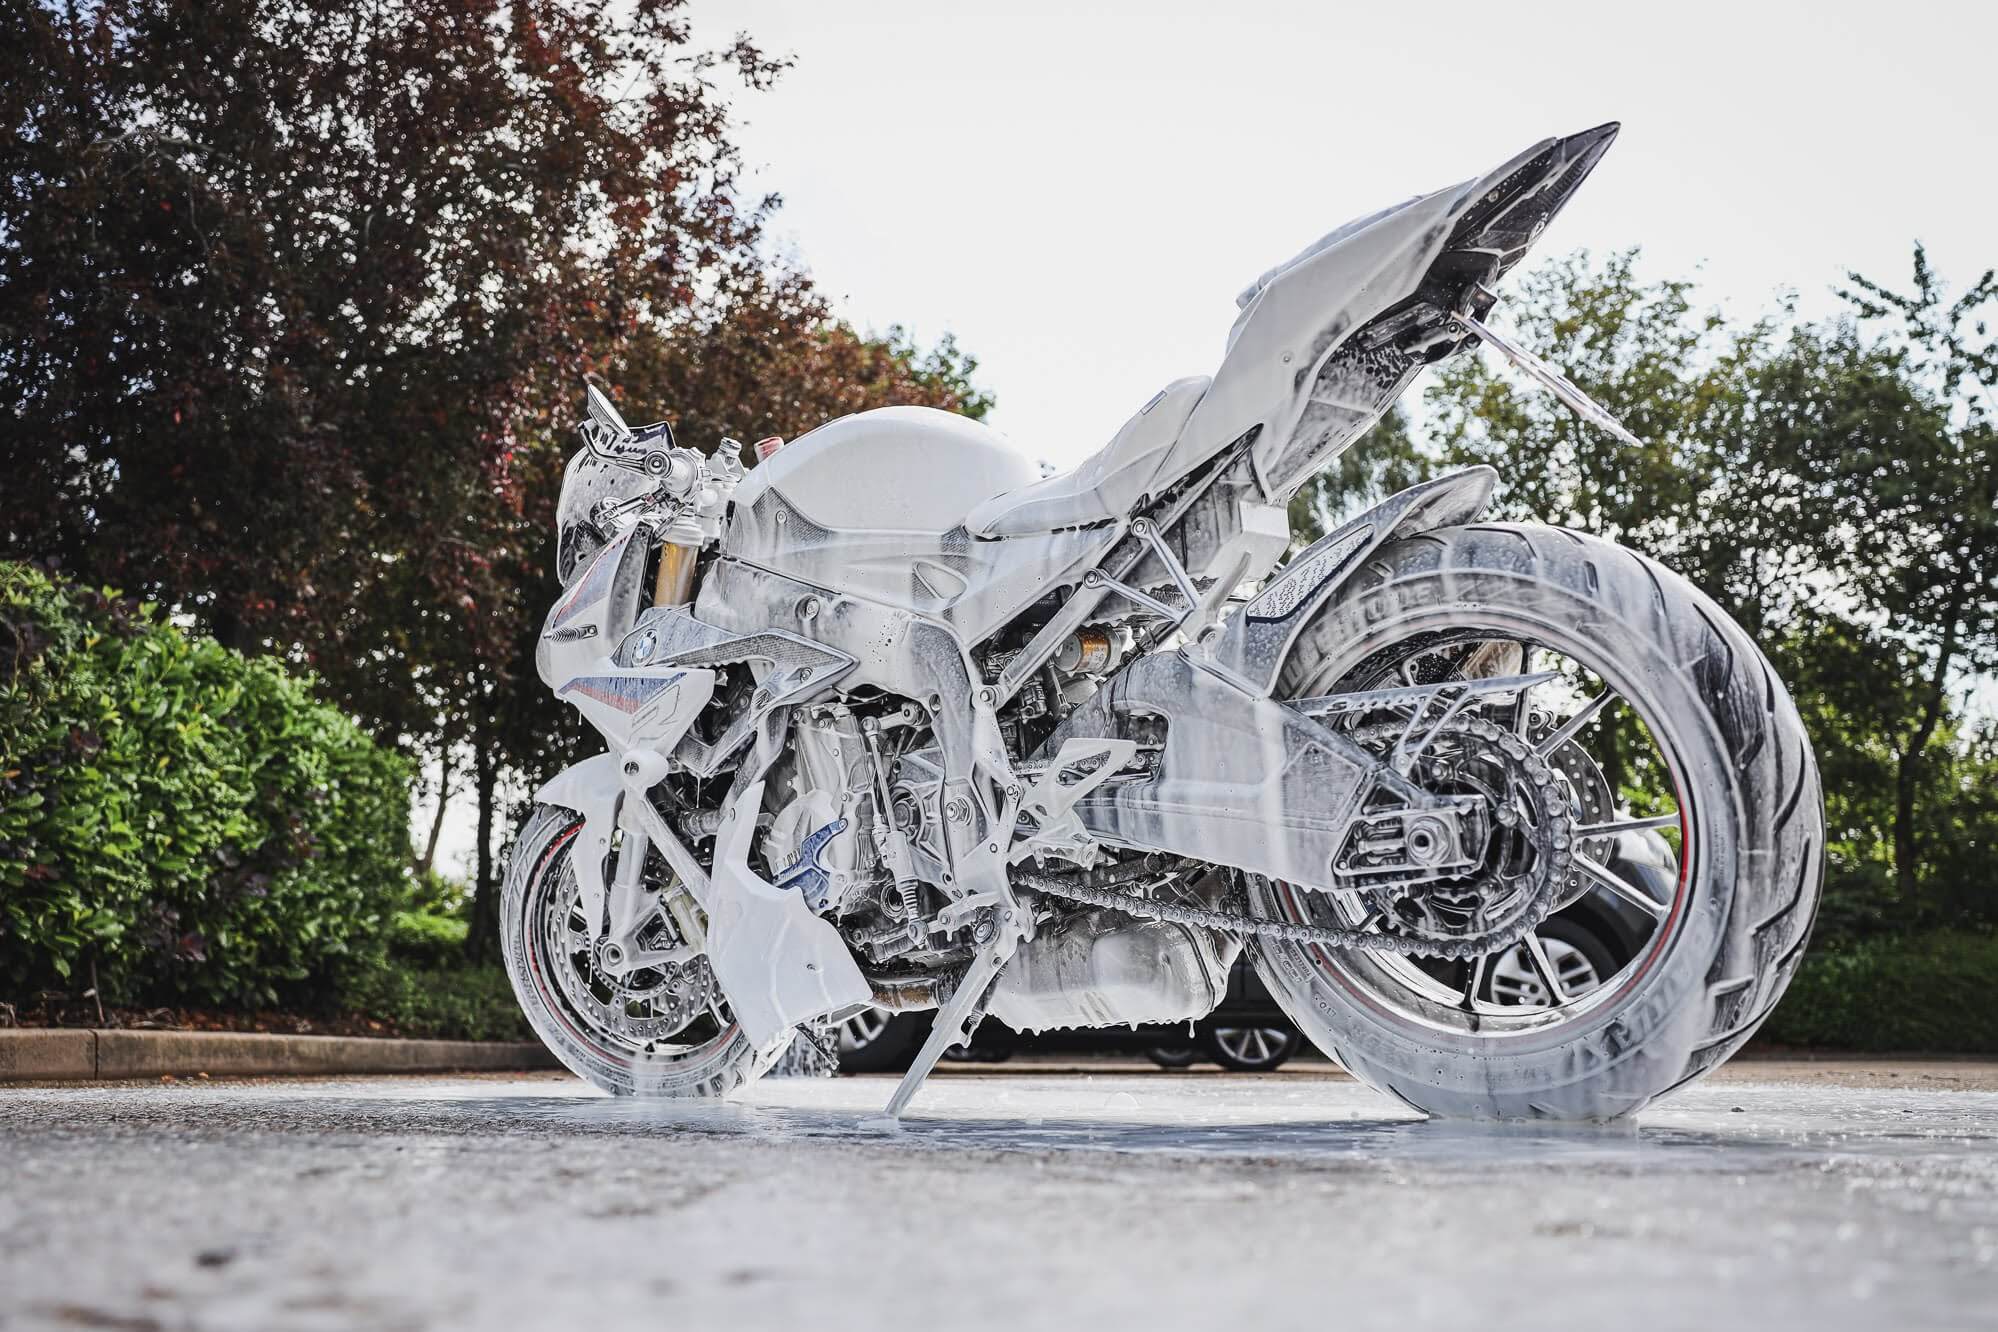
So, first inspect your motorbike and make a plan as to what's needed, here we're carrying out an enhancement detail over a few hours on a fairly dirty (but well-looked after) BMW S1000R. Full 3-stage decontamination and major paint correction isn't necessary here but, the point is that, as with any detail, it could be. So, first you need to consider how far to take your detail, and what results you'd like to achieve in the time you have available.
One thing that's immediately obvious here is the design of the exhaust. Just like any car, a little water on the engine itself isn't an issue, but water inside the engine causes a big problem. So here, as with most motorbikes, we opted to pop a couple of old work cloths into the tailpipes, and to avoid them as much as possible when spraying water.
Unlike an enhancement or full detail on a car (where we'd always start with the engine bay) with a bike you always begin with the wheels.
It's obvious that bikes are extremely lightweight compared to other vehicles, and for this reason they don't tend to have a huge amount of brake dust contamination. In fact, if you do find a lot of those dreaded rusty-looking spots that require treatment with Iron Out Fallout Remover on fairings and mudguards later, it probably came from other vehicles on the road.
This, along with the fact that many bike wheels (and brake calipers) are made from chrome or have other specialist finishes, is why we tend to avoid using a heavy hitting fallout remover on wheels. A combination of Imperial Acid Free Wheel Cleaner and Revolution Wheel Shampoo will be more than up to the job of shifting any brake dust and grime here, and both are safe to use on any wheel surface.
After a quick rinse to blast off any loose contaminants, add 2-3 capfuls of Revolution to a bucket of clean water and froth up with your pressure washer.
Working one wheel at a time, first liberally apply Imperial over the spokes and barrels, before brushing into every intricate area around the wheel and brake caliper with your Revolution solution. This will break down and lift the grime and brake dust away from the surfaces and lock them away in the slick solution.
As with a car, we always like to give one final wipe down with Revolution on a dedicated wash mitt to ensure all areas have been amply agitated, before rinsing away all the residue and the dirt with it.
Thoroughly cleaning tyres is extremely important on a sports bike, possibly even more so than on a car. This isn't just due to the fact that both tyres are on show for most of the time, either. It's because we don't use tyre dressings on motorbike tyres (to avoid any loss of grip when cornering on the sides of the tread) so, there really is nowhere to hide.
Tread Tyre Cleaner is the master here, combined with our Rubber Scrubber Tyre Brush, it's formulated to break down the heaviest soiling and road grime on contact. Even stubborn, ingrained stains and browning can be quickly eradicated here and, what's more, it's just a case of applying to the whole tyre, scrubbing in and rinsing off.
On to the main body of the bike and, as with any vehicle, a thorough prewash is the best way remove the worst of the heavy grit and grime to avoid inflicting swirl marks on painted surfaces and gloss plastics. It goes without saying, too, that the very best pre-wash can only be carried out using a suitable cleaning agent to break down the dirt, allowing it to be safely rinsed away.
Citrus Power Bug & Grime Remover is our product of choice for this job, it's powerful enough to cut through the contamination, but crucially, remains gentle enough for use on sensitive surfaces. It won't strip any previously applied waxes or coatings, either.
After carefully rinsing down the whole bike from top to bottom (simply to ensure that your pre-cleaner is working where it's most needed), spray your Citrus Power all over, concentrating on the most contaminated areas, commonly the fairings, tank and frame. Once these are saturated, leave the solution to dwell.
What differs from car detailing at this stage is that we also like to add in some Eradicate Engine Degreaser on any of the greasier parts. Obviously you should skip cleaning the chain here, these are supposed to be lubricated so heavy degreasing should always be avoided… although it's still okay to get the chain wet or covered in snow foam as you perform your wash, that's pretty unavoidable.
Again, apply your Eradicate liberally over the whole area before leaving to dwell. There's no need to brush-in and rinse just yet, for extra cleaning power we're going to use Avalanche Snow Foam straight over the top.
First thing's first, the answer to the commonly asked question; 'is it okay to use Avalanche Snow Foam on a motorbike?' Is that a bike is designed to happily sit out in the actual snow over winter, so a little luscious citrus-infused cleaning foam bubbling away isn't going to be a problem. Besides, Avalanche actively works its way into every little nook and recess, which is exactly what you want on a bike, in this respect they're far more complicated to clean than flat panels on cars.
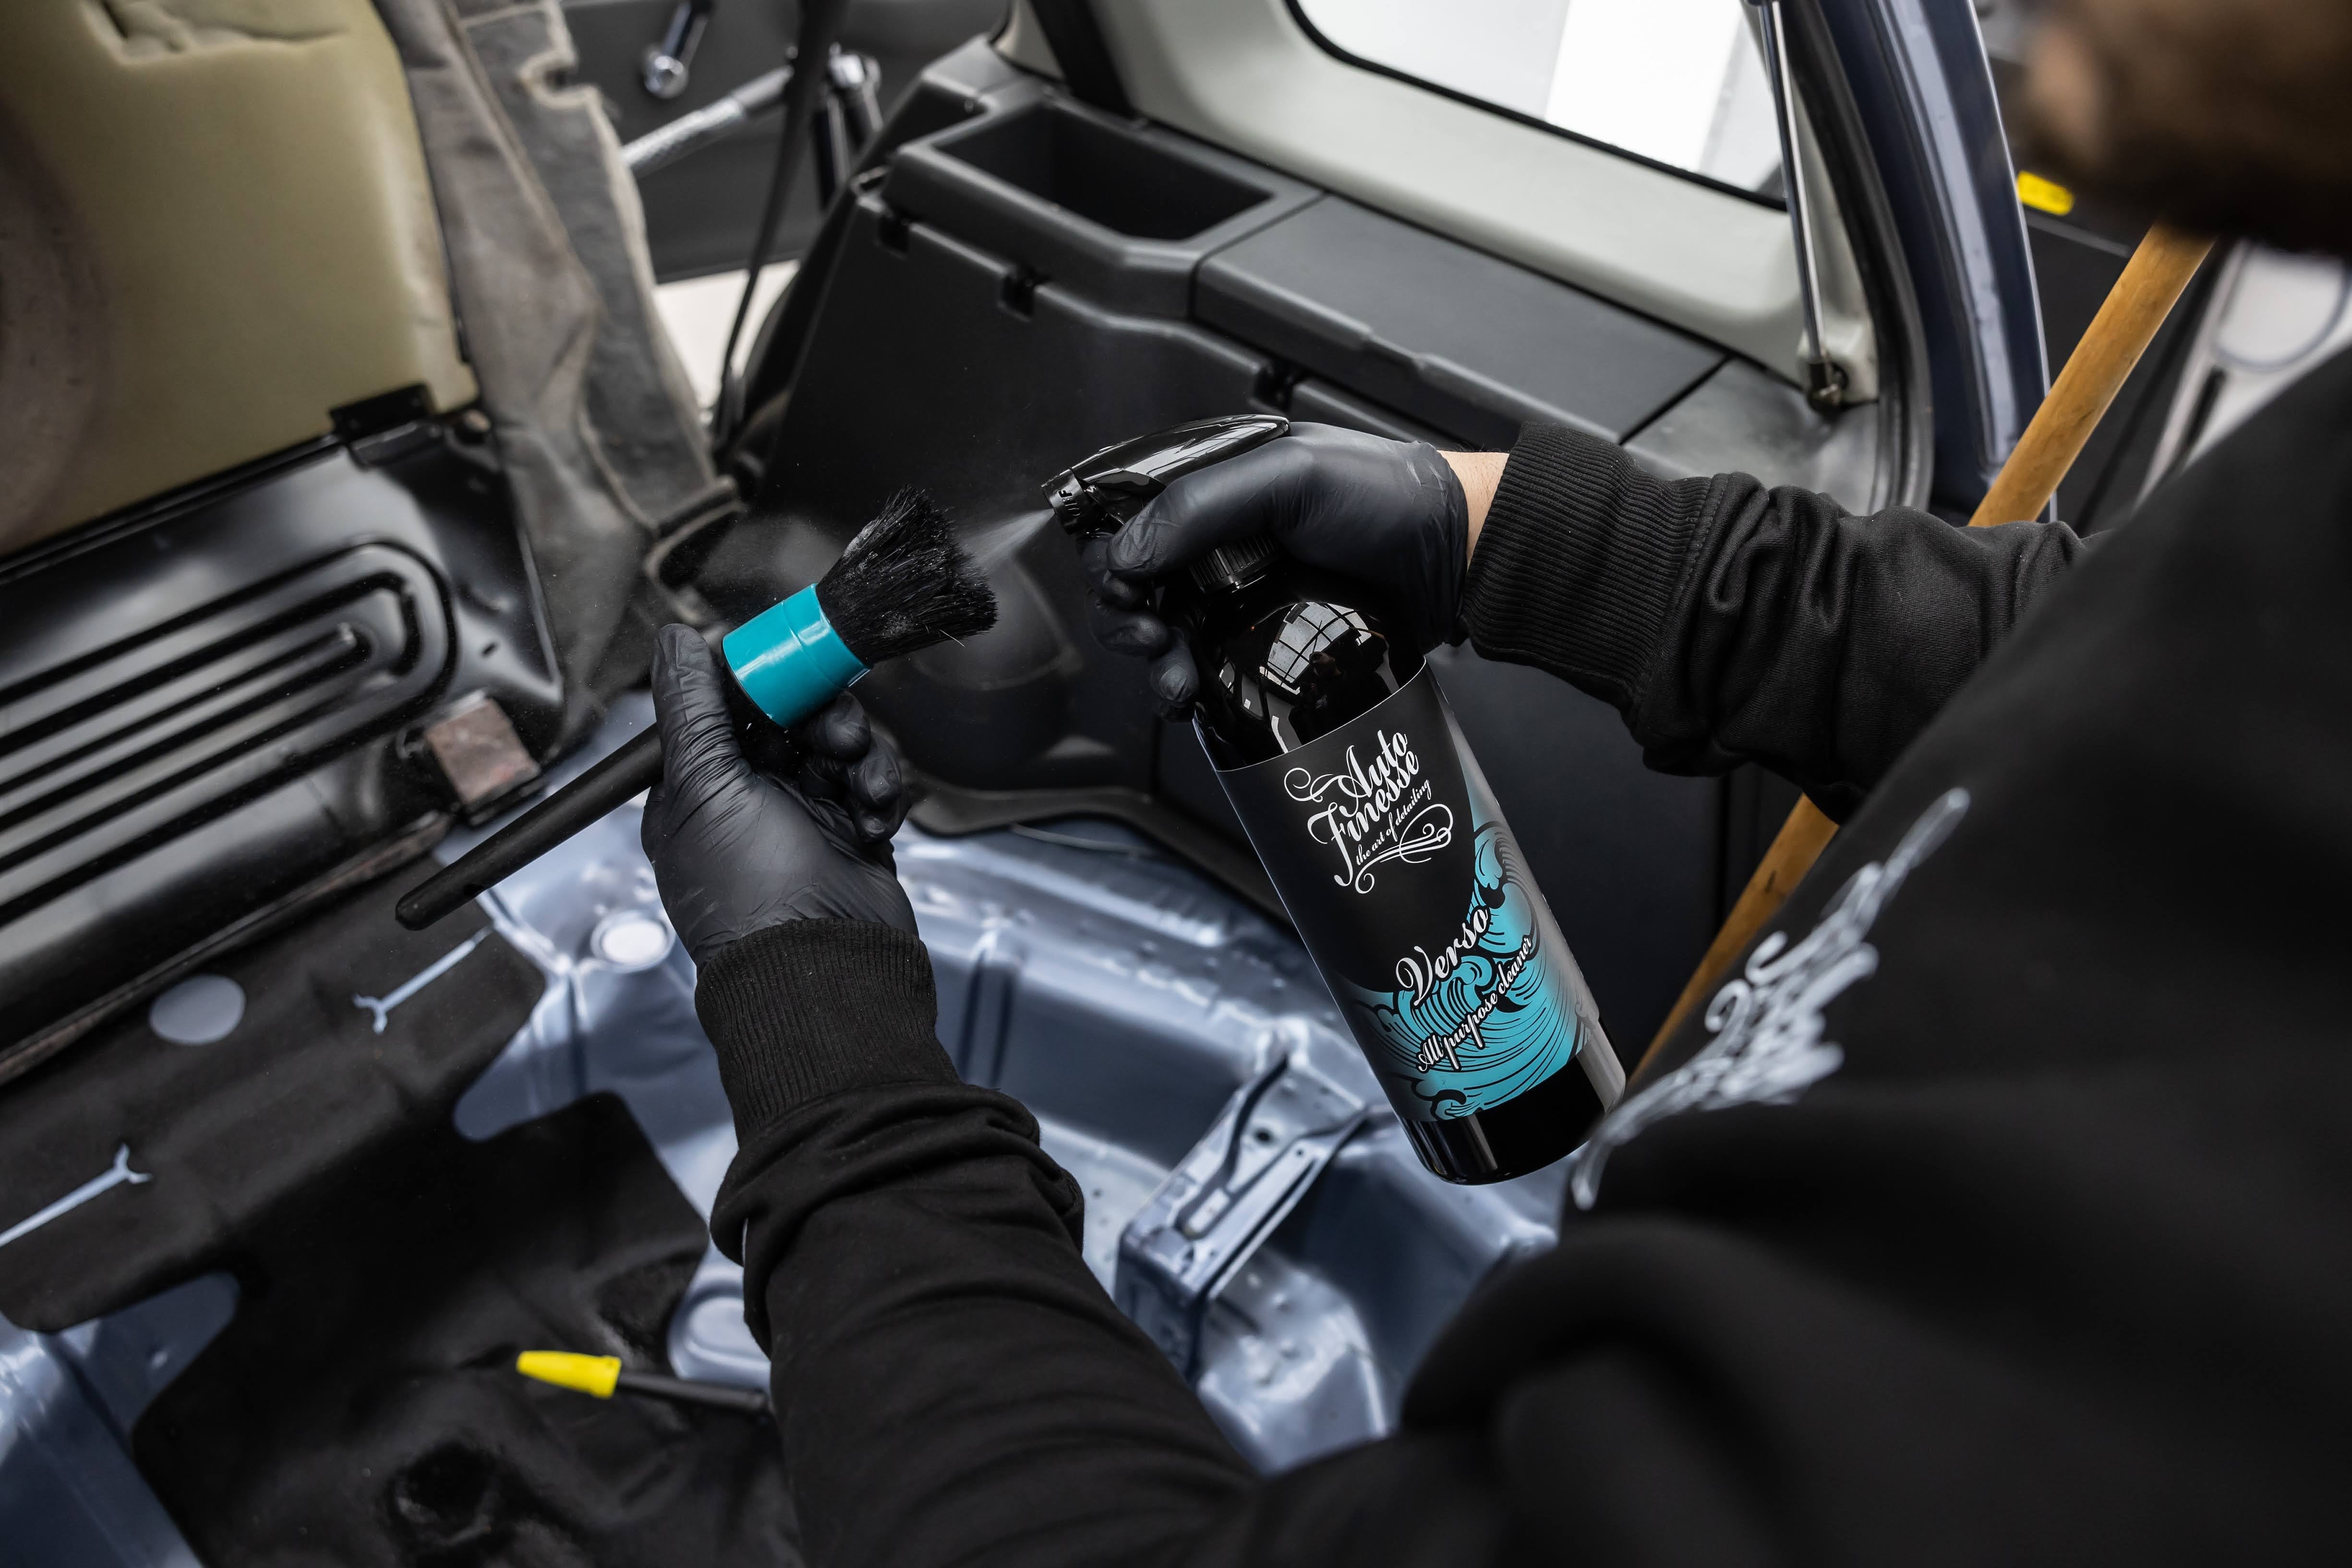
Use your Snow Foam Lance to apply Avalanche to the whole bike, working from the top down, and allowing the foam to dwell for as long as possible. During this dwelling time use a Detailing Brush to agitate your Avalanche into all the most intricate areas, concentrating on getting the product into every little nook. If you need to add a little more Citrus Power for extra deep-cleaning as you brush, now's the time.
For obvious reasons you'll find more greaser areas on a motorbike exterior than you will a car. On intricate parts like sprockets and engine parts, a little more Eradicate can be sprayed on and brushed-in to cut through the last of the greasiest contaminants, again avoid working directly on the chain.
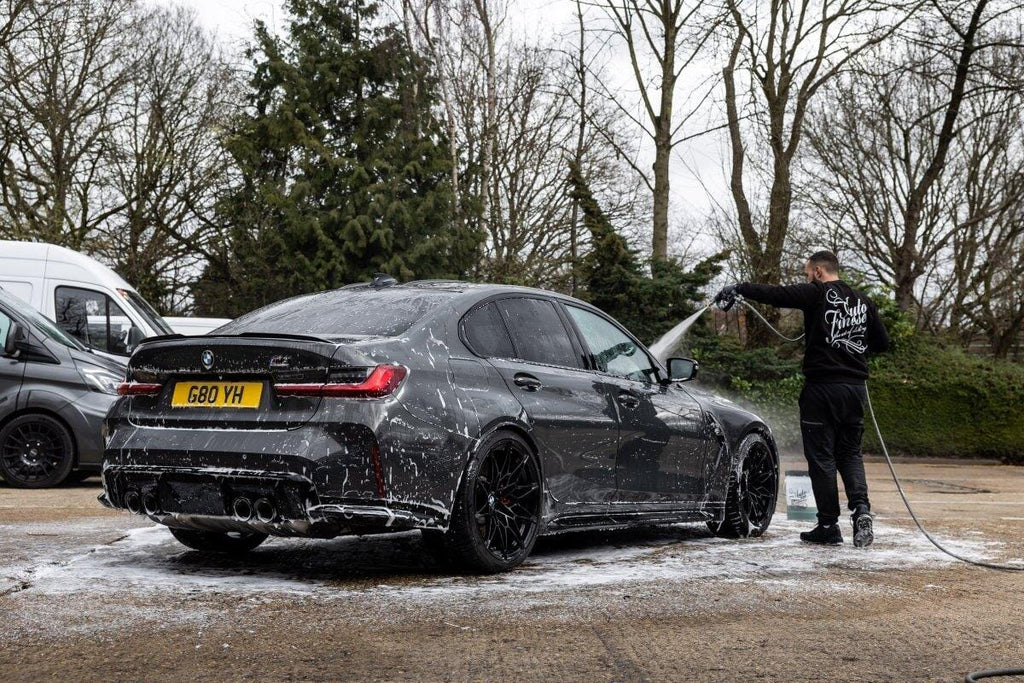
Once you're happy that the dirtiest areas have been agitated to lift contaminants away from the surfaces, rinse down the entire bike. Be thorough here because the heavy soiling will by now be trapped in the Avalanche, Citrus Power and Eradicate solutions. The idea of rinsing is to get it safely off the bike and on to the floor, so take your time.
As this particular bike is relatively new and low milage, on inspection we can see that it doesn't need full 3-stage decontamination. So, in this case, the contact wash will be the last part of the wash stage. This doesn't mean that you can't decontaminate all the painted parts of your motorbike of course, using Iron Out for embedded metal particles, ObliTARate Tar & Glue Remover for sticky residues and detailing clay, along with Glide clay lubricant, for pulling out contaminants like overspray and bird droppings, may still be necessary. These decisions need to be made on a job by job basis.
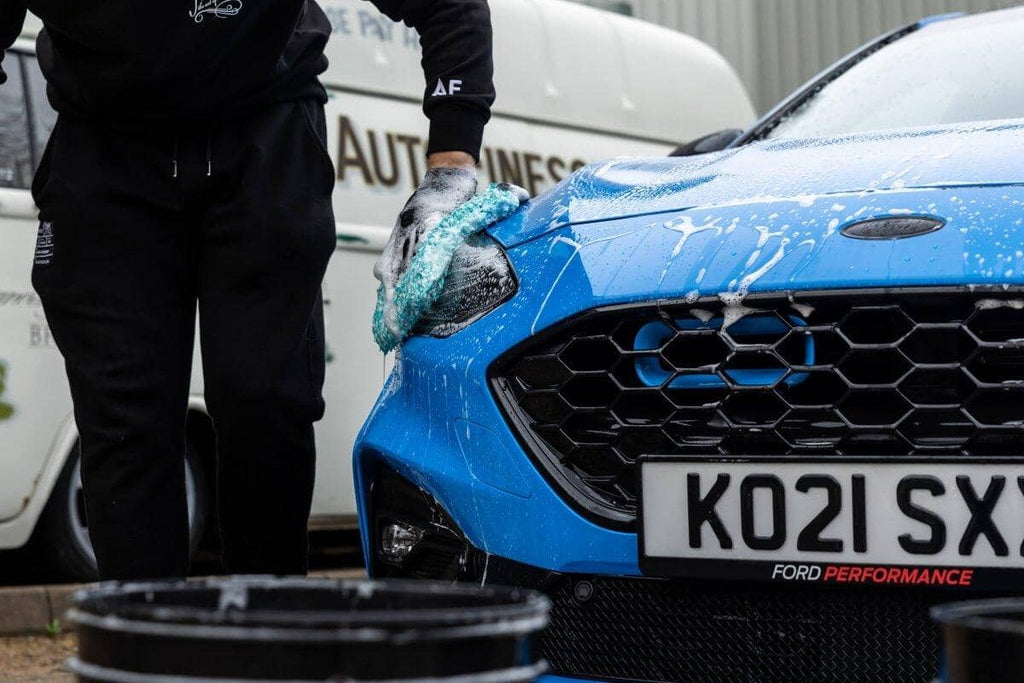
When it comes to the wash, the usual rules apply. Use two Detailing Buckets, one for your wash solution and the other for clean water to rinse out your wash mitt between passes. Lather car shampoo should be your weapon of choice to lift and lubricate the last of the grime, allowing it to be rinsed away. Wash in straight lines, tackling the least contaminated areas first and, once again, when you rinse be thorough.
To prevent the minerals and impurities in your rinse water causing spotting and stains, it's just as important to dry a motorbike as it is a car, it's often water being left to air dry that causes a whole load of problems. One thing to be aware of here is that it can be trickier to dry a bike because of the water constantly dripping out of the recesses, of which there are many, around the vehicle. This is where a professional detailer would use an air blower, or compressed air to get as much out as possible before using their drying towel to mop up the drips. But, that said, for those without that sort of equipment, it can still be just as effective to use an Aqua Deluxe drying towel or Silk drying towel on the bigger panels, before giving the whole bike a quick jiggle and mopping up any excess water that drips out. It's important to repeat this process a couple of times until you've removed it all.
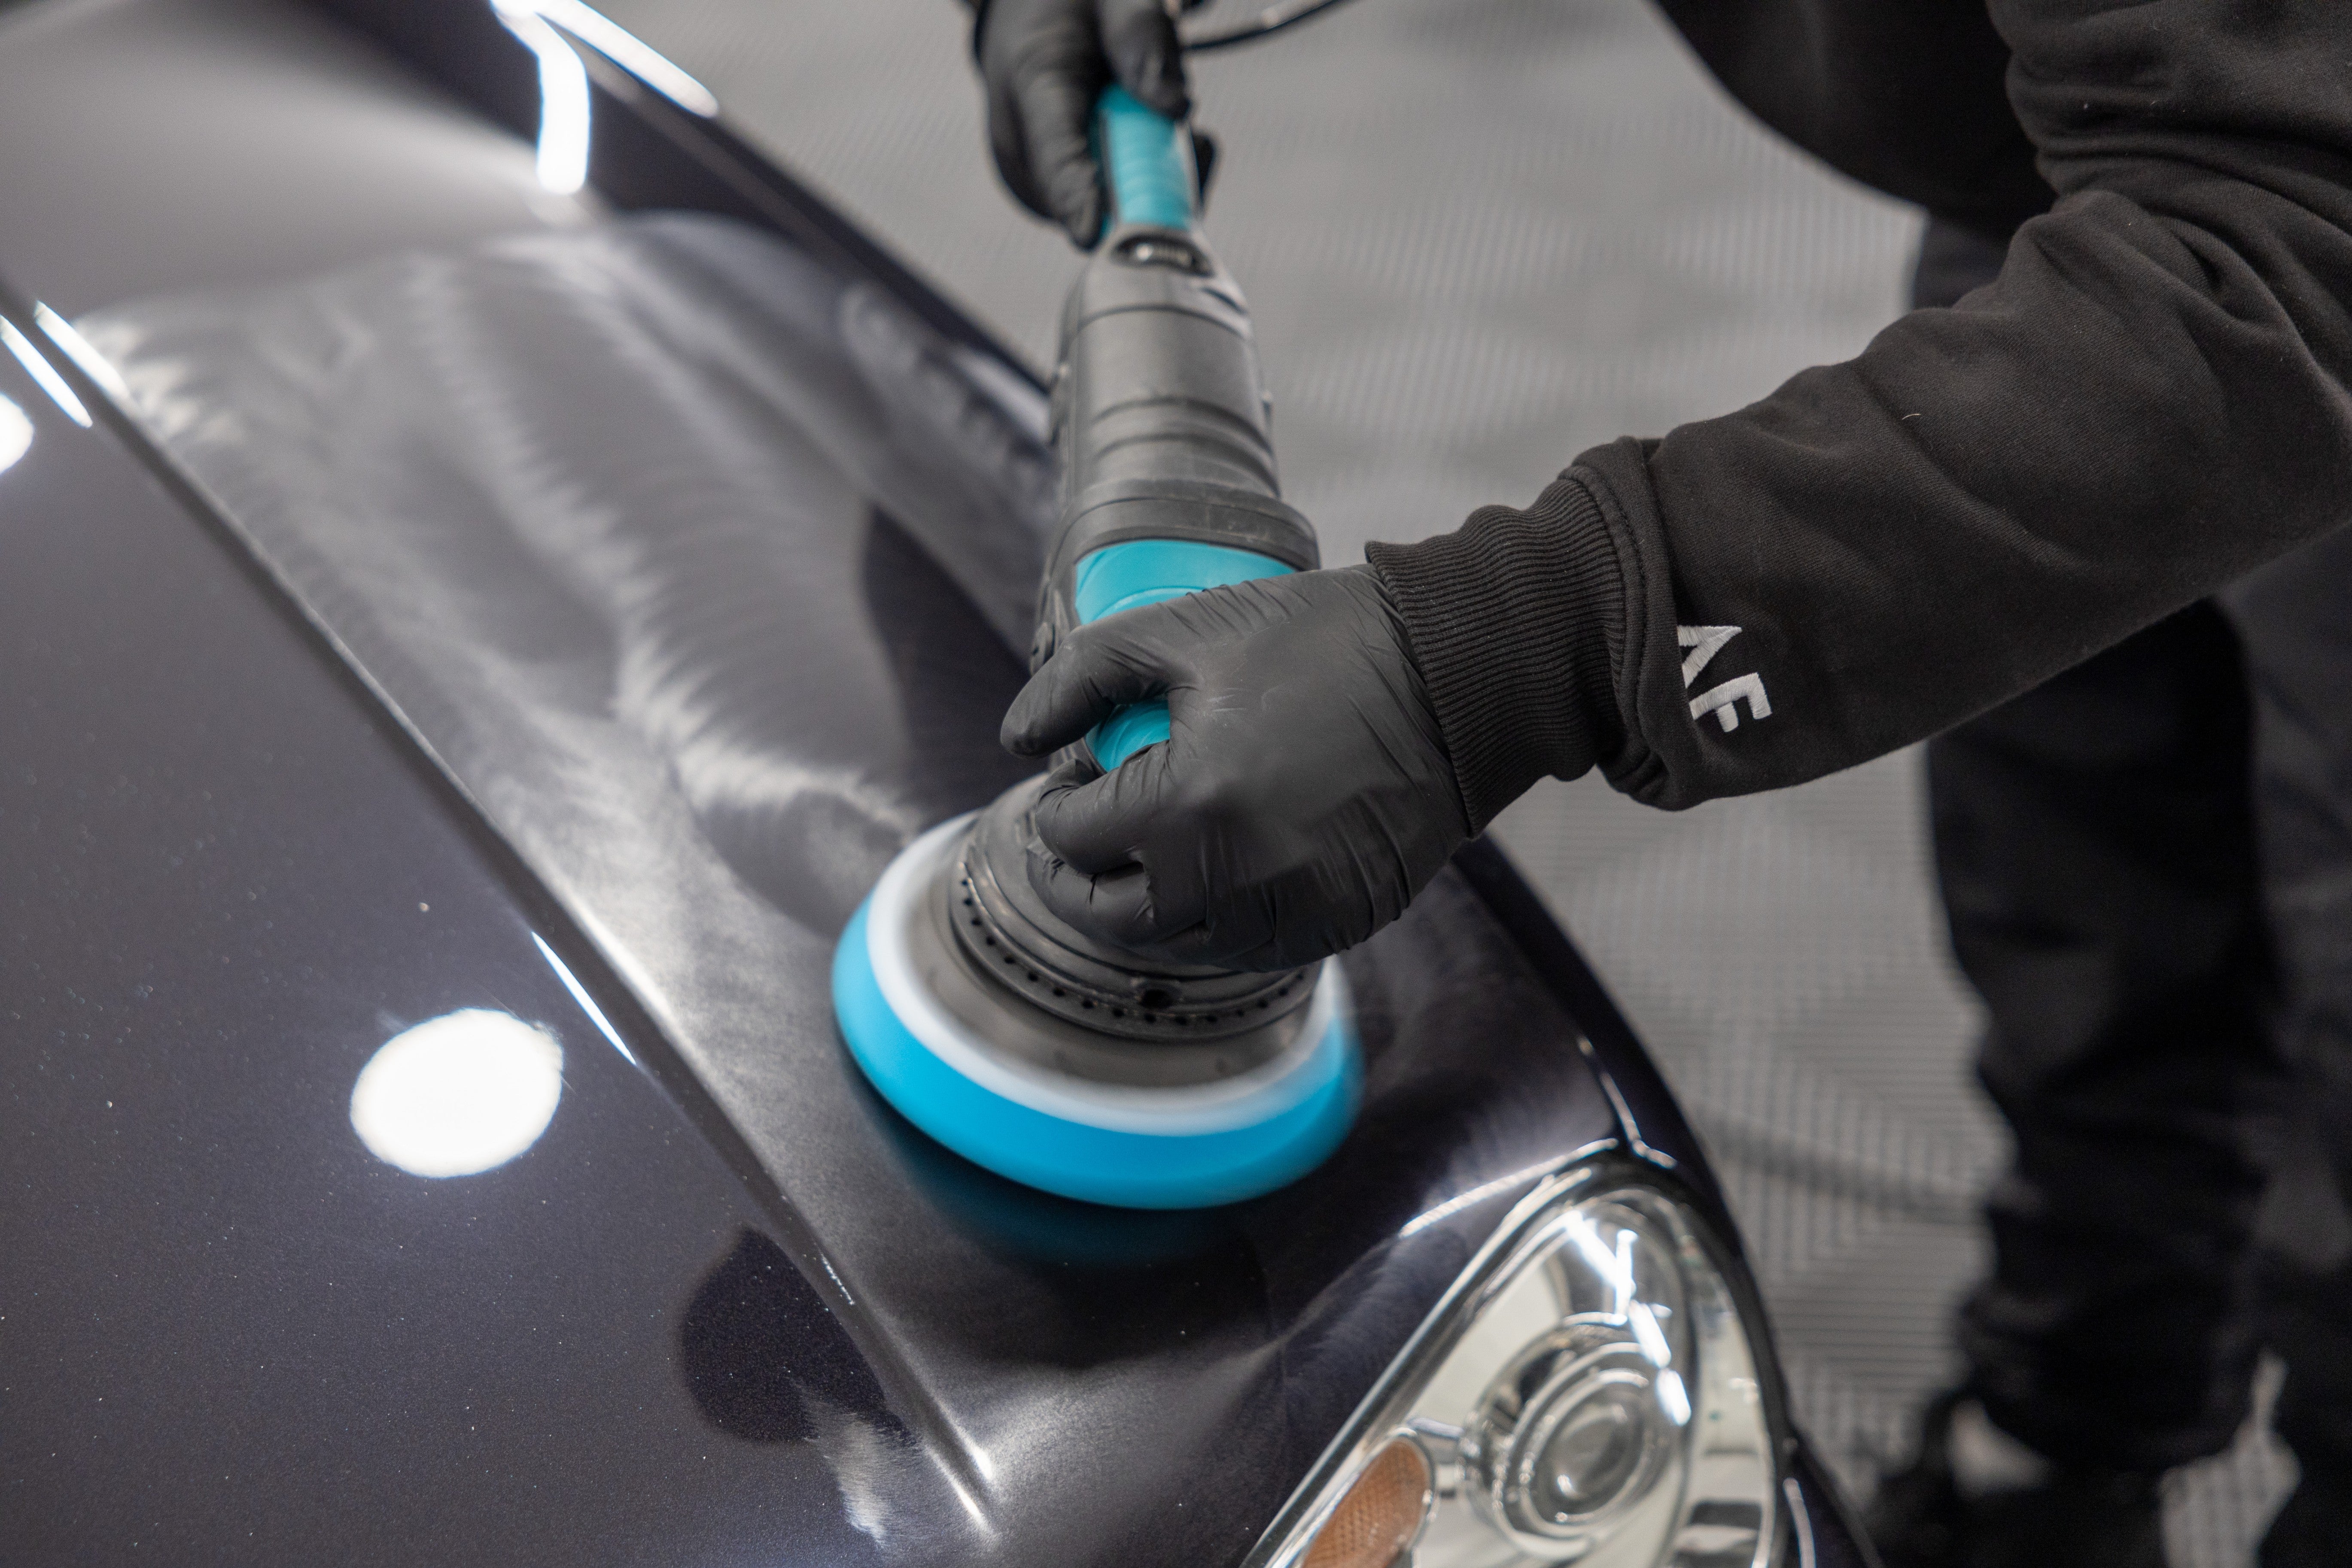
Now, as you'd expect, this is where another choice has to be made. As long as any graphics and badges are avoided, it is possible to machine polish painted tanks and other surfaces. Always bear in mind though, that many panels on modern bikes are made from plastic, which doesn't dissipate heat anywhere near as well as metal. So, when machining, it pays to use shorter sets to avoid overheating the plastics. As always too, any correction should only be carried out when necessary for removing swirl marks and other defects, not as a matter of course.
Hand polishing with Tripple car polish is also a viable option here, and great from removing oxidation and light swirling, and leaving behind a protective carnauba layer. In this case though - in the absence of any swirl marks and defects - we opted for Rejuvenate paintwork cleanser and a microfibre polishing pad to remove a slight layer of oxidation and perfectly prepare the surface to make the most of a coat of Desire carnauba wax.
As you'd expect, paint protection is vital on any vehicle, and when detailing a motorbike, this process should be carried out on each painted panel - including tanks, fairings and body panels. When it comes to choosing the product, again that would depend on the circumstances and personal preference. We're firm believers that nothing looks quite as good as the deep glossy finish offered by a hard wax, which is why we've used one on this well-looked-after weekend warrior. If it's a bike that's set to have a hard life over winter, you may prefer to opt for Ceramic protection from our Caramics Paintwork Protection Kit. Then again, if it's quickness you desire, you may look to Glisten Spray Wax or Radiance Liquid Carnauba Wax. There's no hard and fast rule other than you should always protect, whether that's on an enhancement detail, or after a full correction, or anything in between. Best of all, when it comes to detailing, you have all the options at your disposal, to tailor your detail for your particular project.
Under normal circumstances, the Perspex screens found on motorbikes can be quickly and effectively finished using a spritz of Crystal Glass Cleaner. This blend of mild distilled solvents cuts through grease, grime and fingerprints, flashing off fast and leaving behind nothing a crystal-clear finish. It's powerful stuff.
On the odd occasion though - bearing in mind that many bikes may be stored outside and used in all weathers - you may find that the screen is in need of restoration. These items are not only extremely susceptible to scratches and etching from acidic bug splatter, but due to their design they can also be a trap for water spots on the inside… particularly where it's impossible to wipe with your microfibre cloth. In all these cases, we find that removing the screen and using Vision Glass Polish to remove spots and light defects is the best course of action. For a little added bite, a Microfibre Spot Pad is just the ticket for deep-cleaning and restoration.
A final wipe over with Crystal to remove any prints after reinstallation, and you're good to go.
Obviously, the final finishing steps will also depend on the specific bike in question. Your pride and joy may be stacked out with metal parts or chrome for example, it could even have a whole engine to polish! But here, as with many modern superbikes, these parts are limited to the odd piece of exposed metal, and the exhaust tips. Mercury Metal Polish is the best product for taking care of all of this, this light abrasive quickly removes oxidation and actively strips away a minuscule layer of the top surface to reveal fresh metal underneath - cleaning and restoring in one simple step. In fact, nothing makes metal pop like Mercury… except perhaps Mercury Xtreme metal polish, which is a heavy-hitting compound designed to tackle even heavier contamination.
The last step, for us at least, is adding a little protection to those wheels, again there are various choices, including using our Caramics Wheel Protection Kit for when hardcore ceramic protection is needed. Then again, you could enhance and protect your rims with a little Mint Rims Wheel Wax, or, if you're looking for super-speedy detailing, a quick spritz and wipe with Glisten Spray Wax will give up to a month of protection and make your wheels a whole lot easier to clean the next time around.
If you haven't already, you can watch the full detailing video.