The 250k Sh*tbox Detail
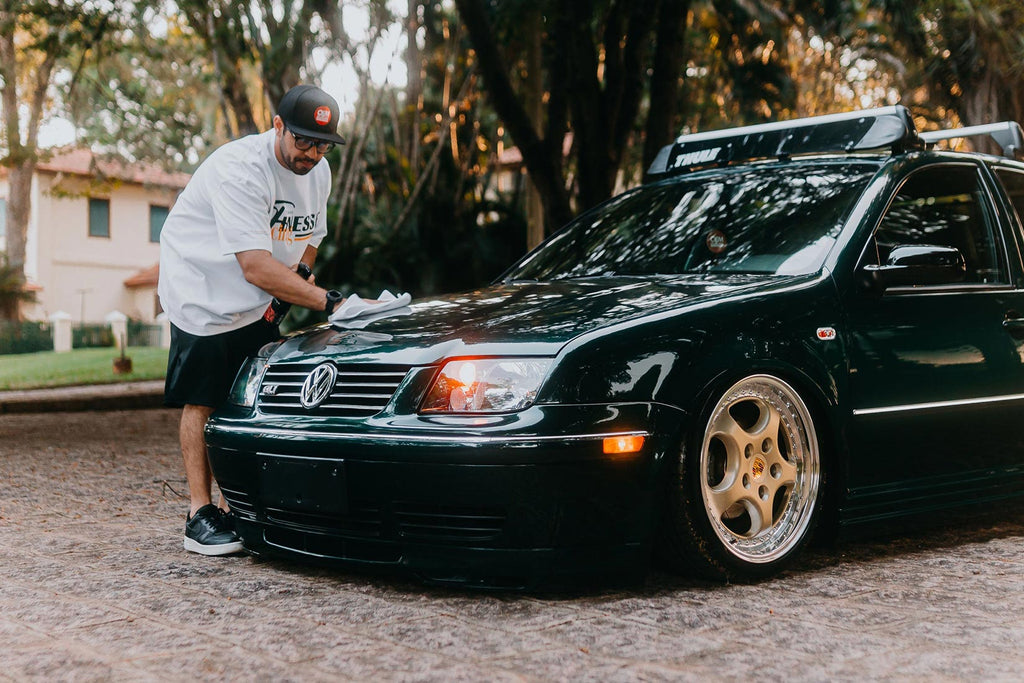
In a bid to repay one of our diehard customers, we offered to completely overhaul his 250k-mile Volkswagen Golf Estate… IF the amount of likes he got on Facebook matched the mileage...
Needless to say our customer's post reached the required 250k likes and we agreed to detail the 14-year old motor. We also said we'd do it in two days, so we enlisted the help of some of our trusted detailers from the Auto Finesse Detailer Network (ADN) Liam at Urban Valets and H from Car Genie.
Once the car was dropped off, the prep process began.


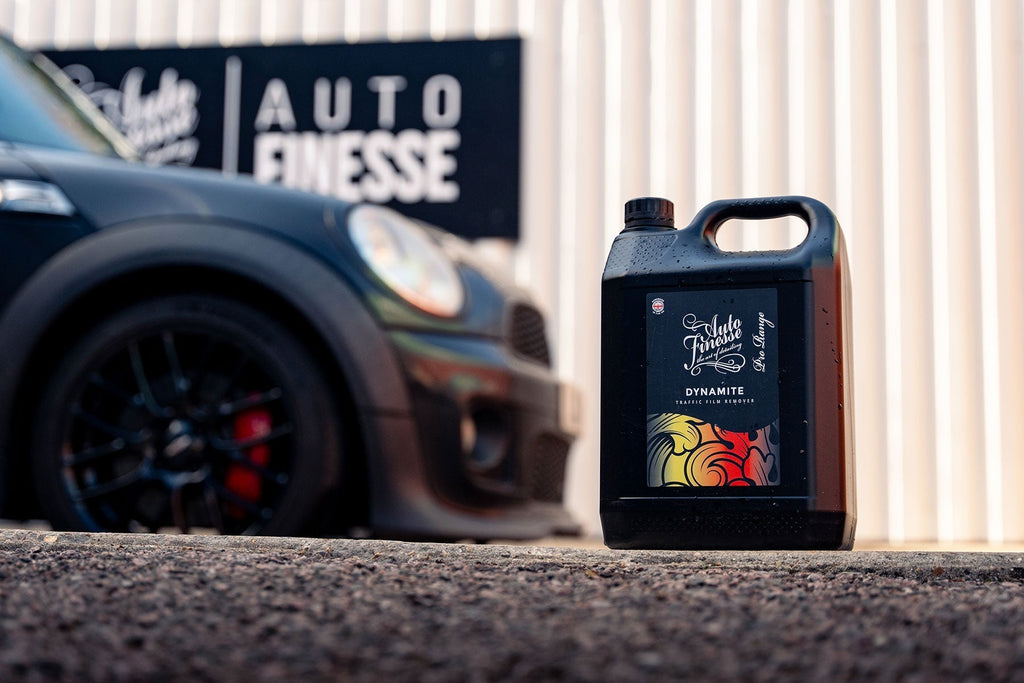
The engine bay was the first thing to be tackled - an engine bay that probably had never been cleaned in its entire lifetime. Our Eradicate Engine Cleaner & Degreaser was used together with detailing brushes and barrel brushes to get into all the hard-to-reach areas. Once the engine bay had been cleaned, the car was then jacked up in order to remove the wheels, allowing for better access to the undercarriage. Two of our guys detailed these sections with Verso all-purpose cleaner and ObliTARate (our tar and glue remover), while two others got to work on the wheels with Iron Out fallout remover. The door shuts were then cleaned thoroughly with Hog Hair detailing brushes and Verso. Once the intricate areas had been tackled, it was onto a thorough overall rinse of the vehicle to rid the car of as much grime and grit as possible before saturating all surfaces with Citrus Powerbug and grime remover and Avalanche snow foam. Avalanche does contain Citrus Power, but the level of grime on this car required some additional bug and grime targeting.
While the snow foam was left on the car to dwell, hog hair brushes were used in conjunction with the snow foam acting as a detergent to the windows and any rubber crevices that needed a little extra attention. The snow foam hue was rinsed ahead of using the two bucket method for the contact wash stage. With Lather diluted in warm fresh water to one bucket and one bucket of plain water, the detailers took our lambswool mitts to the upper surfaces and noodle mitts to the lower surfaces in order to give the whole vehicle a thorough contact wash. The car was then rinsed down ahead of the decontamination stages.


The first step of this decontamination was Iron Out fallout remover to remove any fall out, followed by ObliTARate tar and glue remover to the lower panels before hitting the car with a clay pad. We then performed a second snow foam in order to carry away any contamination sat on the surface. The car was then completely rinsed and dried using our Aqua Deluxe and Ultra Plush microfibre drying towels.
The car was then rolled inside into one of the dedicated Academy detailing bays. With the car now inside, the whole team got on it and inspected it thoroughly; from paint to interior, in order to set out a plan of action going forward. Mitchell and Simon stripped out the interior seats so we could gain better access to carpets. With the seats out, Mitchell and Simon used Verso all purpose cleaner and a wet vac to clean the fabric of the seats, while Liam took a Karcher steam cleaner and microfibre cloth to the headlining. The headlining literally went from a grim winter's day grey to a sparkling white by the time we'd finished. Both the seats and headlining were left to dry overnight. The carpets were shampoo-extracted in the same manner as the seats in order to remove any stains and old odours. While the interior was being well and truly seen to, head-honcho James, together with Ash, H and Joe inspected the paintwork using specialist lights to work out a plan of attack and to figure out which of our products were best served where.


Some areas would be hit with Revitalise steps 1, 2 and 3 (Restoring/Polishing/Refining) and some with One Step single stage car polish. Some areas, however, needed some serious work. These more damaged areas were wet sanded with 3000 Grit Trizact sandpaper and Mirka palm sander. The reason for this is that wet sanding with sandpaper doesn't heat up on the surface, whereas using a compound would generate heat. The paintwork was fully inspected ahead of this treatment to ensure it was thick enough to handle it. The roof, bonnet and wings, along with the rear quarter, were all sanded using the 3000 and brought back to life with Revitalise 1/2/3. The tailgate and rear bumper were also treated with Revitalise 1/2/3 and the lower door quarters were hit with One Step. The rear taillights were also removed so the plastic lenses could be machine polished thoroughly.
With the machine polishing finished up, it was time for Ultra Glaze to add extra depth to the paintwork. The entire vehicle was then waxed using desire as a first coat and topped off with a coat of Illusion. Desire for durability and Illusion for a finishing wet-look. Verso, along with our detailer brushes and scrubby pads were used to clean all of the interior plastic surfaces, with magic sponges being employed on the more stubborn areas. The wheel arches were then dressed with Dressle all-purpose trim dressing, along with the engine bay, with the remainder exterior trim then dressed with Revive trim dressing. All glass was cleaned using our Crystal glass cleaner, together with our waffle cloth made specifically for glass surfaces, and polished with Vision glass polish before Caramics glass protection kit was applied. At this stage we went round the car with cotton detailing swabs to remove any product residue from any finer crevices such as door handle edges and taillights etc.

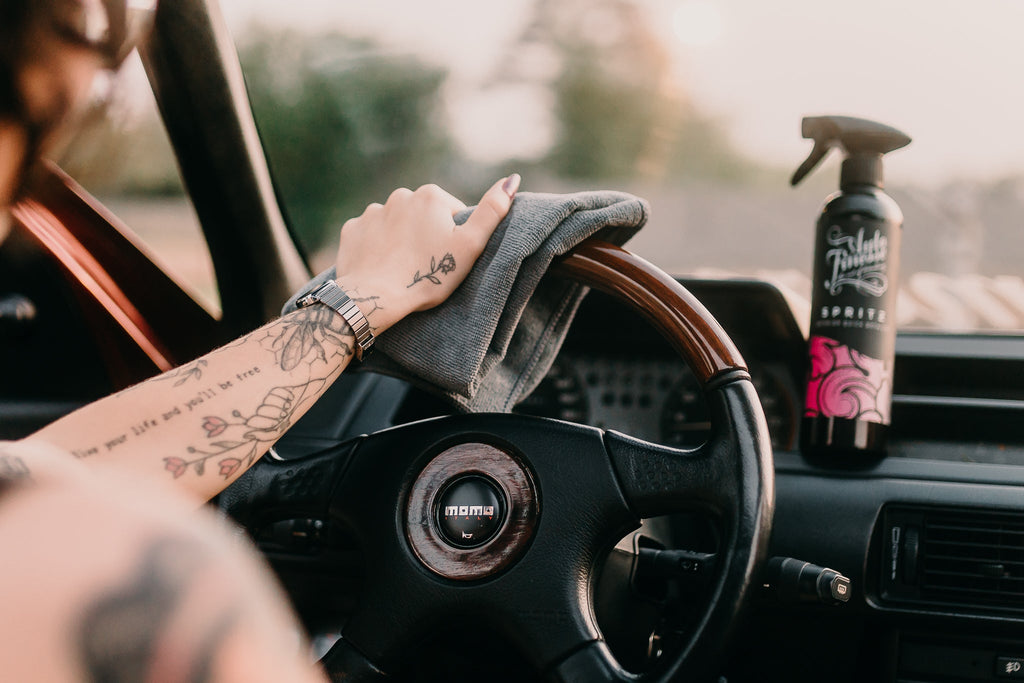
Once all that was done, interior plastics were finished with Dressle and a microfibre applicator. Because of how old the car is, we used Dressle to replenish UV protection and get it back its original colour. Small interior screens and clocks were cleaned using Crystal removing any residue left by the cleaning process. The seats were then put back into the car and refitted.
Once detailing was complete, Rtec Auto Design delivered a set of 3SDMs (0.05), along with coilovers and spacers, to get it sitting pretty. While the Rtec guys fitted the suspension, Ash and Mitch coated the new wheels with the dedicated Caramics for wheels kit. We even sourced some new number plates from A&A Merctech Ltd (the old ones were cracked and grubby) as well as a fresh pair of indicator housings - it simply wasn't worth trying to save the old ones at £3 for new replacements. These little touches really do make all the difference! We also got The Dent Men in to remove some of the minor dents that could be removed using their paint-less dent removal process.
Last but not least, to really finish things off, the exhaust backbox was cleaned thoroughly using Mercury metal polish ahead of the new wheels being fitted.
All in all, this was a super exciting detail to be involved with; from the initial hype on social media to the documenting of it throughout and seeing the finished result. Check out the video above to walk around with us on this job.
