50 Top Detailing Tips
A full half-century of professional tricks and tips put together specifically to push your detailing to the next level.
 Skip to content
United Kingdom


Keeping your car looking fresh this time of year is difficult, adapt this tried and tested technique to keep your car looking fresh in just 6 steps, with 6 products in less than an hour.
As always, we start things off with the wheels, ensuring they are cool to the touch (in simple terms don't pull up at home on the driveway, drag the pressure washer out and dive right in. Let the car's engine and brakes cool first).
Treat each wheel individually, first by applying our Imperial Wheel Cleaner to the face and barrel, rinsing off, and then re-applying the product again and working in with brushes that suit the design of your wheels. Here we're using one of our standard sized Barrel Brushes and our standard 2-inch detailing brush.
Once you've agitated the Imperial on the surface, you can rinse again before moving on the next wheel, and so on for all four corners.
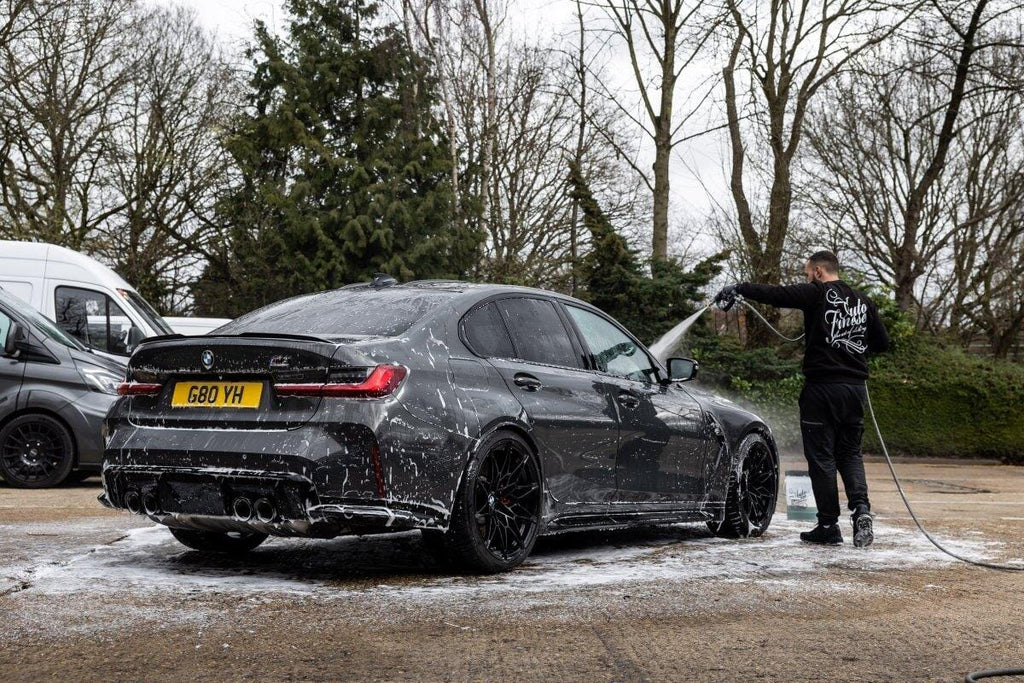
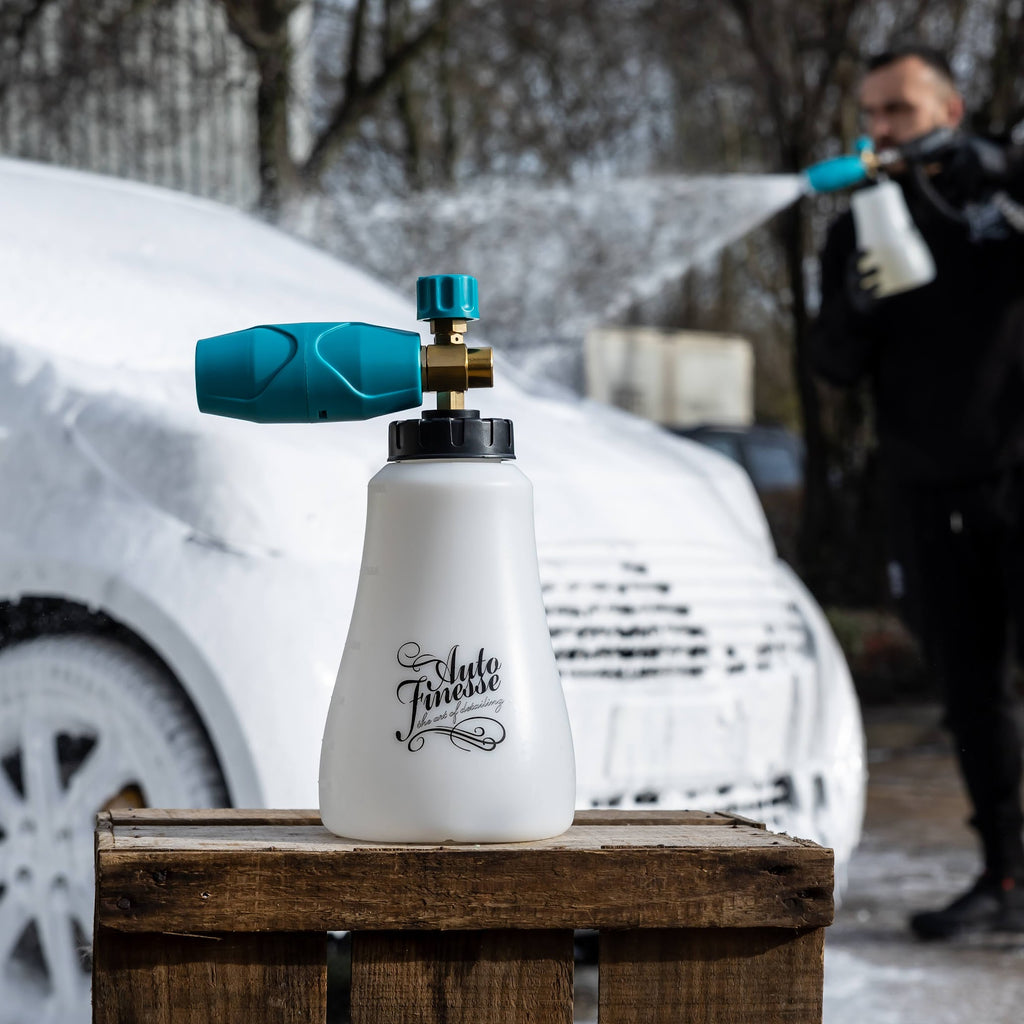
With the wheels clean we can now turn our attention to the bodywork. The first task here is to remove any loose road grime and debris by thoroughly rinsing the vehicle with a pressure washer from the top to the bottom.
Next it's time for your pre-wash cleaner, in this case we're using Citrus Power Bug and Grime Remover. Citrus Power is safe for use all over the car, but pay particular attention to the dirtier areas like the lower half of the sides, the front grille and the rear end.
After giving your Citrus Power a few minutes to lift the grime from the surfaces, you'll be able to rinse it all away with your pressure washer.
It's only now that we come in to contact with the vehicle. Taking two buckets, both filled with water, we add 4 capfuls of Lather Car Shampoo to one bucket and give it a quick whisk with the pressure-washer. We also grab an Ultra Soft Wash Mitt for the uppers and a Noodle Wash Mitt for the lowers, back and 'grubby bits'. This ensures that we don't cross-contaminate our wash media.
Starting things off on the roof we work our way down, treating small areas at a time, and returning to our buckets to rinse the wash mitt off first in the plain water bucket, before going back to our Lather bucket and taking the fresh wash solution to the car.
Our course around the vehicle looks like this:
The final rinse down takes place next, making sure you rinse all the shampoo solution from the car's bodywork thoroughly. Be sure to flush gaps, grills, wheels and barrels properly before drying the whole car with an Aqua Deluxe Drying Towel.
Sounds crazy right? To be putting the icing on the cake so soon. But no, and here's why…
If, like us, you prefer a more natural look (rather than crazy shiny tyres) you can use the wonder product that is Dressle All Purpose Dressing. Admittedly the durability isn't the strongest here, but you have to remember that, at this time of year in particular, by the time the product does start to wear away, your car will be filthy anyway. Dressings here don't need to last more than three or four days anyway.
A water-based spray-on dressing truly is a beautiful thing this time of year because it's fast, versatile and effective. So a good covering of Dressle on your tyre walls and arch wells is a great choice. At the very end of the detail we like to come back and give these a final buff around the tyre walls to ensure even coverage and remove any excess product.
There's nothing worse than smeary or poorly cleaned glass, so its always a priority to clean both inside and out every time you wash your car. Even if you're not planning on cleaning the rest of the interior.
It's not only oily fingerprints and the odd cough or sneeze that your interior glass can pick up during day to day driving either, dog owners will know that their four-legged friend can make a right mess of the rear tailgate glass, which isn't the nicest in your rear view mirror.
A spritz or two of Crystal Glass Cleaner can sort all this out quickly and effectively. Simply spray and wipe for the exterior and any really dirty interior glass (although, leave the dog's part of your car until last, naturally). For lightly soiled interior glass, a light spritz onto a cloth will usually be enough to buff up your windows nicely.
Remember that crystal clear windows are not only a great finishing touch, but they're much safer, too.
Always, always finish it with Finale. Some people don't understand why you would use a quick detailer here, but we think - particularly on a small, quick job like this - that it's the distinguishing stage from a good car wash to something a little bit more, dare we say it? Detail-like.
It's best to look at this stage as more of a final tidy up, to mop up any stray drips or water runs, buff away any dressing overspray, and to give that ideal little finishing touch to the job. Finale will also add a little protection at the same time, so next time you come to clean your car, the dirt will come off easier than before. In other words, it will help your car look better for longer, even in winter.
So, there we have it - 6 Stages, 6 products and a clean car to go about the daily to-dos looking fresh… and hopefully staying that bit fresher for longer, too!