


The Big Detail No.5 - BMW E36 328i

What's it all about?
You've seen our big details before, right? But, for the uninitiated, let's give you the full rundown. Every so often we shut down the entire Auto Finesse Detailing Academy for a good few days and pull in an extended team to concentrate on transforming one vehicle from top to bottom. Basically, everything else stops - the professional training, the product testing, building and modifying cars, everything.
This is exactly where detailing meets extreme detailing… we even have a mechanic or two on hand to strip off parts that may need extra attention inside and out, so, suffice to say, it's a big job. Basically speaking, this is as thorough as any detail can get, and it goes without saying that these jobs are just as fun at they look.
Of course, we're not talking about the sort of detail you're likely to carry out every week. In fact, we put in well over 400 manhours this time around, but what's important is that all this gives us the unique chance to push the envelope as far as possible without the focus being on cost. We even use all the time and manpower to strive to compete some pretty excessive added extras over and above paint correction and finishing, too. In this case, that came down to tasks like cleaning bulbs, splitting and cleaning the inside of tired headlights and even polishing the OEM tool kit.
So yes, our big details are what you might call pretty hardcore, but don't go thinking this isn't something you can't do yourself. With the right products and a little bit of knowledge, the fundamentals of car detailing here are exactly the same as any at other time… it'll just take you a few (or a lot) more hours, that's all.
So, that's what it's all about, and without further ado, let's get behind the scenes of our latest transformation…


The Car
So, how did we choose the car this time around? Well, the short story is that we didn't - that was down to you.
Dedicated followers of our social media channels may remember that we posted a "Win a Big Detail' competition and that we had literally thousands of entries. The idea was to find a car worthy of transforming… and of course one that can benefit the most from a full correction (although, we did have some downright hilarious full restoration jobs enter, too. Unfortunately there needs to actually be a whole vehicle… and a little paintwork to polish!).
Anyway, we narrowed down the selection to a mixed bag of 10 hopefuls, and left it to you pick the winner. As it turns out your favourite was Zach's E36 328i, which came in a rather fetching BMW Techno Violet hue. We can certainly see why this one was voted to the top of the tree.
The car itself was something of a barn find for the owner, he'd had it a little while and it had been sitting around for some time while an underside and running gear restoration was completed. That was (the only) good news. The rest of the car? Well, let's just say that, while it looked reasonably straight in the pictures, the swirly paintwork, grubby engine bay and dirty interior left a lot to be desired. Luckily these are exactly the areas where we could help to push the Bavarian bruiser to a new level of expertly-detailed perfection. We tasked a covered trailer to pick it up, and awaited its arrival…


Day One - The Wet Work
The first day, as always, lays the foundation for the detail. This consists of the 'wet work', where we cleanse and decontaminate the whole vehicle. Obviously, on a big detail, we take this process to the extreme.
First though, a little inspection is always in order, just to cater for any "small' surprises that may interfere with getting the car back to the owner in 5-days - things like a missing exhaust, a cracked windscreen, a large selection parking dings and all sorts of bits and pieces to be ordered. Of course, all this doesn't strictly fall into the realms of detailing… but we can't go doing our competitions by halves, can we?
As for the paintwork, while dull, faded and swirled, most of the exterior could be restored and enhanced perfectly. The boot lid however was suffering from serious deep scratches and lacquer peel, so the best option here would be to send it off to our local bodyshop for repainting (again, this is where a whole load of time management comes in). After all, detailing can rectify a multitude of sins, but there are limits.

When it comes to the wash stages, the most important thing here was to be extremely thorough. It's not just about shifting contaminants to make safe paint correction possible, the idea is to make sure every possible piece of grit and grime is removed to prevent it coming back to bite later. Extra care needs to be taken to cleanse all the panel gaps and crevices to reduce the risk of contaminants being blown out during later stages and interfering with correction or finishing processes. Of course, it also makes sense to follow all the swirl-free wash procedures here. There's no sense in letting poor techniques inflict even more paintwork damage that will need to be corrected later. That's a golden rule.
To prevent the chance of cross contamination, we always start with the dirtiest parts of the vehicle, but while this would usually be either the wheels or engine bay, with so many crew on the job, we could carry out both simultaneously… for the most part without falling over each other.

Cleaning The Engine Bay
While there were a few leaks, stains and a whole load of grimy bits, the engine was neither completely covered in oil or falling apart, which is always a pleasant surprise with a car of the modern classic variety. A quick application of Eradicate Engine Degreaser, agitated with Detailing Brushes, has enough cleaning power to shift extremely heavy soiling, so it made extremely light work of this particular bay. After a thorough rinse down - to safely remove the grime trapped in the Eradicate solution - any contaminants that could interfere with the rest of the detail were soon on the floor, exactly where they belong. A quick coating of Dressle All Purpose Dressing was enough for this stage… but naturally, we'd also carry out a few finishing touches too, at the end of the detail. We always go above and beyond.

Cleaning Wheels and Tyres
At the same time we could work on the wheels and tyres and, in this case, that involved getting them off the car. The reason for this is simple, taking off your rims will not only give you the best access to the inner arches, but the back of the actual wheels, too. These areas are usually way more contaminated than the faces, even when they appear clean.
The E36 M3 wheels Zach has fitted were in decent condition with regards to scuffs, in fact, at a distance they were free of general road grime. But, as with any detailing process you always need to look closer and it was clear that these were severely contaminated with ingrained brake dust, making it obvious that these hadn't seen a hard-hitting metal remover - like Iron Out Contaminant Remover - for quite some time. Other extreme contaminants were revealed on the inside (included plenty of sticky residues from wheel weights) so the job here is more one of decontamination, than general cleaning. This is exactly the reason we like to take wheels off as much as we can - rims are rarely as contaminant-free as they may seem on the outside.
Using a combination of Iron Out to chemically bleed out the ferrous metal deposits from the brake dust, along with Imperial Wheel Cleaner, the solution was brushed in vigorously using a selection of Barrel Brushes and Detailing Brushes. As you can see in the video, it's extremely important to cover every inch and get into every recess to ensure nothing is missed, otherwise you may have to revisit specific areas using more product and more water. For the sticky residues here, ObliTARate Tar & Glue Remover is the key to success, this product is safe on painted and powdercoated wheels and can be sprayed or applied using a microfibre cloth.
This kind of deep cleaning and decontamination process is one that can be carried out periodically, to purge wheels of the harshest contaminants before adding protection, rather than something that needs to be done during routine maintenance. Later we'd add ceramic protection, inside and out, using our Caramics Wheel Protection Kit. This will stop grime and brake dust from bonding, and make keeping them clean over the next 12-months easier than ever.
One final step to talk about (that we actually carried out at the same time), was to clean the tyres using Tread Tyre Cleaner and a Rubber Scrubber Tyre Brush. For this wet work stage, the inner and outer sidewalls were scrubbed and rinsed to remove any ingrained grime - with Tread that really is all it takes. Of course, just as we did, you can also go the extra mile here by cleaning out all the treads, it's perfectly safe to do so. We would need the wheels on to move the car into the bay in the meantime, so that's a little touch we'd carry out later, just before adding wheel protection and Satin Tyre Dressing (on the sidewalls only) to nourish and protect the rubber.


Cleaning Inner Arches
Again, the inner arches one area that can become far more contaminated than you may think. We're not just talking about the mud and general road grime, which is always a given for these areas, but sticky residues, brake dust contamination and ingrained dirt are all contaminants that can be removed effectively during a "wheels-off wash.' What's most important here is that your cleaning agents of choice will always reflect the level and type of contamination. Strong dilutions of cleaning products such as Verso All Purpose Cleaner or Dynamite Traffic Film Remover are useful here for shifting road grime and mud using an Arch Blaster Wheel Brush. Equally you can use ready-to-use cleaners like Tread or Eradicate to great effect. Ferrous metal deposits in arches and around chassis components (avoiding brake discs), can be taken care of with Iron Out. And, although we wouldn't normally recommend tar and glue removers on exterior plastics, ObliTARate does a great job of removing heavy tar in these areas. The most important consideration here is to ensure that any loose mud and dirt that may come back to ruin your detail later is gone. Even if you're not removing wheels and simply carrying out maintenance, always get in there with a cleaning agent and pressure washer and flush out as much as you can.

Exterior Wash Stages
Thoroughly pre-washing isn't just crucial for avoiding swirl marks and protecting waxes or ceramic coatings during routine maintenance, it should be carried out on every wash, even when you'll be polishing later. This will not only limit the defects you'll need to correct, but once again ensure that all possible traces of harmful grit, grime and dust have been removed and can't be blown out later to inflict damage in subsequent stages.
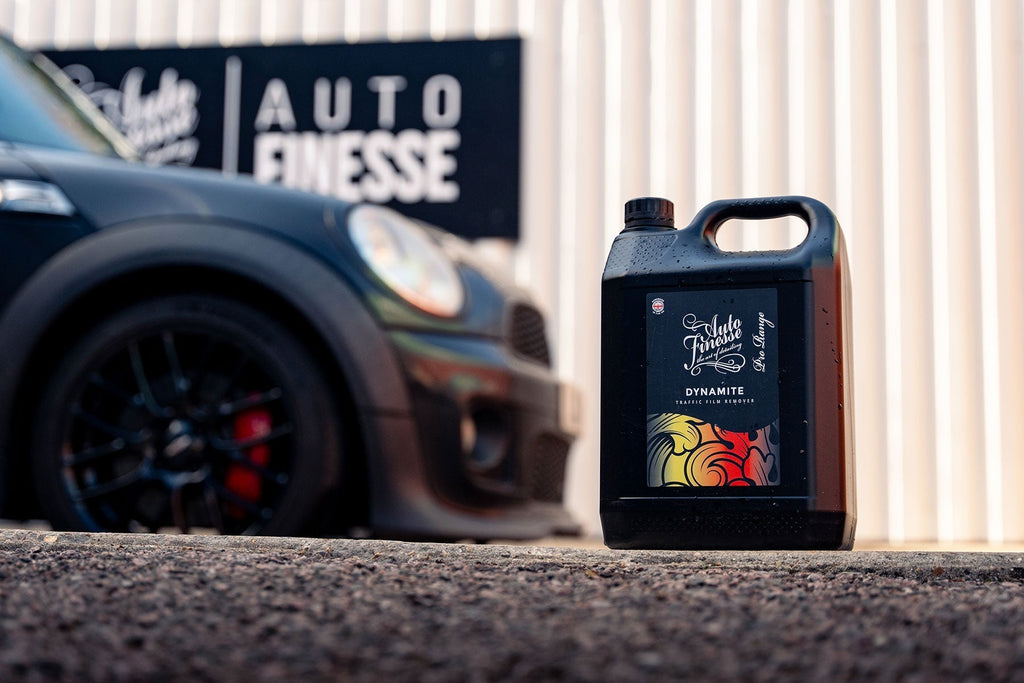
Pre-washing uses the same fundamentals no matter the detail. First a full rinse down to remove the loose soiling, making sure all panel gaps are flushed free of any loose particles. This will make sure that the pre-wash cleaner you use next is working on the actual bonded grime rather than dirt that you can blast away easily first. Cleaning agents, such as Citrus Power Bug & Grime Remover, Dynamite Traffic Film Remover and Avalanche Snow Foam, are designed to lift and encapsulate harmful particles allowing them to be rinsed away.
As you may have seen on the video, this time around we used Dynamite in a Snow Foam Lance, which just goes to show how much you can adapt products and processes for specific tasks. Here the lance dilutes and whips up the citrus-infused solution, ensuring maximum coverage and dwell time while we brushed into grubbier and more awkward areas such as door shuts, grilles, around badges and in the fuel flap, using a little Citrus Power for added bite. Using a lance also ensures that the solution finds its way into all the panel gaps, cleaning those, too.


Contact Washing
On to the contact wash, and as always this involves a thorough two bucket wash with Lather Car Shampoo, starting with the cleanest areas of the vehicle first. Again, the idea here is to prevent cross contamination, in this case dragging grime from a dirty area to a cleaner one, cutting down on the risk of inflicting damage. Here we start with the roof, windows, bonnet and upper sides, before moving on to the front bumper, lower sides and rear.

Decontamination
The crucial 3-stage decontamination process has been designed to remove the ingrained particles and contaminants that washing alone cannot eradicate. Safely decontaminating any vehicle requires specialist products, in this case Iron Out, to chemically react with, and safely remove, sharp metal particles. ObliTARate Tar & Glue Remover for tar and other sticky residues. And a Clay Bar (along with Glide Clay Lube) to physically pull organic and inorganic contamination - such as mineral deposits - overspray and protein deposits, out of the paint surface.
It's important to remove all of these contaminants prior to commencing any paint correction to fully prepare surfaces and prevent potentially damaging interference. You don't want to be dragging sharp, harmful particles around with your machine polisher.
The three processes are also extremely safe and straightforward as demonstrated in our article - How To Safely Decontaminate Your Paintwork. The only adaption here is that we utilised a Foam Lance to apply the Iron Out before agitating the solution with a Foam Applicator for added bite. Once again, this isn't a decontamination process to carry out on every detail, but merely to ensure the maximum product coverage this time around.


Polishing Prep
After drying thoroughly (using Aqua Deluxe and Silk Drying Towels) it was time for the car to go in the bay. Now, during the vast majority of detailing sessions the next step would be to tape up risky areas, ready for paint correction… but this is one of our big details, we were always going to go the extra mile or three, regardless of labour costs.
The truth is every vehicle out there, especially those of the more retro variety, will have a number of dirt traps that if left unchecked for years and years will build up plenty of grime that's impossible to reach during a more traditional detail. Unfortunately, the only way to get to these areas is by removing parts so they can be cleaned thoroughly. In most cases this is a trade-off between the risk of causing damage and available time. Some parts shouldn't be removed if there's a chance of breaking them or not being able to refit them, especially on cars where these parts may be hard to find. So, often it makes sense to simply tape up parts like side trims and badges. But others - items like lights, spoilers and grilles - can mostly be removed easily, and without a whole lot of specialist tools. Even on a car you have just washed thoroughly, you'll often be surprised at what you can find underneath.
As for cleaning away the grime? Well, that's far more straightforward, for the most part all that's needed is a relatively weak dilution of Verso, a detailing brush and a Microfibre Work Cloth or two.


Stripping Seats
Interiors are another area where a little stripping out can go a long way. Now, we're not saying it's time to take your dash out or remove the headlining, that would be time consuming, and a little bit silly. But, something as simple as removing the front seats when it's safe to do so, not only gives the best access to carpets and other areas inside, but it also means that they can be cleaned more effectively, and more easily, front and back. Think of this as the detailing equivalent of moving your sofa at home so you can vacuum the carpet and clean the cushions, there really isn't much of a difference.


Paint Inspection and Correction
After a whole load of stripping and taping you would think that the polishing could commence, but there's a couple of extremely important stages to carry out first - these are paint the inspection followed by a little testing. Using a Detailing Light and a paint depth gauge at strategic points around the vehicle, ascertains how much paintwork correction is needed, with regards to the severity of defects, giving an indication of the type of polish or compound and pad you'll need for machine polishing. But, it also tells a detailer if there's enough paint left to actually polish. Here is where we see if there's any areas of thin paint or blending from repairs that should be avoided for fear of burning through, or revealing hard edges. This is especially important on older vehicles where you don't know the history.
Full paint correction is all about levelling down the top surface to the bottom of the deepest defect, this is the process that makes the imperfection disappear. Obviously, some defects are deeper than others, and some are so deep that it would be too risky to level back the surface of the paint all the way, even more so on thin paint or clearcoat layers. This is where judgement and experience as a detailer comes in, we need to figure out what defects can be completely removed, and what will have to be rounded off making them less obvious to the eye. Generally speaking, you're looking at removing swirls and light scratches here, which only requires a few microns of clearcoat to be "cut' away with your abrasives (note that the clear coat or top layer of paint has to be there first). Deeper scratches, specifically ones that protrude through the top layer of clearcoat or paint, into the layer below, cannot be completely removed through polishing, but their appearance can certainly be reduced with the correct procedures and by using finishing products like Ultra Glaze Paint Glaze.


Testing
The final part of the inspection process includes compound testing. Here we try out a few combinations of abrasive and polishing pad - specifically working from the finest compound or polish up to coarser and coarser combos - stopping when the combo removes the defects effectively. The point of this process is to ensure that you don't go straight in with a coarser combo when it isn't needed - this will simply need more cutting stages and refinement to finish the paint down, wasting your time, product and taking away more of the paint layer that's actually needed.
In our case, a medium compound and pad (like our Revitalise No:2 Polishing Compound and Revitalise No:2 Pad) was enough for the cutting stage to remove the majority of swirl marks and defects on the BMW. This base combination of course, was slightly adapted to specific areas as we moved around the vehicle, stepping up to a coarser combo for any area where deeper defects were present. In some cases, a little wet sanding , followed by a 3-stage process (working down from coarse to finer compounds) was necessary to remove the harshest defects.
If you're wondering which compounds and pads we were using on the BMW, apart from the ones in our Revitalise V2 Range, a few are actually prototypes we have been testing for our brand-new Pro Range. If you don't recognise them now, you will pretty soon!

Cutting Stages
Once testing is complete, and you know the best combos to use for the job, it's time for the task of cutting the whole vehicle, covering every single inch of paintwork, often along with any gloss plastics. The time involved here is determined by various factors, including the hardness of the paintwork (how long it takes to effectively cut), the size of the vehicle, and the actual size and shape of each panel. Luckily, this is Auto Finesse and for the 328i we had all the top detailers on the job. The guys had the vast majority of the car complete by the end of the (very long) first day. Day 1 complete.


Day 2 - Refinement and More Cleaning
Starting with a little paintless dent removal (remember those parking dings?) courtesy of the guys at The Dent Men, Day 2 also saw the final cutting stages completed on the main body panels, followed by the final paint refinement.
Technically speaking paint refinement is the same as process as cutting, but using a far finer abrasive. This stage is designed to knock out any hazing, holograms and micro swirls caused by the previous cutting stages and is always the final part of any multi-stage correction where you "finish down' create a smooth surface that's flawless to the eye. Again, just like the cutting stage, it's a relatively time-consuming process, requiring our detailers concentrating on the task for most of the day.


More Cleaning
While the refining was taking place on one detailing bay, the rest of the crew could begin cleaning all the parts we had removed in another.
First up, the front seats, which were tackled using Hide Leather Cleanser and an Upholstery Brush. Again, once the majority of the obvious grime has been vacuumed away, parts like dark leather seats and steering wheels can appear to be relatively clean, until you actually get to work with a proper cleaning agent. When you see the remanence of dirt, dye and body oils on your microfibre, trust us when we say that it gives you a new perspective. Most of all though, remember that shiny leather is most likely dirty leather - and that Hide Cleanser can safely clean away the very worst, while still being kind and non-damaging to the surface underneath.


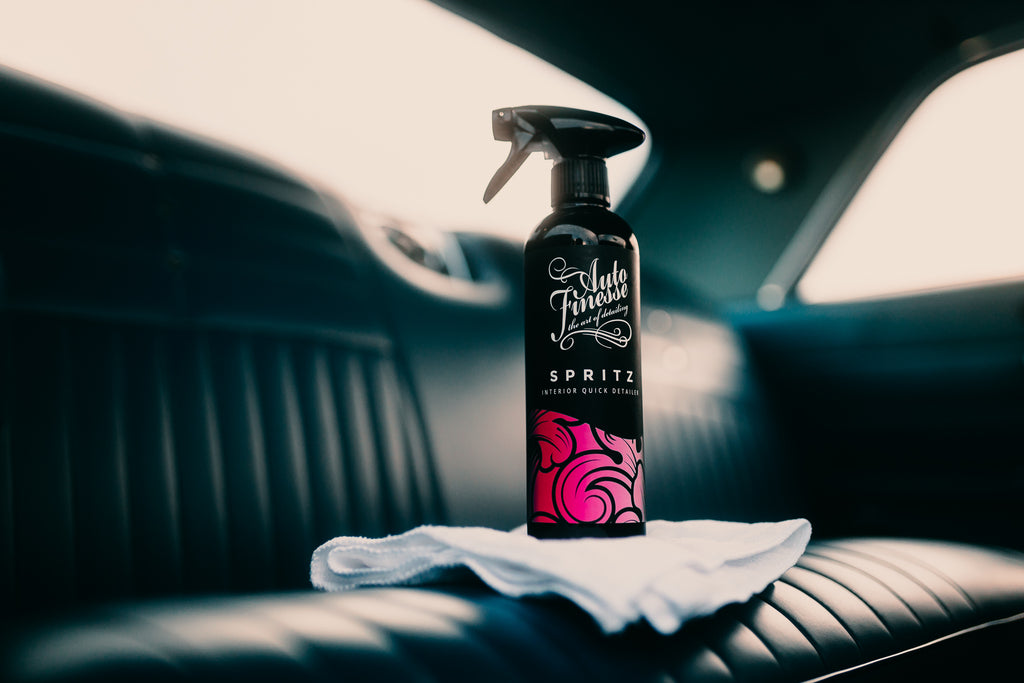
On to the rest of the interior. Never underestimate the power of a good vacuum on matts and carpets here, these areas are where you'll find the vast majority of the grime, and all that should be required after sucking up the loose debris is a little Total Interior Cleaner (we also used the Rhubarb and Custard variety along the way), followed by a little agitation and a wipe over. The Total will cleanse deep down in the fibres, breaking down and lifting ingrained dirt, allowing it to be wiped away with your cloth.
Some of the most commonly forgotten areas that act as magnets to grime and particularly odours are the seatbelts and the headlining. While in the video you can see us using Total Interior Cleaner and a steam cleaner, another effective method is using a spritz of Total on a fresh microfibre and gently wiping the surface (or spraying on directly without saturating the material). Don't forget to pull your seatbelts out all the way when cleaning, you'll find most of the odours get trapped in the reels.
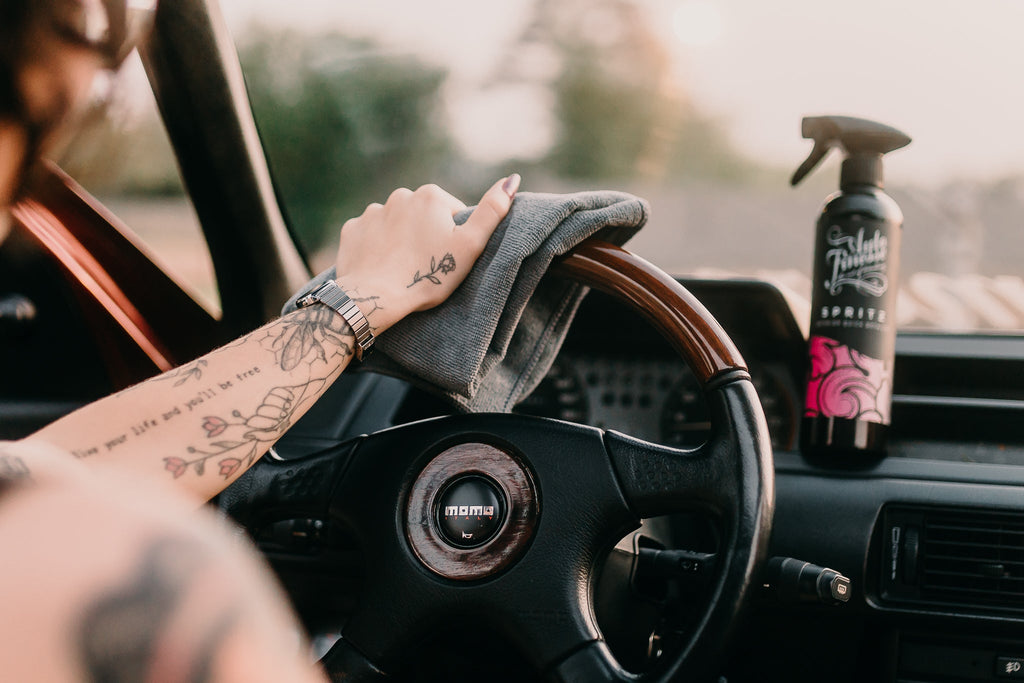
Other areas like dashboards, trim and steering wheels can be quickly and effectively cleaned with little more than a spray of Total, followed by a brush into the more awkward recesses, and a wipe.


Parts and Polish
Day 2 is also where cleaning of all the other parts could take place. Tired plastic arch liners, engine plastics and bumper trims were all thoroughly cleaned using Verso APC before being covered in a thick layer of Revive Trim Dressing. This is a great trick if you have the time available, when left overnight to soak into the pores of the plastic, this silicone polymer-based gel will enrich deep down into the material, restoring and darkening the original colour and extending the durability of the product.
In addition, machine polishing (or even hand polishing with Tripple All-in-One Polish) rear light lenses and side repeaters can make a huge difference to the final finish, these relatively soft plastics pick up swirls far easier than paintwork, but the good news is that the defects are relatively easy to remove, and you'll always be left with a fresh look that won't noticeably let down the overall finish next to your immaculate paintwork. For many this is what detailing is all about - finding the balance. It's far too easy to let one area let down the rest of your work… that's why we couldn't resist cleaning and polishing the OEM tool kit, too. The details really do matter.


Day 3 - Ceramic Coating & Refit
We'll be honest, we were well ahead of the game on Day 3. Not only had all the paintwork been fully refined, but we could get straight into the finishing steps… not to mention a few added extras.
First the tired headlights, initially we thought we'd simply machine polish the glass using Vision Glass Polish and a Microfibre Spot Pad on one of our MPX Dual Action Polishers. On closer inspection though, it was clear that the staining was mostly on the inner lenses, the inside was littered with the common problem of debris and bugs, and that these could benefit from being split and thoroughly cleaned inside and out using a combination of Verso APC and Crystal Glass Cleaner. Once this was completed, the lenses were machine polished, and the glass treated to a layer of ceramic protection, using our Caramics Glass Protection Kit. All in all, it's just one of those small jobs that can make a huge difference to the overall finish.


At the same time as all this we could add our ceramic protection to the exterior paintwork, using our Caramics Paintwork Protection Kit. Unlike more traditional coatings, we've designed our ceramic resin to be extremely easy to apply using impregnated Ceramic Resin Wipes. After thoroughly cleaning every panel with the supplied Prep Spray, these wipes are simply passed over the surface to transfer the coating to the paintwork. This then chemically bonds on a molecular level and, after the residue is buffed away, will offer up to 12 months of protection and extreme hydrophobic water behaviour. Everything you want from a coating, just in a single easy application.


In the same way, we used our Caramics Wheel Protection Kit to add durable ceramic protection to the inside and outside of the wheels. Once again, this kit has been designed to make application extremely easy for those of us working at home. This time the coating comes in a spray form that can be misted on, worked in with the supplied micro applicators, and buffed to remove any residue. It's a quick, simple and devastatingly effective way of shielding your wheels from the most harmful contaminants on the road. Again, a single application has durability of up to 12 months.

Day 3 also saw the final refitting of a multitude of parts, not least the front bumper, along with the seats and matts into the (now super-fresh) interior.
The plastic trim parts we prepared earlier were refitted and given a final treatment with Revive, just to finished them off. Where, during maintenance details we often use a few spritzes of Dressle All Purpose Dressing to quickly finish off plastic arch liners, when the wheels are off it's advantageous to use Revive to restore plastics as this silicone-based product offers a little more durability.

Once the tyres could be treated to a couple of applications of Satin Tyre Crème, offering a subtle sheen and a load of protection from the elements, the freshly coated wheels bolted back on. With that complete, so was Day 3 of the detail.


Day 4 - Refit and Finishing
The final day of the detail was all about those finishing touches and going the extra mile on finer details like polishing parts in the engine bay, refitting our ceramic coated headlights, and coating the exterior glass using our Caramics Glass Protection Kit. Once again, we've designed this ultra-hydrophobic coating to be super-easy to apply using impregnated wipes. Just polish, apply and buff away the residue - that's the beauty of Caramics.


Of course, this is also where we could take care of some of the non-detailing jobs that would potentially show up flaws in the final package - a new windscreen from the guys at Jay & Rob's Windscreens for starters. It goes without saying that this was also ceramic coated just as soon as their technician had bonded it in. The guys certainly didn't hang around.

You may also remember that we mentioned the 328i came to us missing an exhaust… and quite obviously we couldn't go bolting on a rusty standard unit anyway, that's just not how we roll.
Instead, we got onto our friends at Scorpion Exhausts earlier in the week and they kindly shipped out a whole new stainless-steel system, quite the upgrade we think you'll agree! We soon had that bolted on and polished up with a little Mercury Metal Polish, just for that ultimate finishing touch.

The last job of the day of course, was bolting on and wiring in the bootlid… but not before the detailers had the chance for some final refinement, and a spot of ceramic coating. You see, it is entirely possible to cut and refine brand new paintwork, even before it's had time to fully gas out, but it pays to be extra careful with the grade of pad and product you use, on your clearcoat. If you've got a fresh respray you're looking to refine to perfection, you can get more info in our specialist article - Detailing A Fresh Paint Job.


Day 5 - The Reveal
By the end of Day 4 the big detail was effectively complete, and all that was left was to see what Zach, the owner, thought of the transformation.
Just before the reveal, as you should with any detail (or any display car at a show), it pays to take a step back and double check that everything is 100%. Overnight you may have picked up a little dust, or a few fingerprints (just where do those come from?) so it's always a good idea to have some glass cleaner and a good quick detailer and in your back pocket for a quick and easy final wipe down. Just to make sure everything is tip top.
You can use Finale Quick Detailer and Crystal Glass Cleaner effectively here, or in our case, Caramics Gloss Enhancer and Caramics Glass Cleaner which are specifically designed to strengthen and extend the life of ceramic coatings. Although these products can install a degree of Ceramic protection on their own, they are also the perfect maintenance products for use with our range of Caramics coatings.

What with that lightning fast spot of maintenance complete, we were ready to reveal the car - and we think you'll agree that the results speak for themselves here… as you can imagine, and as you can see in the full video here, Zach was pretty chuffed. We even filled the boot with a whole load of detailing products to keep him going in the coming months.


So, that's the story of our latest Big Detail Competition, make sure you keep an eye out for more on our social media channels. After all, next time it could be you!


