


50 Top Detailing Tips
A full half-century of professional tricks and tips put together specifically to push your detailing to the next level.

 Skip to content
United Kingdom

Our car detailing products are designed specifically to provide professional level results, that's a given. But, we've always said that our range is also there to make life simple… for enthusiasts and pros alike.
Well, that got us thinking. What with professional enhancement details often costing in excess of £500, we can show you how to do the job for around half the price. And, even better than that, you get to keep all the kit for next time, too!
For this we've not only put together a full selection of our detailing products, containing everything you need for a full enhancement detail (and yes, that includes our flagship Machine Polisher, but also brought you a simple, step by step guide to set you on your way.
So, here we go, here's how to get the detailing results you need, in a day, and at the fraction of the price of calling in a detailing professional…
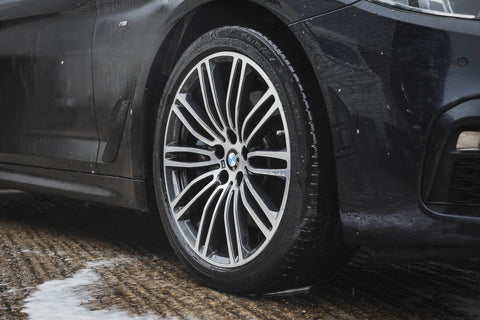
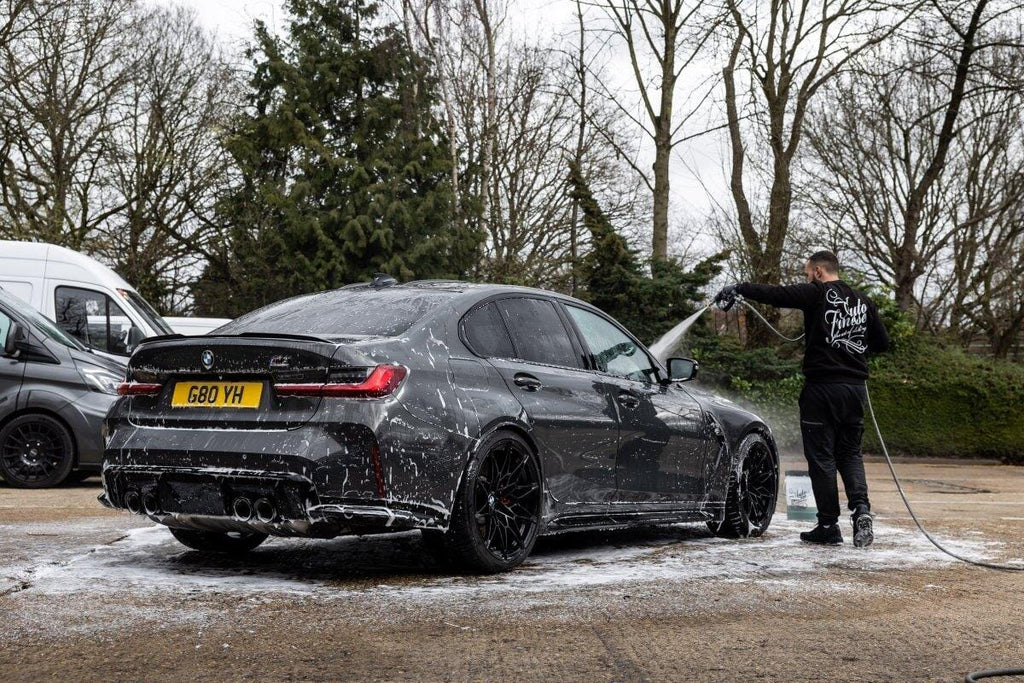
As with any detail we always clean the wheels first - they're the dirtiest part of your car, after all. Iron Out Fallout Remover is the perfect product here, it's not strictly awheel cleaner, technically it's a heavy hitting ferrous metal remover that's designed for use on paintwork. But, that said, it will not only chemically dissolve metal particles, like the ones you'll find in corrosive brake dust, it's also packed with cleaning agents that will lift away heavy grime, allowing it to be simply rinsed away. In other words, it can double up as a devastatingly effective wheel cleaner that's suitable for the odd deep clean and decon wash.
To decontaminate painted or powder coated wheels, simply spray on liberally, allow a few minutes for the product to dwell (but not to dry). You'll see that, as Iron Out reacts with metal, it quickly turns blood red and then, with those particles suspended in the solution, they can be rinsed away with your pressure washer.
For extremely heavy contamination, Iron Out can also be reapplied and brushed-into wheels with the Wheel Brush included, a little of the Lather Car Shampoo that comes in this particular kit (dropped into a bucket of hot water) can really help with the brushing here.
We've said it many times, you should always, always perform a thorough pre-wash before making contact with your car. This helps stop dragging any heavy soiling across your paintwork with your wash mitt, inflicting swirl marks as you go.
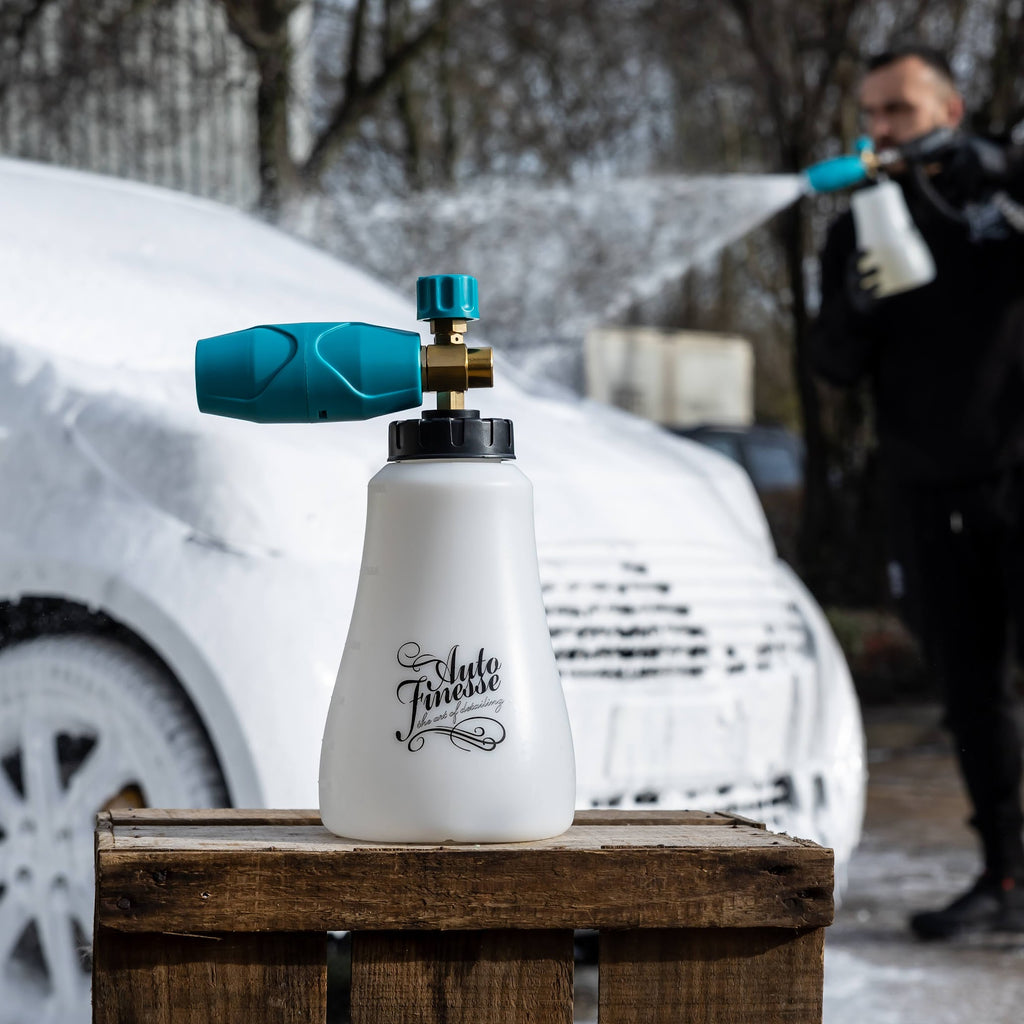
For the most effective pre-wash, you need a dedicated cleaner, too. This will help break down and lubricate heavy grime, making it safe to blast away with your washer. For this kit we've chosen Citrus Power Bug and Grime Remover, a powerful cleaner, but one that's safe on delicate finishes and won't strip protective layers, like ceramic coatings and waxes… not that it's a concern here of course, but it's good to know for subsequent maintenance washes. Just one of the reasons this legendary all-rounder has been in our top 10 most popular products for the last decade.
First rinse the whole car to remove any loose, heavy soiling and then spray on a liberal amount of Citrus Power. It's safe to use it over the whole car, but always remember to target the dirtier areas first - grilles, rear ends and bottom halves are a particular speciality.
After allowing the cleaning and degreasing agents a few minutes to get to work, you'll literally see the grime dripping away. You can then give all these areas a thorough rinse and move on to the contact wash.
Any detailer will tell you that there's a distinct art to performing the perfect contact wash… and not just the fact that you should always use two buckets - one for your car shampoo, and another for rinsing out your wash mitt.
The fact is that the process is easy when you know how, and it's all about cleaning away the rest of the grime, without inflicting swirl marks that you'll have to polish out later. First of all, the correct product is essential here, we use our signature car shampoo - Lather. Just a few capfuls of this pH neutral shampoo is enough to serve up serious foamy suds, for extreme cleaning power that easily lifts away grime. It's also packed with lubricants that are designed to allow this grime to slide, meaning it can slip off the surface without scratching.
As for the method, well that's important, too. The idea is to wash in straight lines, because avoiding circular motions also helps cut down on swirl marks. You always start with areas that have lighter soiling first (to prevent dragging dirt to cleaner areas), beginning with the roof, windscreen and side windows, continuing with the top half of the sides, the bonnet, front bumper, lower sides and finally the rear end. After that little lot, you can rinse away the Lather to reveal a reside-free surface.
OK, so technically we will concede that this could be seen at three steps, but each of the decon stages here is important to, bit by bit, eliminate any left-over or ingrained contaminants prior to machine polishing.
Iron Out fallout remover is up first, simply to dissolve any metal contaminants… just like it did on your wheels. Contra to what some may say, it's not just the arches and bottom halves that suffer from metal embedding itself into paintwork, what with all the hot brake dust flying about on the roads it should come as no surprise that bonnets, front ends and even roofs can be affected.
Luckily Iron Out is safe for use on all paintwork, bleeding out the metal, and allowing you to move on to further decontamination. You can also work it in with a microfibre pad or cloth, if a little more bite is needed.
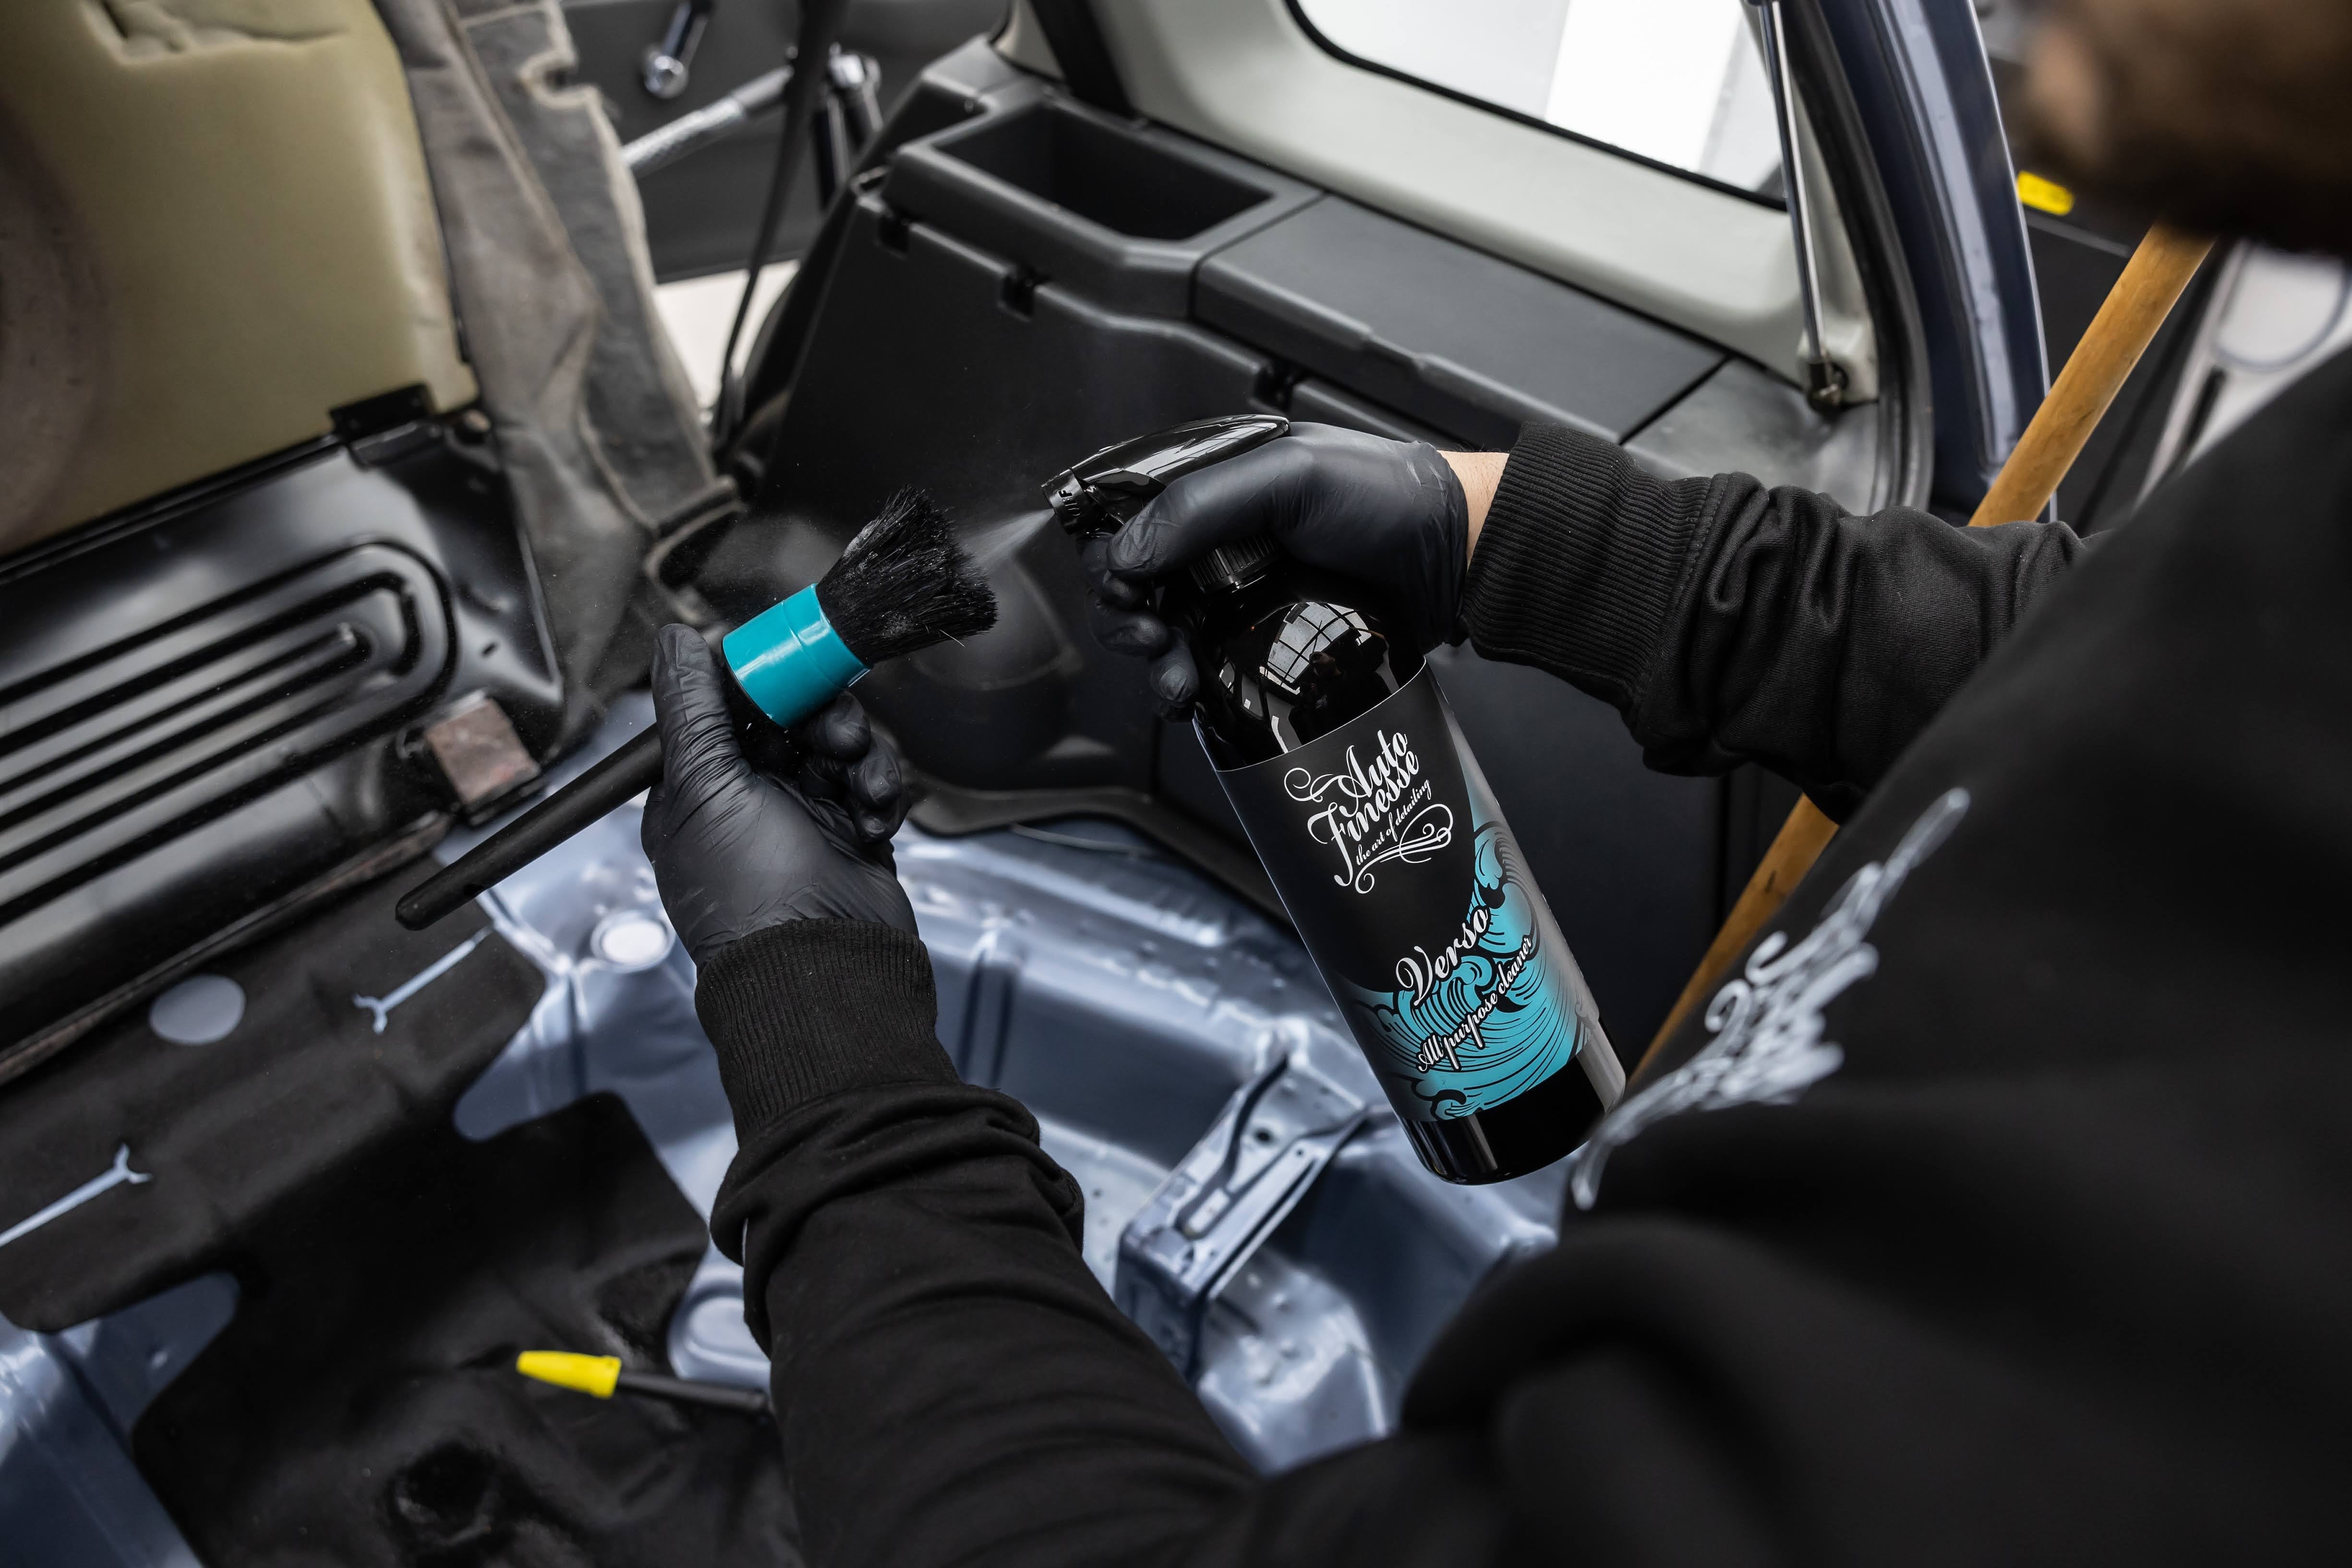
Using ObliTARate Tar and Glue Remover is the next step, this is to melt away any of the sticker contaminants that could have found themselves on the paintwork. It can also be used to eliminate patches of overspray and traffic cone rash.
ObliTARate is complex, solvent-based formula designed to dissolve residues and can simply be sprayed on, left for a few seconds (you can usually see residues bleed away) and then rinsed off. Again, you can use a microfibre pad or cloth, to wipe away more stubborn contaminants if needed, and it's best used on heavily contaminated areas that tend to pick up the most tar residues, particularly lower halves.
After using ObliTARate, it's important to re-wash those areas using Lather Car Shampoo, this will neutralise any left-over solvents, leaving behind a pH neutral surface, that won't break down your clay bar.
The final stage of decontamination involves using our Clay Kit, inside you'll find a bottle of Glide Clay Lube, and a Clay Bar, everything you need for final, deep rooted decontamination. Clay is the most effective way to remove the most embedded contaminants, including organic materials like tree sap and bird droppings. By lubricating surfaces with Glide and gently sliding a fresh piece of clay across the surface, you can release the most hardy encapsulated debris. It makes a huge amount of difference, too. You can actually feel it.
After claying every inch of paintwork, give the car one more rinse to remove any left-over lube, and you're ready to dry.
It's always important to dry your car after washing to prevent water spotting. Prior to machine polishing though, it's arguably even more important to make sure all areas are thoroughly dry, any drips will not only dilute your polish or compound, inevitably making a mess, but will also serve as extra lubrication between the paint and pad… not great for an abrasive!
Still, all this can be achieved quickly and easily using our super-absorbent Aqua Deluxe Drying Towel. Dry the whole car, and don't forget the door jambs, the bonnet shuts and behind door handles and mirrors - all the places where water could drip out later. After this you can then mask up any rubber or plastic trim that may risk coming into contact with your pad when machine polishing.
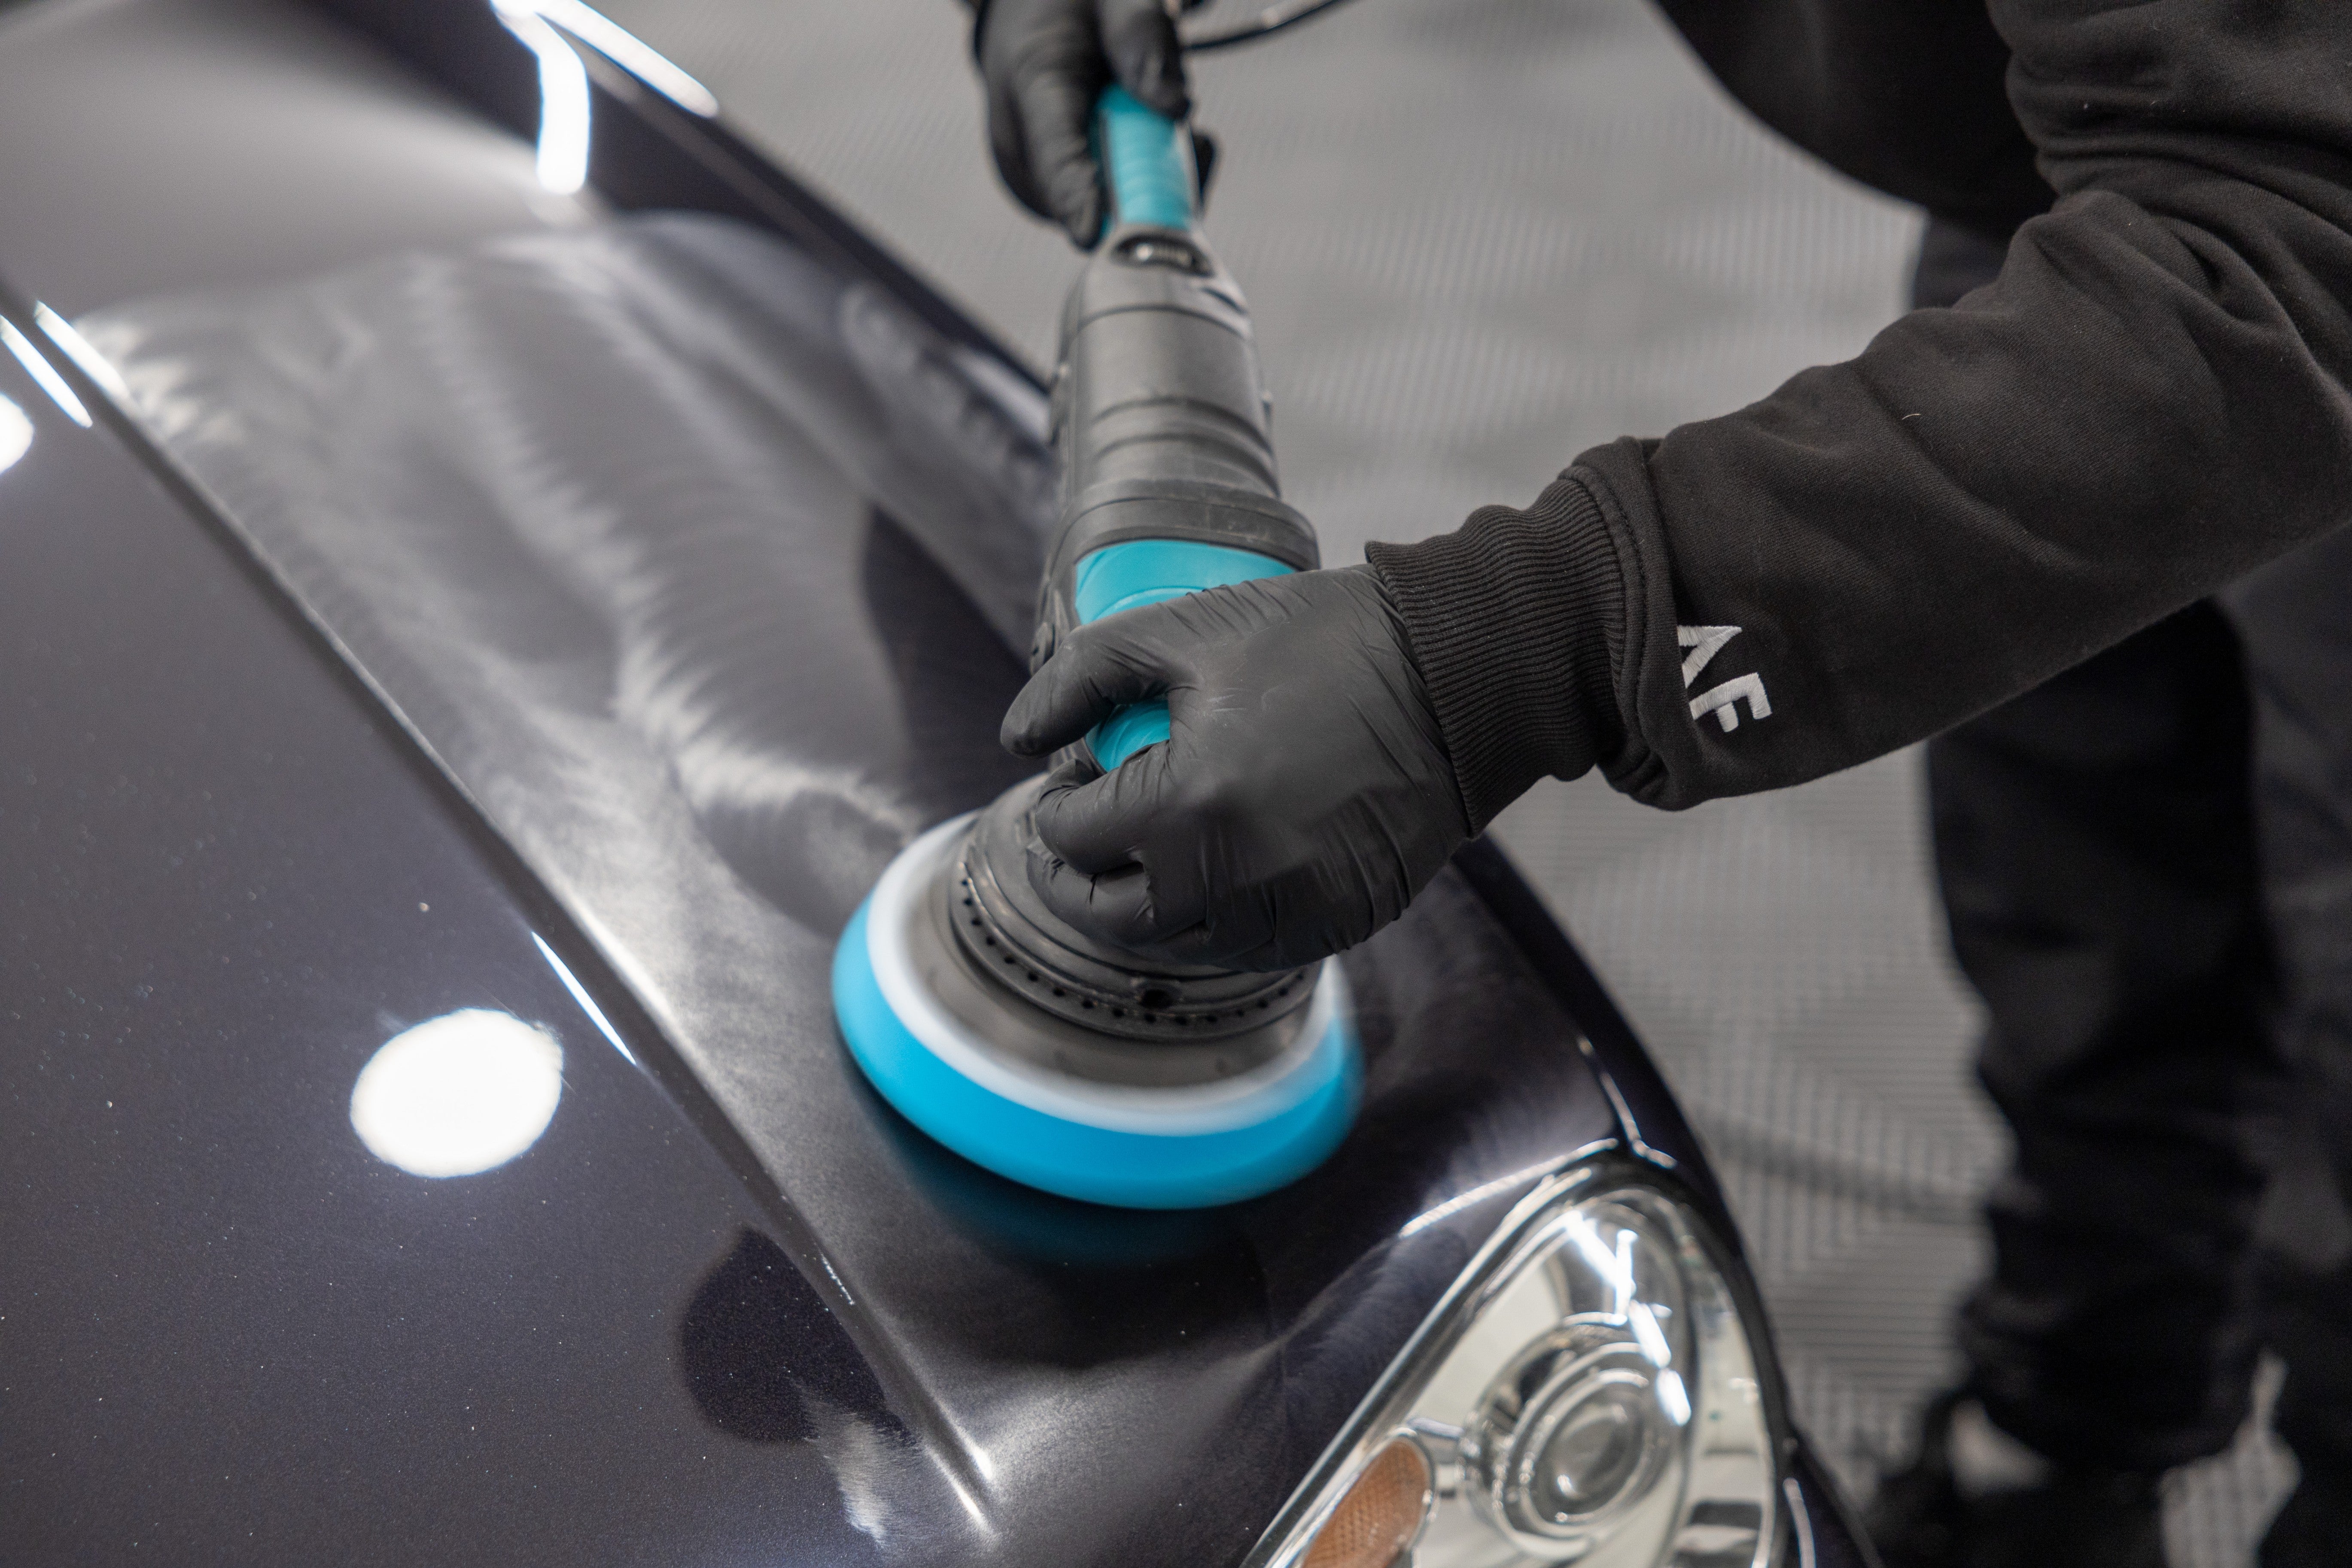
That's right, we said machine polishing, and that means that we've not only included a bottle of our One Step All-In-One Compound in our comprehensive kit, but one of our DPX Dual Action Polishers, too.
Now obviously, our DA Polisher is the ultimate tool in any car detailing arsenal, the random orbital action can deliver professional results in the hands of any enthusiast. But, One Step is also pretty special, and has been specifically formulated for use with dual action machine polishers and our medium, Revitalise No:2 pad… which is also included here, naturally.
Before you start, it's vital to give your pad a couple of spritzes of Pad Prime, this will eliminate any chance of the new foam scrubbing.
You can then move on to using One Step, which is unlike any other product on the market. As the name suggests, One Step is an all-in-one compound that can restore paintwork and remove swirls all in one step. It actually starts cutting as a course-medium compound, but the special diminishing abrasives break down as you work - literally smashing themselves into smaller and smaller particles. This has the effect of One Step becoming more of a fine refining compound, getting you a near perfect finish, without the need to change compounds and pads along the way. It's the true finish you see after use, too. There's no fillers here.
One Step should be used over an approximate 2ft x 2ft area at a time, and it's simply a case of making sure the abrasives are worked all the way through, by completing multiple passes.
Apply 3-4 small drops to the pad, and (on speed setting 1) spread the product over the area. After switching to speed setting 4, you can work the product in, with light pressure, in a crosshatch motion. You need to do this slowly, making two passes of the entire area in around 5-minutes. Around this time the product should go clear as it's worked through.
Now it's important to clean your pad of excess product, this will prevent clogging on the next two passes. Press the Pad Brush into the pad and (away from the car) let the machine polisher run to clean out dried product.
Return to the area and, on speed setting 3, make your final two slow passes, this will make sure the compound fully breaks down. Finally buff away any residue with a fresh microfibre cloth.
When you're happy with the finish, move onto the next 2ft x 2ft area, and continue the process around the car.
It's easy to see the difference One Step makes when it comes to eliminating swirl marks. Your paintwork will be transformed from this…
To this…
Once you've completed your One Step process on all panels, you can move on to our very own master multitasker - Tripple All In One Car Polish. This is to further refine the paint and leave behind a high gloss finish. Again, application with machine is preferable here, so working with your Revitalise No:3 Pad, apply 2-3 coin sized drops and work into an area approximately 1.5ft x 1.5ft at speed setting 3.
Work over the area, with light pressure, in overlapping horizontal and vertical passes. This process should take around a minute per set, and the residue should turn clear.
After this you can remove the residue and buff with a fresh microfibre cloth (note, not the cloth you previously used for the One Step stage, use a different colour from your Work Cloth Trio pack. The different colours are not only pretty, but they're handy for easy identification, too).
For the more awkward areas, like around bumper recesses, pillars, grilles and anywhere else that's too small to use the DPX machine, hand polishing is the best option.
Use your Microfibre Applicator to work Tripple into the surface with medium pressure and let the product dry to a haze, before buffing off with your cloth.
Tripple is enriched with carnauba wax, so while it will already leave behind a layer of protection, it also makes the ideal base for the next step…
Our final step of the day is adding even more protection, this almost goes without saying after achieving such paint refinement in the previous stages, right?
For our exclusive kit we've chosen Radiance Carnauba Crème, which is not only effortless to use, but offers a durable layer that last for up to 3 months. Packed with T1 carnauba wax, Radiance offers the sort of finish associated with our signature hard wax collection, only with a special "easy on - easy off' formula.
Flip your microfibre pad (simply flip over the elastic) from the Tripple side, and apply Radiance to the whole car, before buffing off with a fresh cloth to an amazing finish.
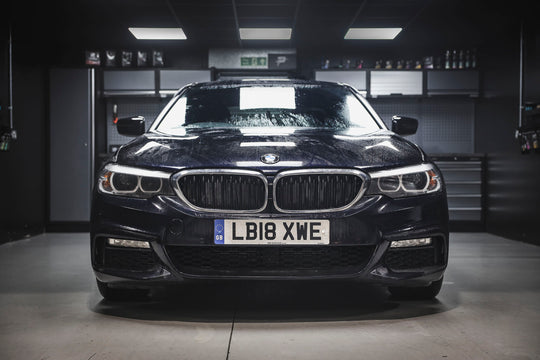
Another final step? OK, strictly speaking this isn't a step, but you're going to want to do it anyway. It's time to marvel at the results…