50 Top Detailing Tips
A full half-century of professional tricks and tips put together specifically to push your detailing to the next level.
 Skip to content
United Kingdom

Upon buying a brand new car, you're going to want to protect it. And if you get that initial detail right first time you'll get a good protective barrier going from the off. We had this new Volkswagen Golf R come into the Auto Finesse Detailing Academy recently and thought we'd take you around its first ever professional detail.
First up was the wheels. Whether you're super intricate and remove the wheels to detail them separately or not, the wheels will always be the first thing you tackle with any vehicle detail, pure and simply because they harbour the most grime. We started off by covering the entire wheel face, including barrel, callipers and tyres with Imperial wheel cleaner and left it to dwell for a few minutes in order to loosen any built-on grime. If you've taken the wheels off, these will be done separately. We then used a variety of agitation tools such as our large barrel wheel brush, detailing brush trio and wash mitt to really get in every nook and cranny of the wheel, making sure they received a real deep clean. As you'll also have soaked the tyre wall in Imperial wheel cleaner, you'll also contact clean the tyre wall at this stage, too. Repeat this same process to each individual wheel.
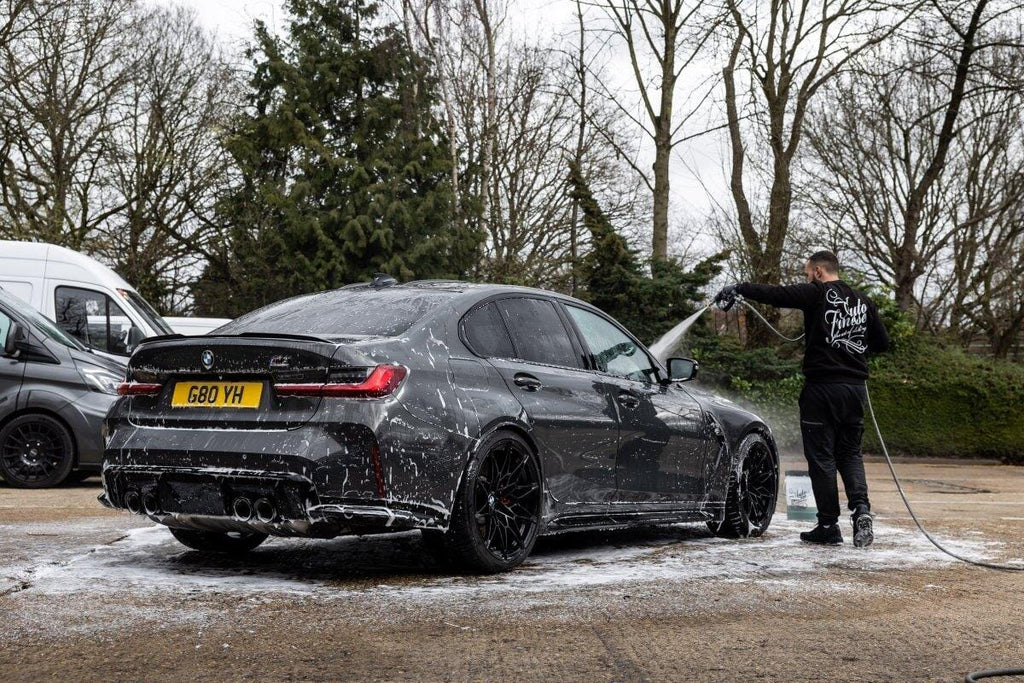
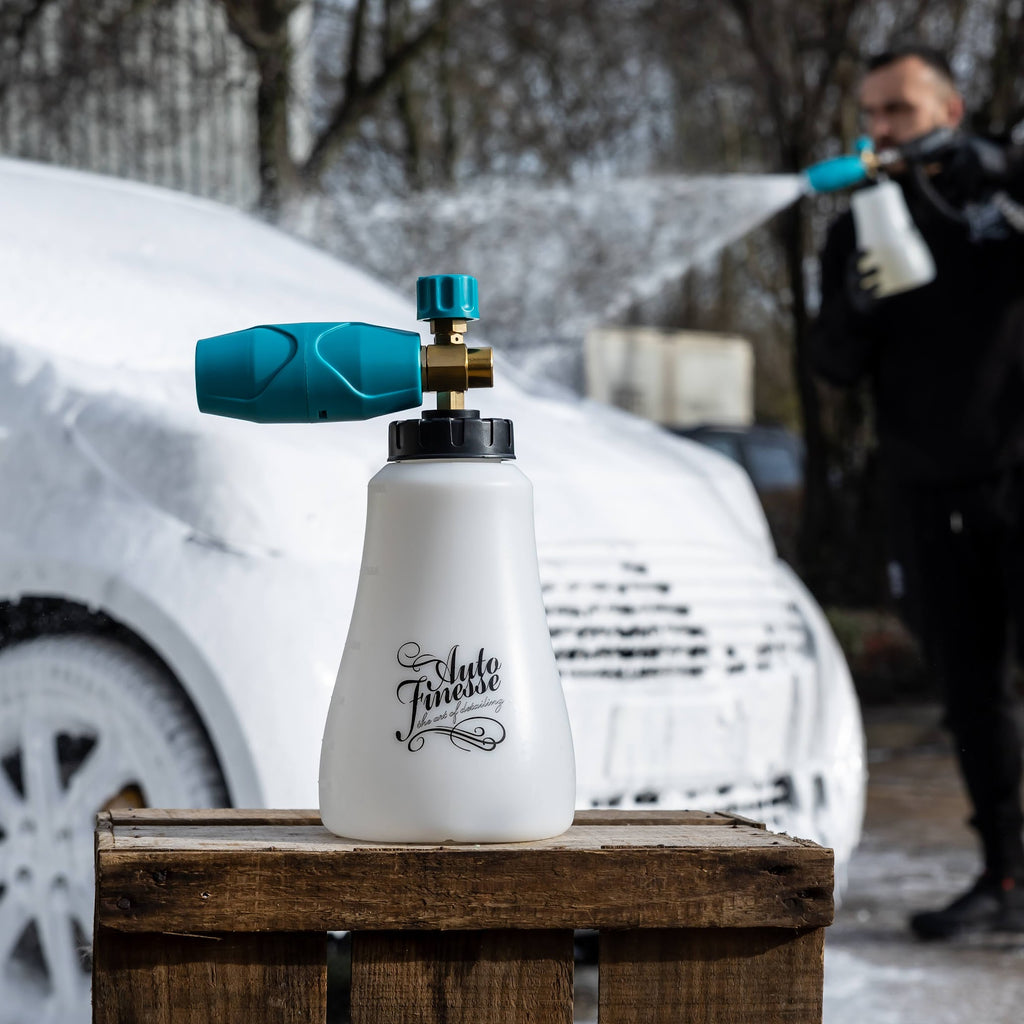
Wheels cleaned, we moved onto the bodywork. Before you have any physical contact with the vehicle, though, a pre-wash cleaner is always required. In this instance, we used our specialist Avalanche snow foam formula. This stage is especially important because the majority of paintwork swirls and scratches are caused at the contact wash stage.Snow foam helps to break down a further 50-90% of road grime present. We mixed in the desired amount to part water in a snow foam lance and covered the entire vehicle from top to bottom, leaving it to dwell for as long as possible. Be sure to rinse it off before any drying of the product starts to occur. Our snow foam contains our infamous Citrus Power bug and grime remover, however, you can spray this on separately for extra bite in areas such as lower panels and the front bumper and number plate recess (and anywhere where bugs are prone to splatting). At this stage, while the snow foam is working and while keeping an eye out for it drying, it's an opportunity to go over grills and panel gaps with a specialist brush together with a few added spritz' of Citrus Power.The Golf is then rinsed off and looking pretty free of any loose debris, so next up was the contact wash stage. Using the two bucket method, we diluted our Lather car shampoo into one of them, foaming it up in the bucket using a pressure washer. The remaining bucket was then filled with fresh water for rinsing off the mitt. Dipping a deluxe mitt into the Lather bucket, we then took the freshly shampooed mitt to the bodywork. Working around the vehicle in the following pattern; roof, bonnet, upper wings, upper sides/doors and quarters, front bumper, rear, before swapping to a microfibre mitt that we used exclusively on the lower/grubbier areas around the vehicle. Basically working from the top of the vehicle down and focussing on a panel at a time, before going back to the fresh water bucket to rinse off any collected dirt that might be in the mitt. Re-dip into the shampoo bucket and repeat until each panel is complete. Dipping and rinsing after every panel ensures you only ever use fresh clean shampoo on the vehicle. Wash every aspect of the bodywork, including windows, roof and any plastic trims etc. Finally, we thoroughly rinse the vehicle with a jet wash.
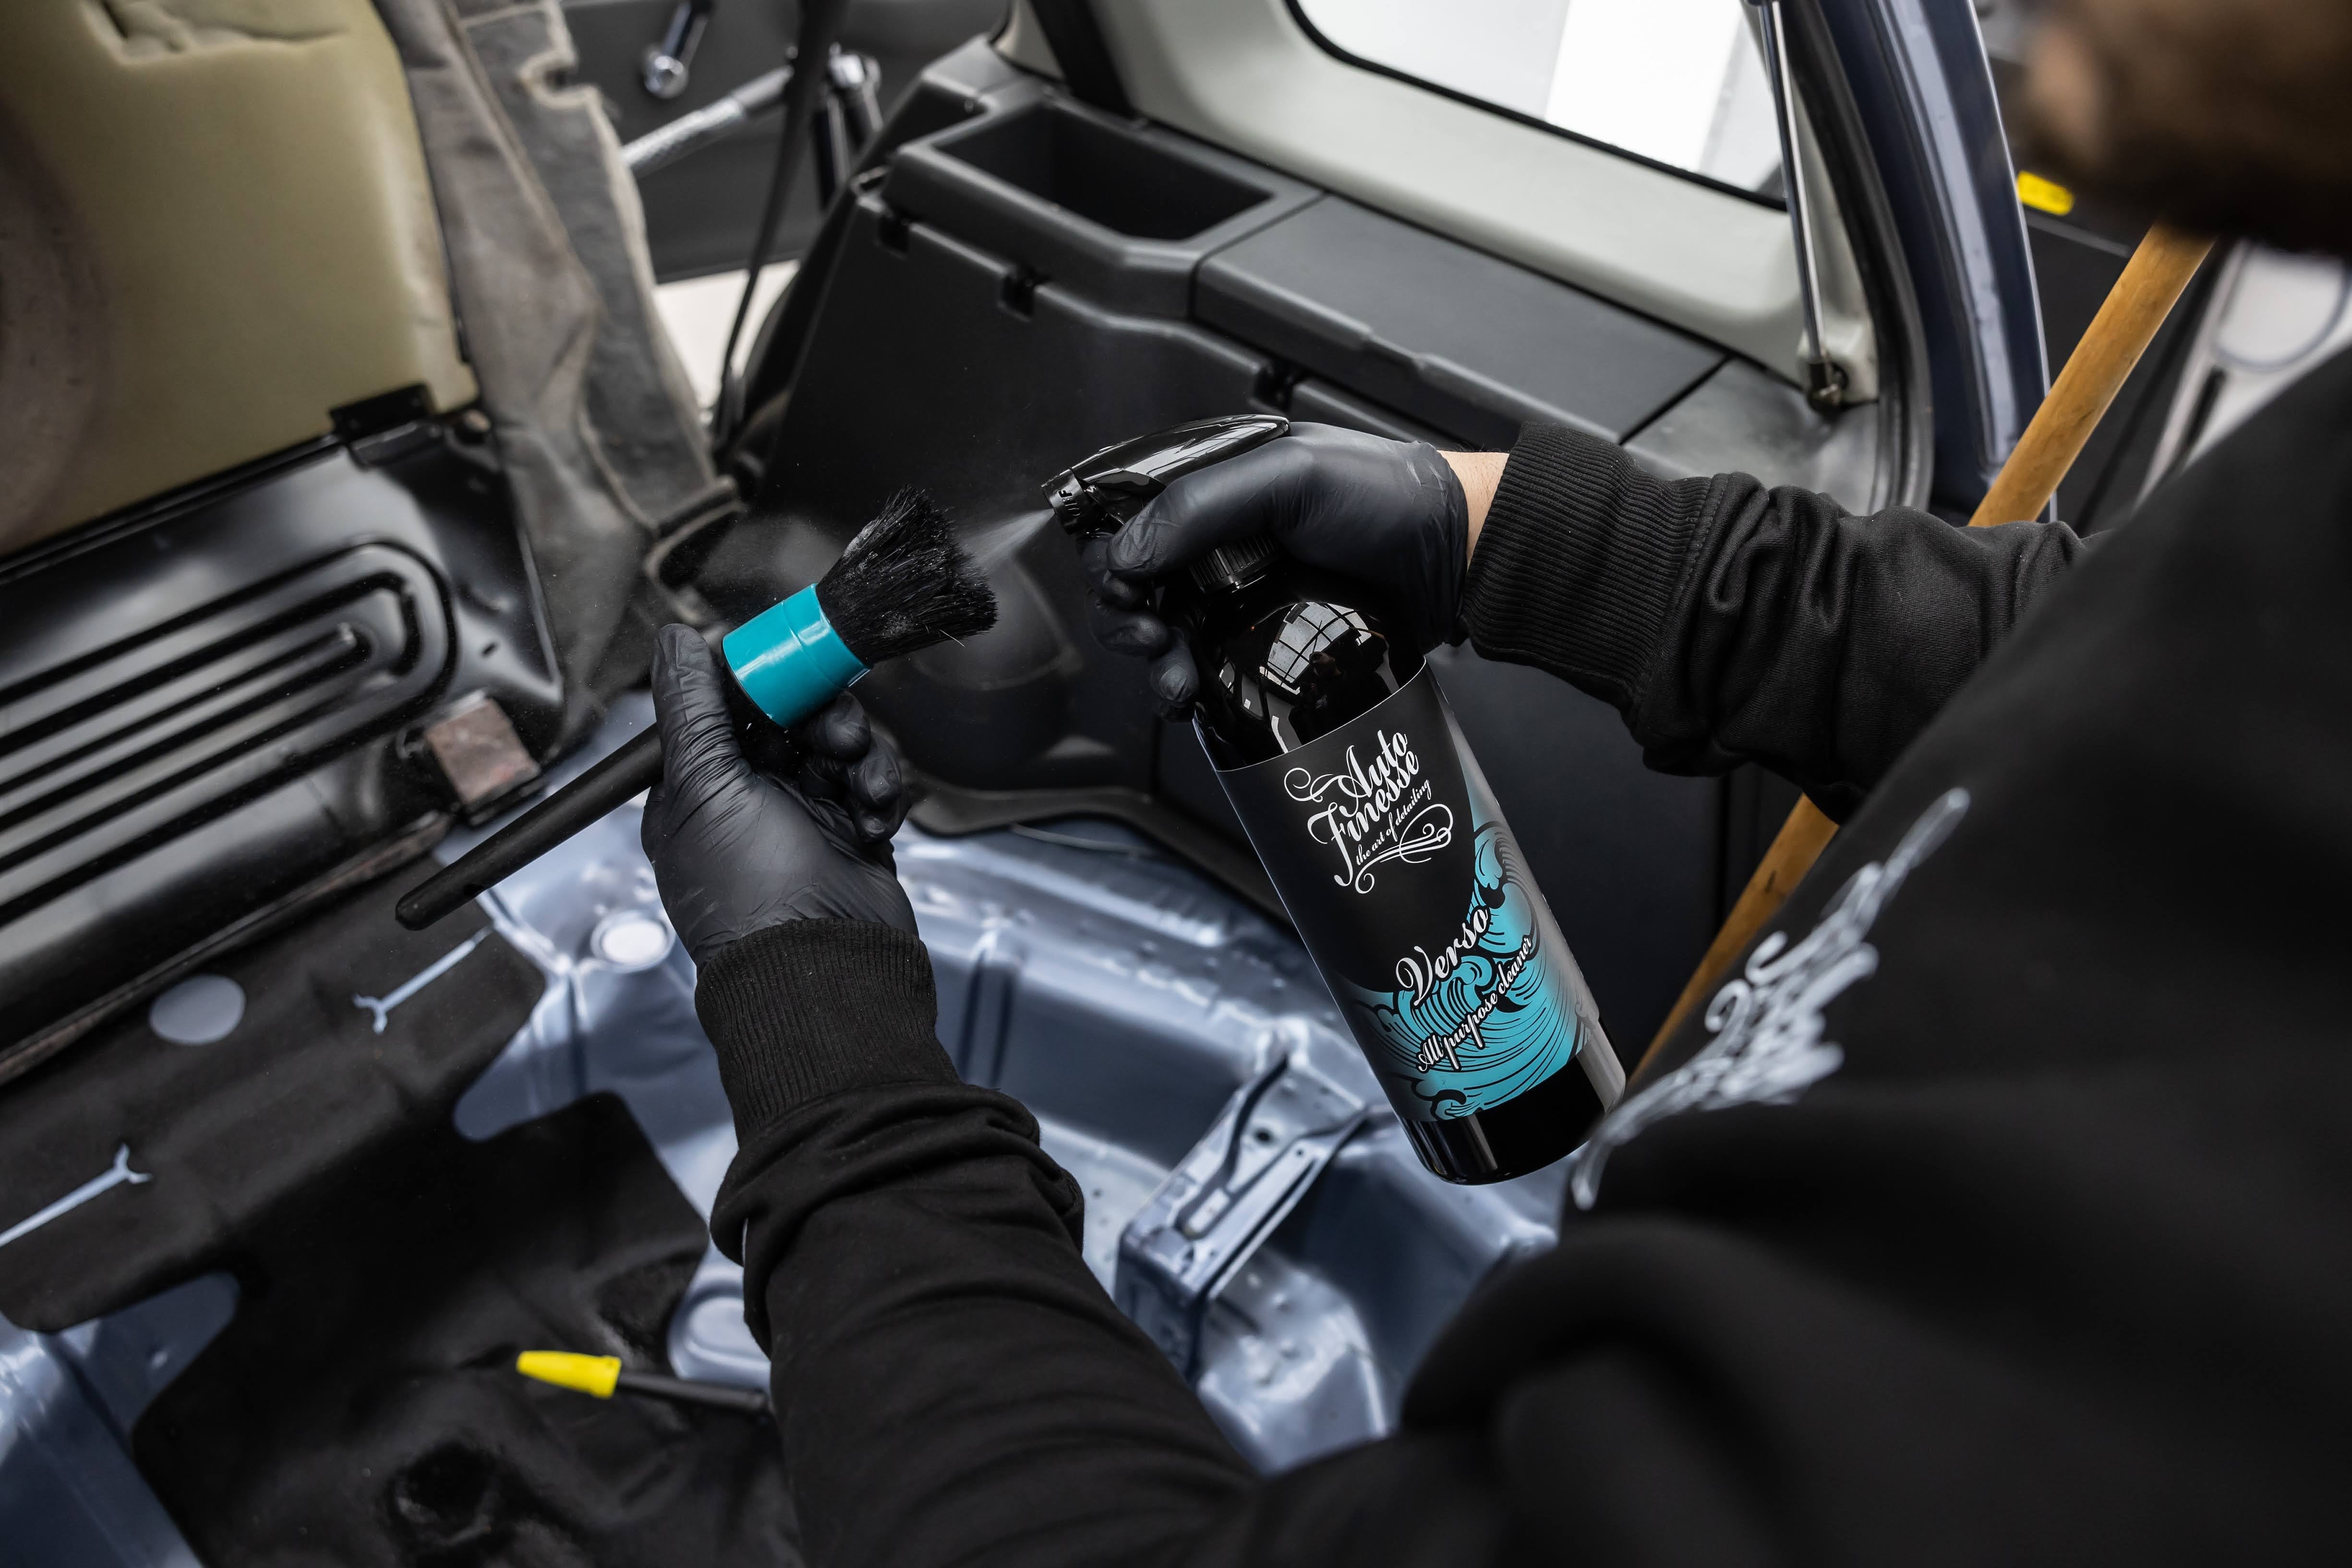
With the car still wet from the wash and free of any car shampoo residue, we set about ridding any bonded contamination from the paintwork. Firstly, we sprayed the entire vehicle with our Iron Out iron fallout remover - this dissolves any ferrous contaminants that are present. It is best to dissolve these as opposed to removing them with a detailing clay bar as they are amongst the sharpest type of contaminant found on a vehicle, and removal with a clay bar can lead to these sharp contaminants being dragged across the paintwork causing fine minor scratches known as "marringʼ. Once the car is covered, an AF top tip is to pay particular attention to the upward facing panels along the rear and sides, lightly agitating Iron Out with a microfibre or foam applicator. Using ObliTARate tar and glue remover, it's time to dissolve another of the commonly-found contaminants stuck to our vehicle's paintwork - tar. More often found gathered along lower panels and behind wheels, simply spray ObliTARate tar and glue remover onto the lower half of the car and leave to dwell for just a couple of minutes before wiping away with a microfibre cloth. Now it's time to rinse and re wash the areas that have been treated with the tar remover to avoid it interfering or dissolving the clay bar used in the next stage.
The clay bar. Clay baring your paintwork is a vital step in detail preparation and it's important to carry this out meticulously. Working in straight lines, and using plenty of Glide detailing clay bar lubricant, work in small areas of approximately 400mm x 400mm; in the same order we carried out the wash stage; so, uppers, top sides, front bumper, back, and lower sides. Once complete, we performed a final rinse down of all surfaces to remove any clay lube that had been left behind. We finished the wash stage by drying the vehicle thoroughly, inclusive of any gaps, grills and door jams to avoid any drips and dried on water marks. Upon all the wet work having been completed, we then moved the car from outside and into the bay to give it a healthy coating of our specially-formulated Rejuvenate pre-wax cleanser in order to prep the paint for the next stage.
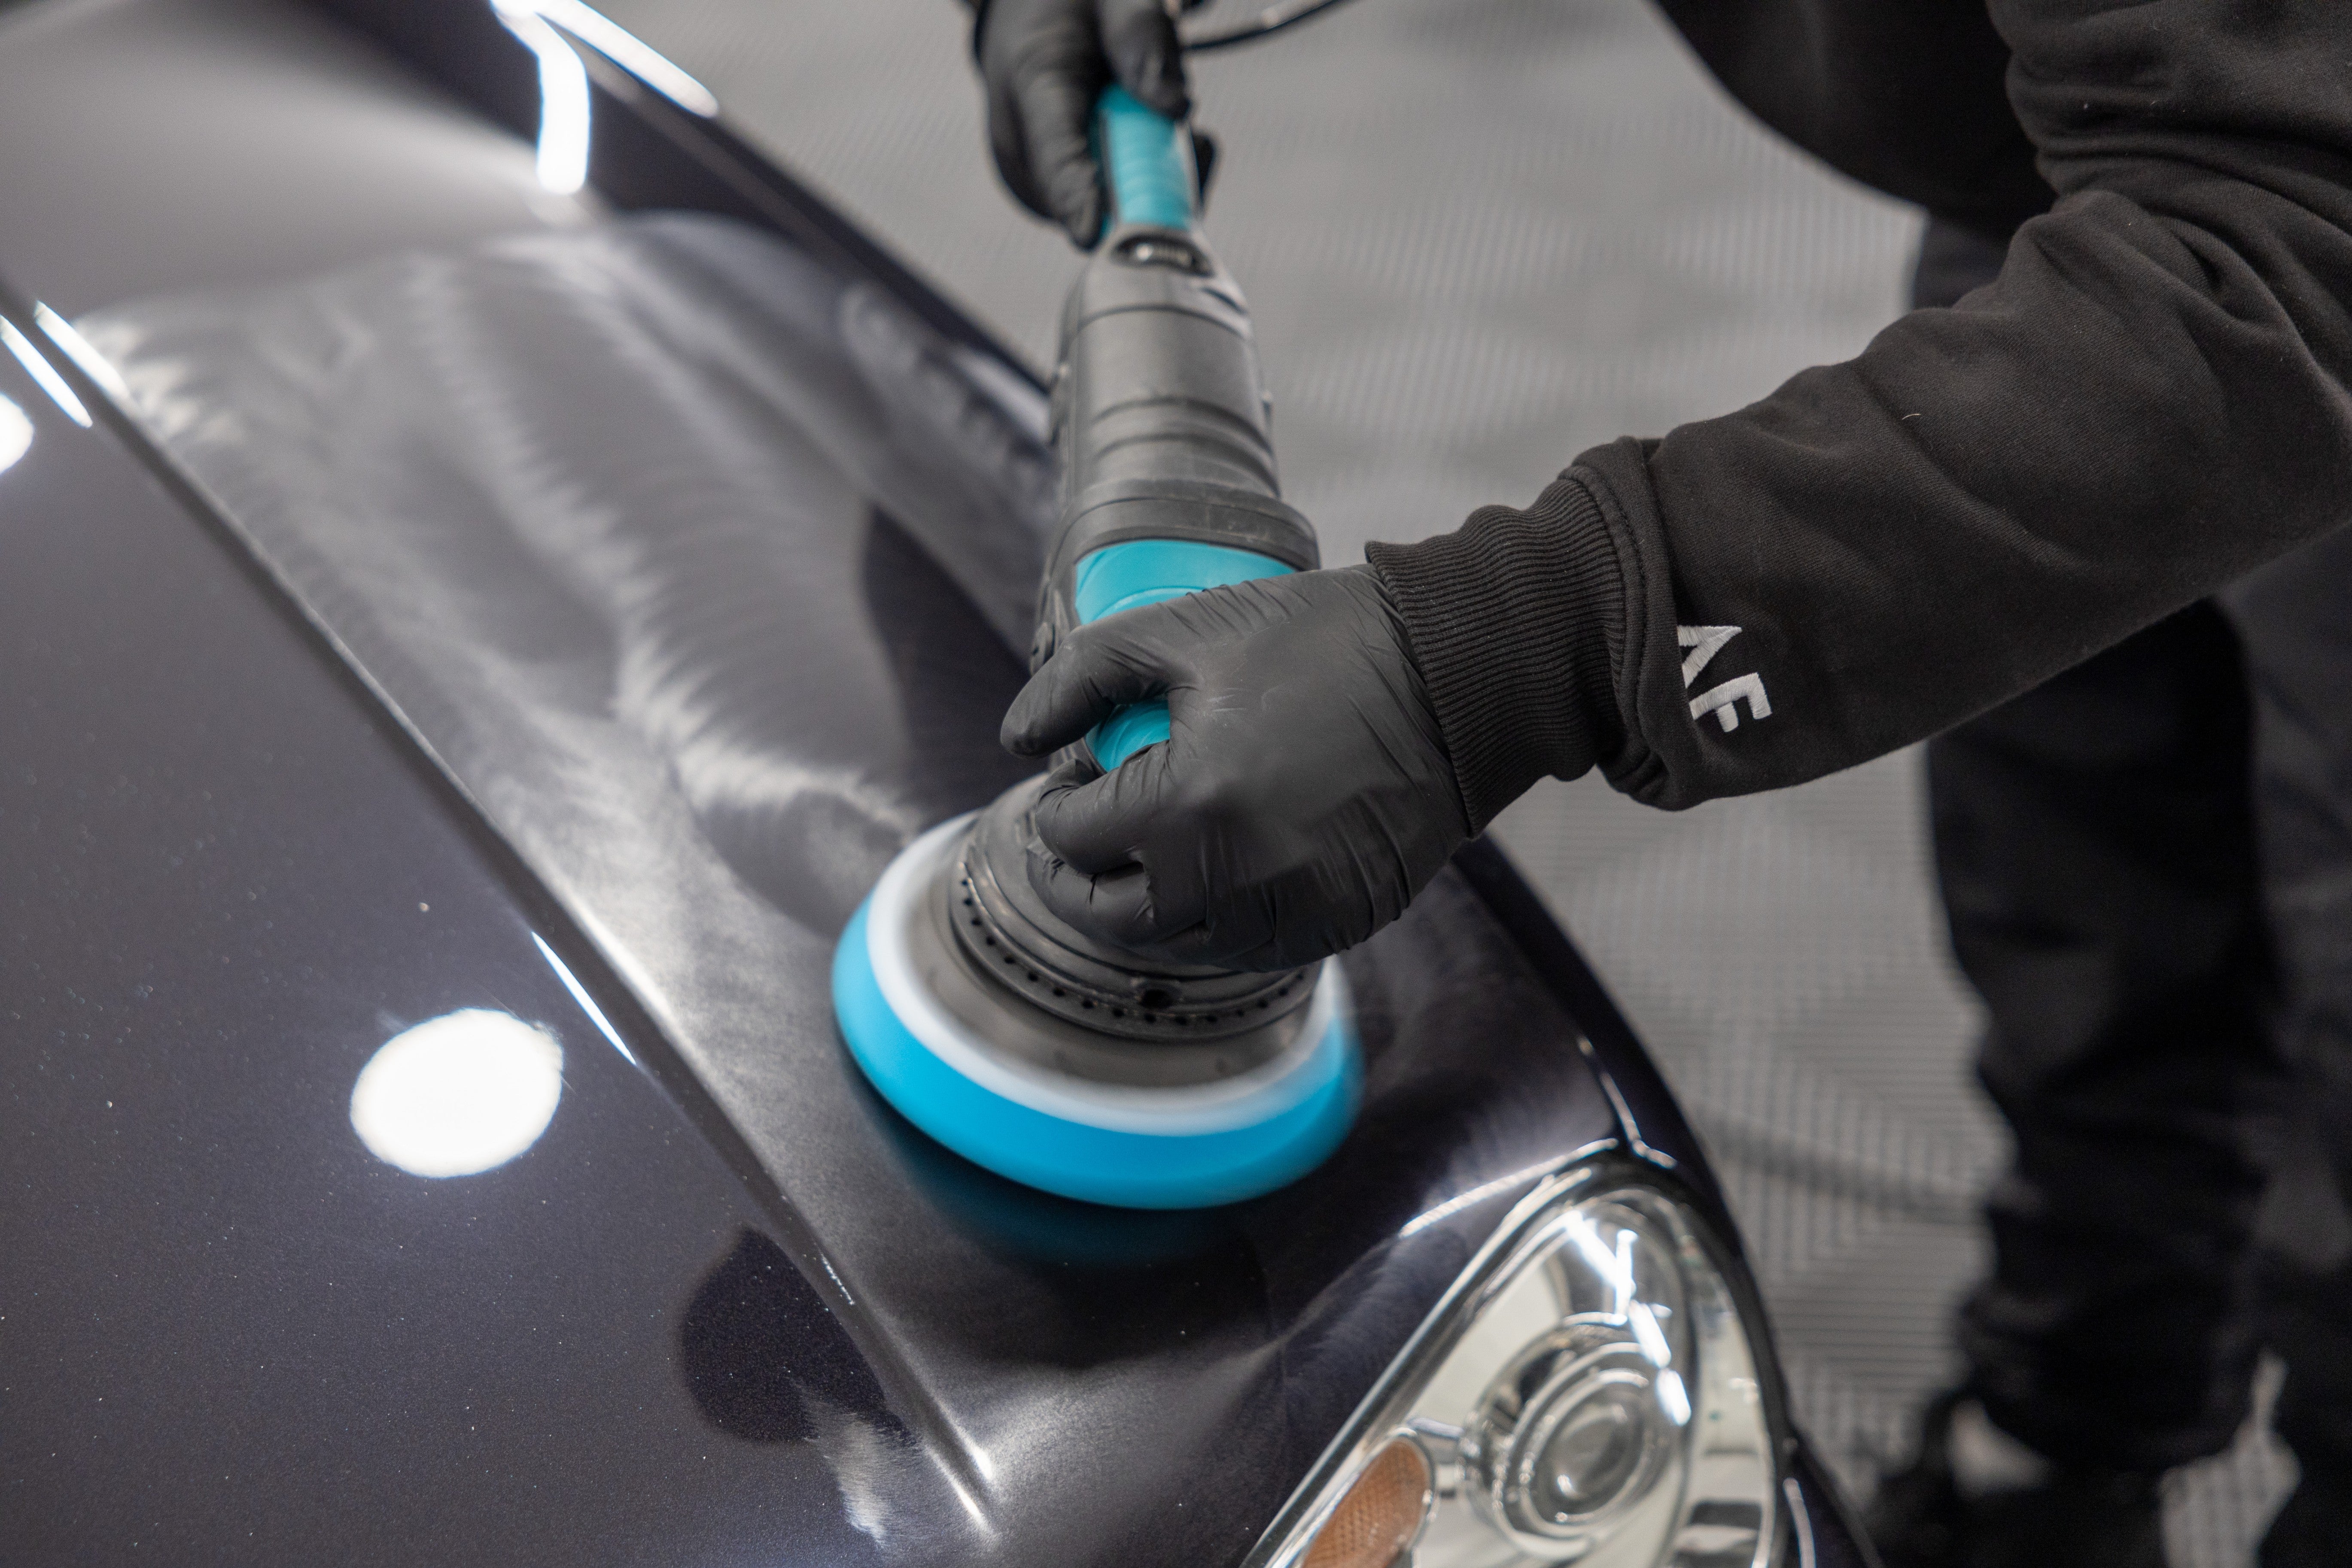
The next and final stage of our detail is protection. There's almost no point in doing all the aforementioned work if you're not going to try and protect and maintain the finish. So we set about applying our new individual Caramics ceramic coating kits for the paintwork, wheels and glass. All Caramics kits come with fully detailed instructions on how to use, making it a super easy final stage. In the paintwork protection kit there's a pair of gloves you'd be wise to put on first, prep the area with the included prep-wipes and follow using the included ceramic resin protective wipes. For the wheels, use the prep spray followed by the wheel coating spray for the ultimate in wheel protection. And for glass, you'll find an included residue remover that must be applied ahead of the glass polish. Failure to complete all steps will result in a diminished performance and ultimately reduced protection from the elements.
Once all protection is complete, finish off your detail with a few finishing touches such as dressing the grills and plastic trims with a good all purpose trim dressing such as Dressle and don't forget to finish off your tyre wall using a good quality tyre dressing such as our Satin crème.