50 Top Detailing Tips
A full half-century of professional tricks and tips put together specifically to push your detailing to the next level.

 Skip to content
United Kingdom


When it comes to cleaning your engine bay, it's important to take care and to use the correct detailing products in the correct way. Engine bays come in all shapes, sizes and layouts so it's important to know your bay and where to mask up. We used an Aston Martin DB11 V8 for this clean because the engine bay has a lot of areas where grime builds up.
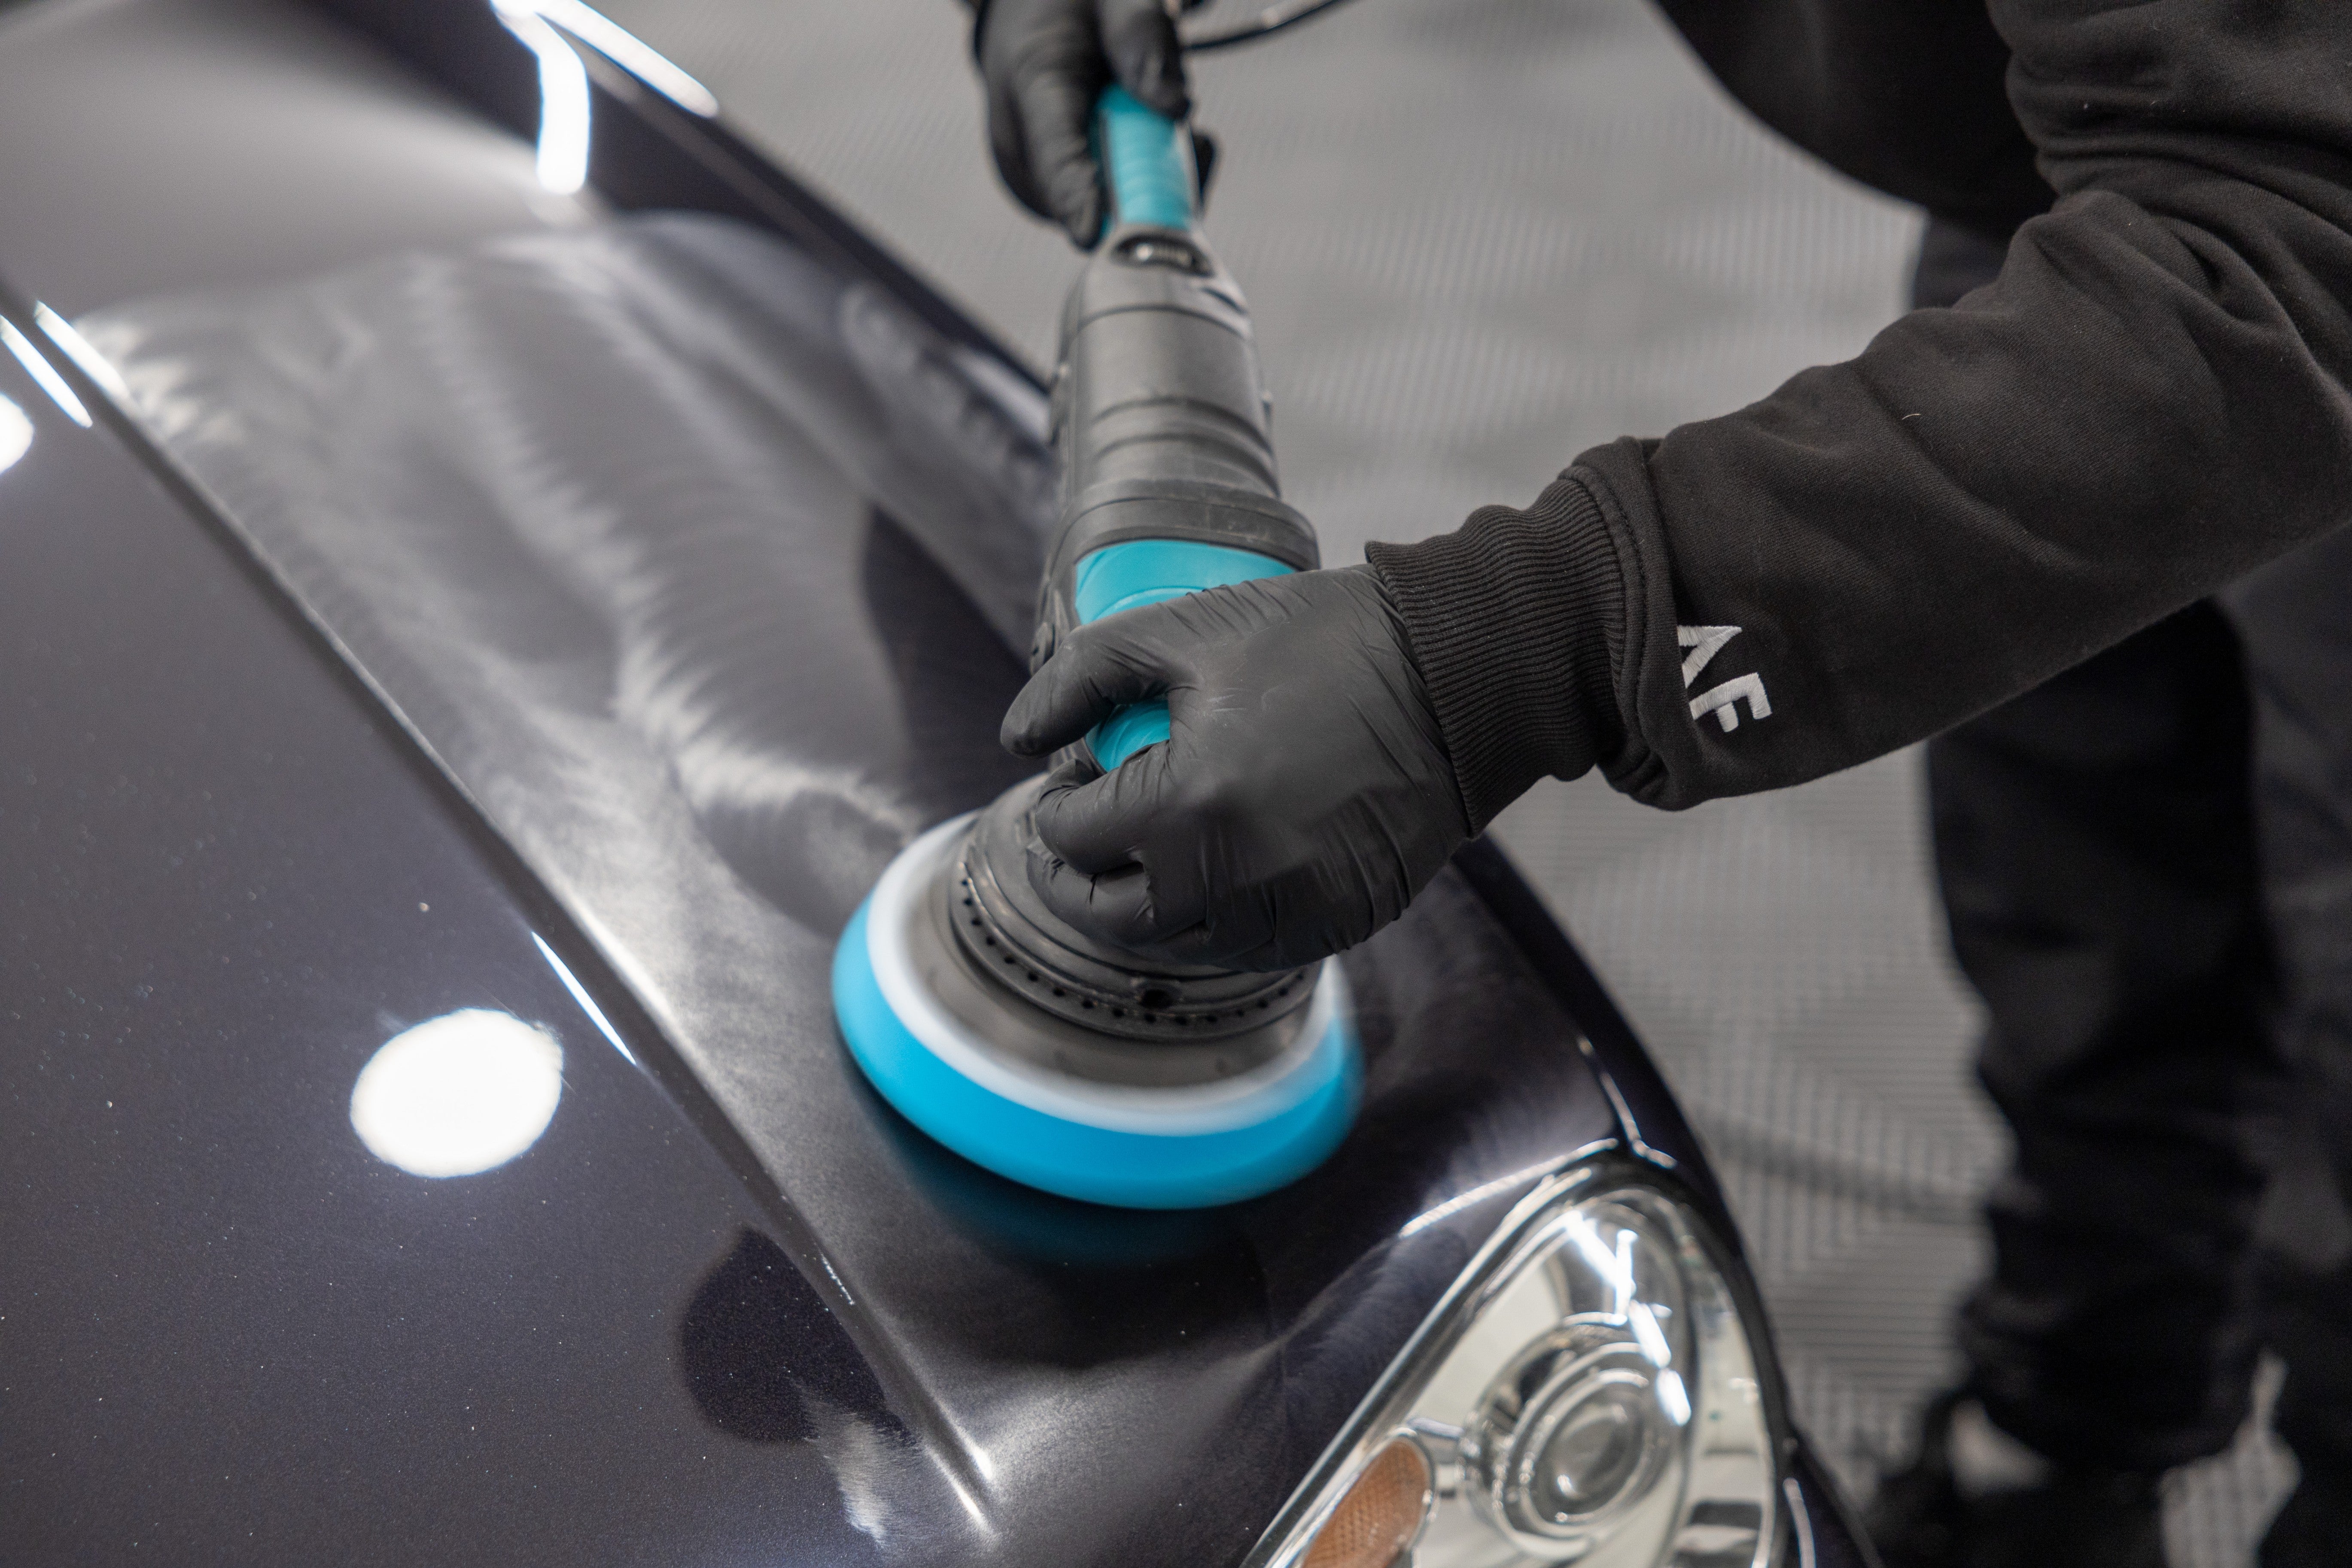
Although it may look like a big task, it's no harder than detailing the rest of your car. A little attention to detail can go a long way and all engine bays should look as good as the exterior. A lot of people seem to be worried or scared to detail their engine bays in fear of damaging or breaking something, but modern cars generally have very good water protection.
With the right care and procedure, you won't harm your pride and joy.
Before you begin, make sure the engine isn't hot to the touch. It's dangerous for you and the health of your car. We recommend a slightly warm engine as it helps to shift the more concentrated dirt build up quicker, so simply start and warm your car up for 1-2 minutes, then turn the car off and begin the detail.
It's always important to cover up anything where contact with water is to be avoided; areas such as air intakes, alternator, coil packs, Electronic Control Unit (ECU) and On-Board Diagnostics (OBD) and any other electrics should all be masked up. The best thing for this is cover with a plastic bag, and finish with masking tape or an elastic band. It's always better to be safe than sorry.
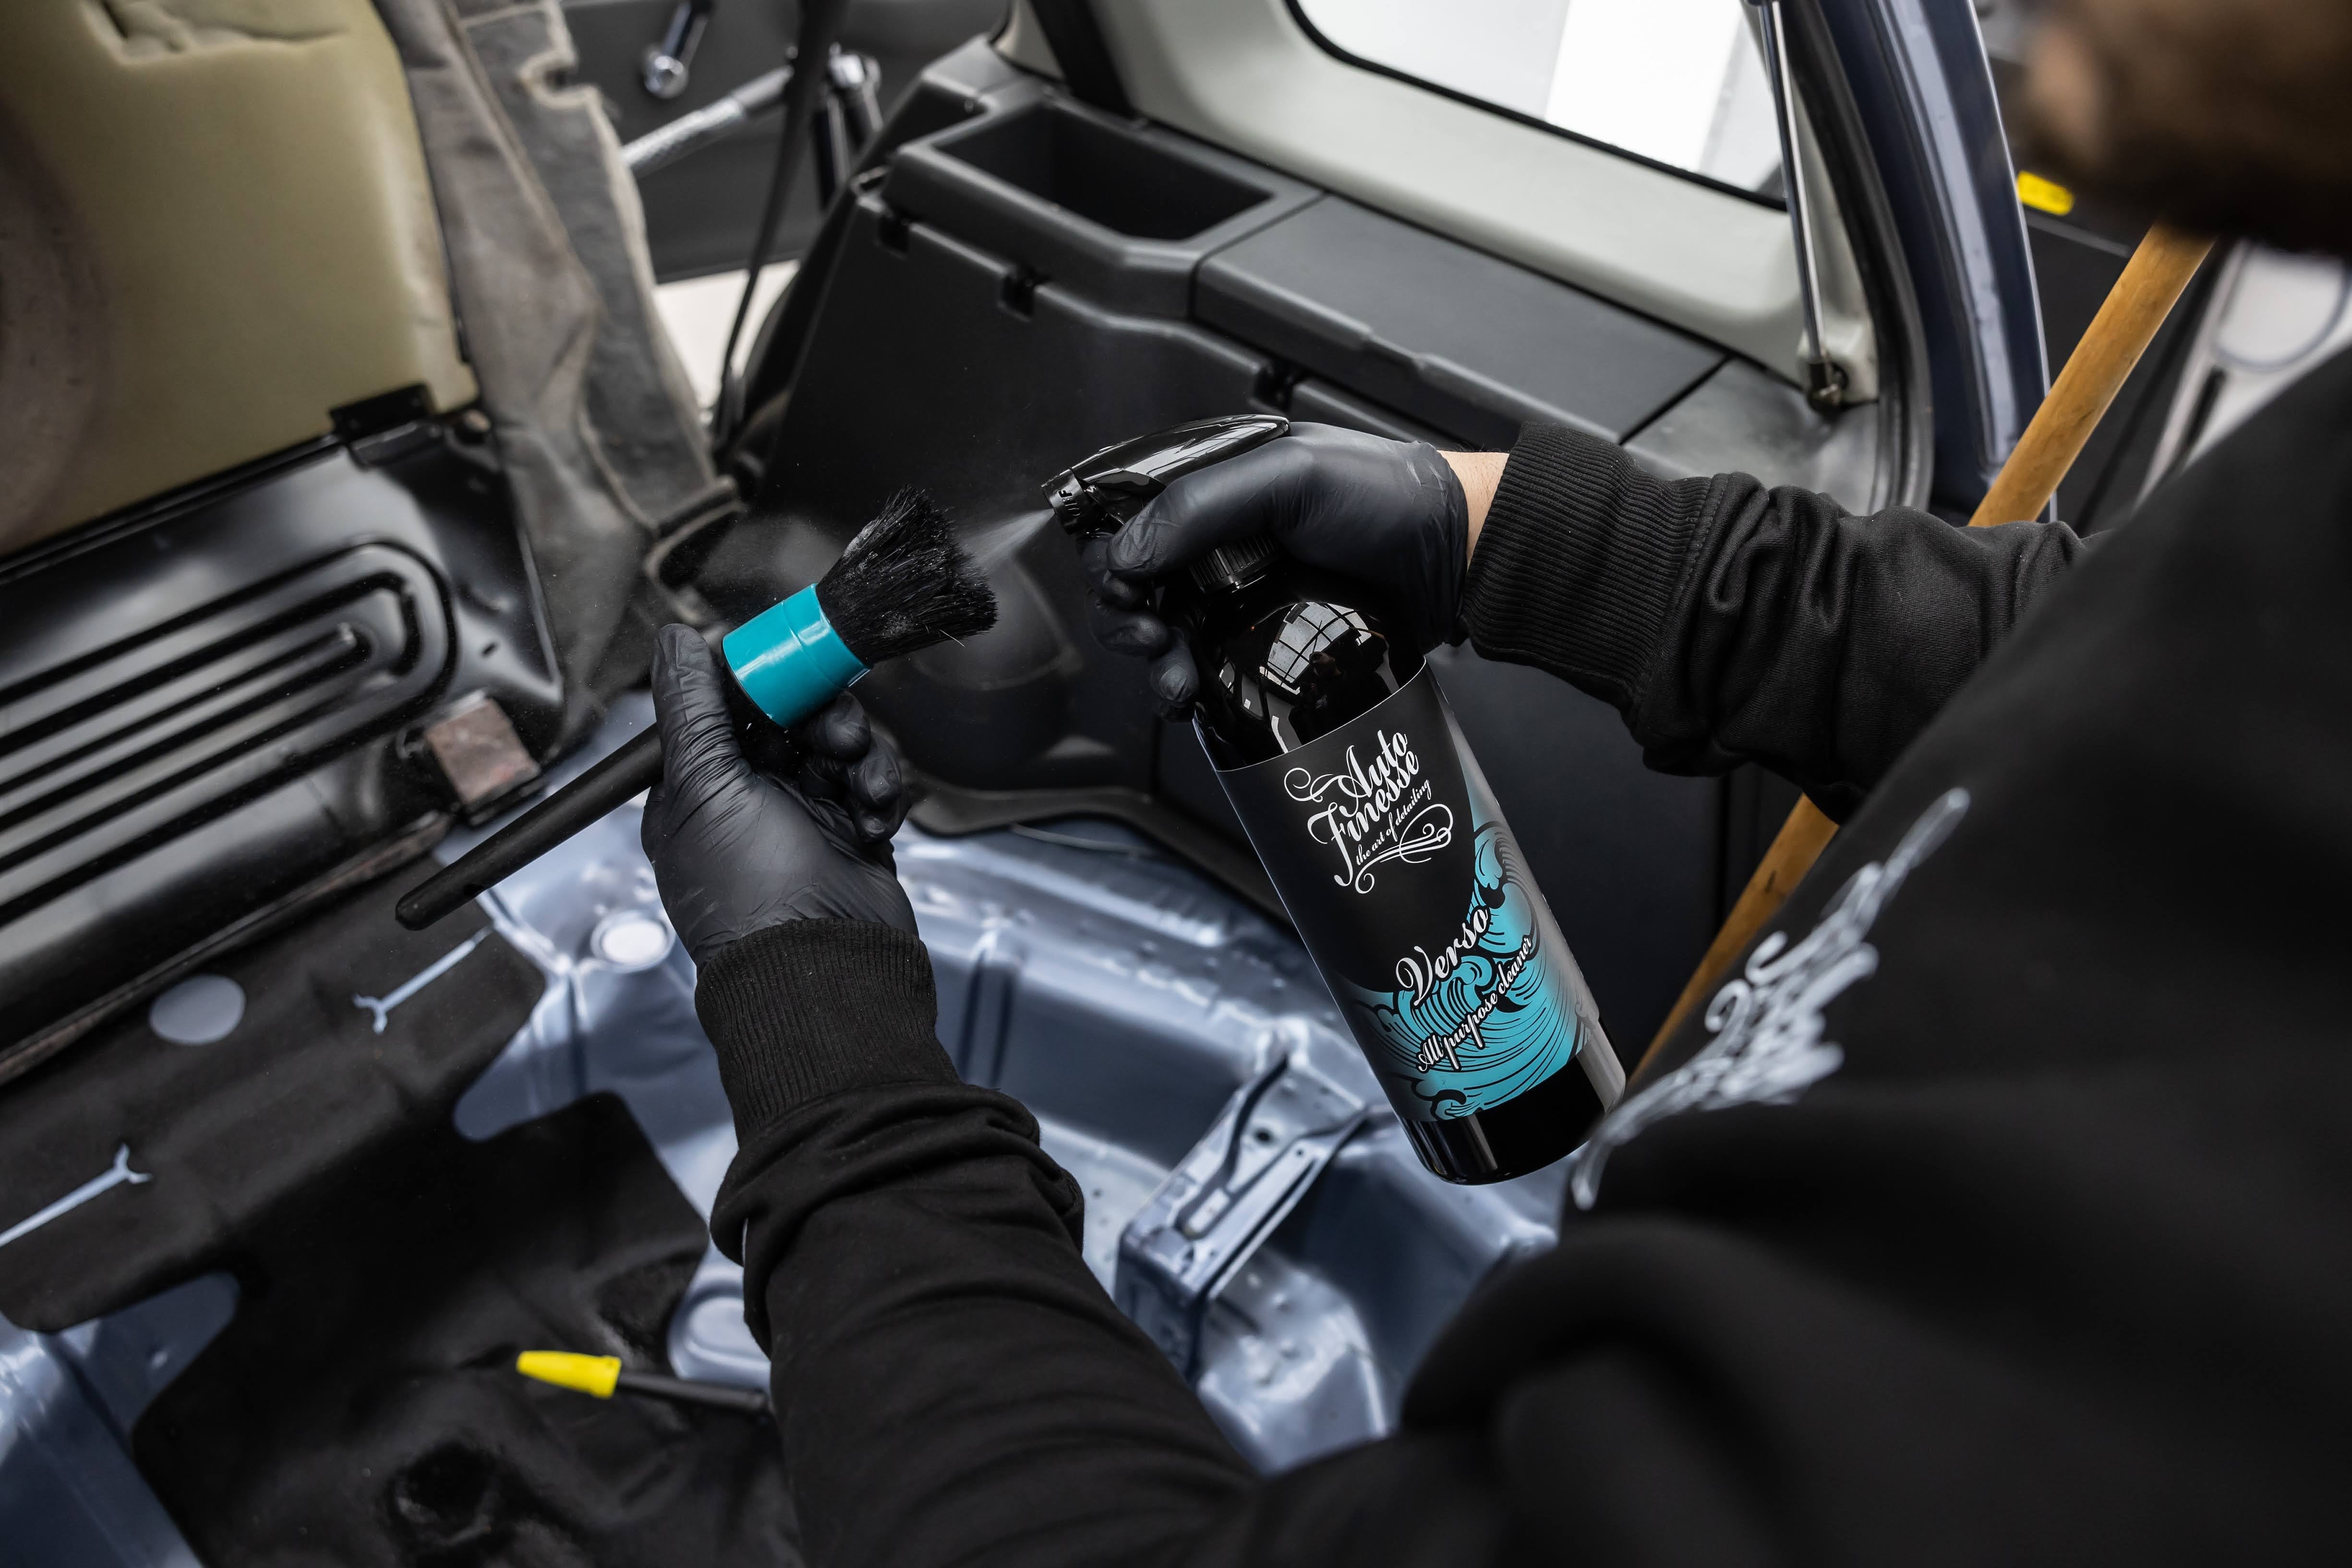
If there is any loose dirt or debris present, blast it away with compressed air or use a brush to remove it from your engine bay.
Petrol-based cleaners have been known to deteriorate rubber and vinyl parts, so it's best to use a non-petrol-based cleaner such as Eradicate Engine Cleaner & Degreaser. Simply spray Eradicate onto your engine (spraying more onto areas with a bigger build-up of dirt and grime) and allow it to sit for around 4-5 minutes. Then use a detailing brush to agitate certain areas in order to cut through the grease and grime. Do not let it dry out on the surface.
Now that you've agitated and loosened any embedded grime, hose down the entire engine with a hose or jet wash.
Now that all of the grime has been removed, use a microfibre cloth to dry the engine off to ensure an even finish without water spots. Heat from the engine will also aid the drying process. Once it's all dry and you're happy, remove the plastic bags and tape and wipe off any excess water that may have accumulated around those areas.
Now that your engine bay has been cleaned and dried, it's time to dress the rubbers and plastics to tie everything together. We recommend our all-purpose dressing Dressle. When using Dressle it's important to note that it should be left to cure for around 4-6 hours for full protection, so it's best not to do an engine detail if you need to go on a long road trip right after. The way it is used will depend on the finish you want; spray directly on and leave for a gloss finish or buff off until you get the desired matte finish you're after. For those more intricate areas, we advise spraying it onto a microfibre cloth or foam applicator pad first.