


Getting The Most From Lavish Ceramic Foam
Lavish Ceramic Foam is one of our most popular protection products, here's how it works and how you can get the best hydrophobic performance
 Skip to content
United Kingdom

We all know that there are show cars and there are show cars, and at the most pampered, wrapped-in-cotton-wool end of the scale, it's safe to say that most of the world's extreme builds don't spend a great deal of time getting mucky. It stands to reason though, if you've spent a fair amount of your hard-earned cash creating a jaw-dropper to show off at various high-profile events, you're hardly likely to be driving your pride and joy to work in the week… or taking it rallying on the weekend.
What's important here though, is that the vast majority can still be improved and, dare we say it? Pushed to more of a concours level with nothing more than a little detailing. The truth is that it's extremely rare for show cars to be completely immaculate in the eyes of a pro detailer. This goes for the vast majority of dedicated show builds out there, even those at the most world-renowned events. For sure these may be locked away in a garage most of the time, they may even be trailered on every outing, but that doesn't mean that improvements can't be made. Besides, what you may see in a magazine feature - or through the wonders of social media - is rarely what you'll discover in real life, especially under the bright lights of many an indoor event.
And let's not forget that many show cars inevitably see a whole lot of wipe-downs during events, along with washing or cleaning in, let's just say, facilities that aren't the most ideal from a car detailing standpoint. But, the good news is that, with just a few key products these cars can be improved, you really can turn something special into something absolutely spectacular - putting the icing on the cake and the proverbial cherry on top. So, whether you want to improve your finish for every event this season, or you're just getting your paintwork prepped for Ultimate Dubs next weekend, here's how it's done by the pros…
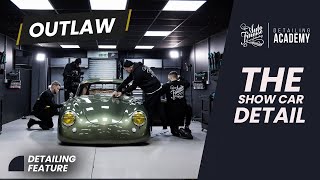
Of course, the only way to explain the process, as always, is to do it ourselves, and we have just the pampered show car for the job - the Porsche 356 Outlaw.
Regular UK showgoers will no doubt recognise this one from the past season or so, chiefly because it's picked up more than its own weight in silverware along the way - including a couple of Best In Show awards, along with the Auto Finesse Sponsor's Choice Award at Ultimate Stance. In other words, it's clearly quite a build, as you can see from the pictures.
All those trophies aside though, there's no denying that this little Porsche is hugely special, well-looked after and pretty damn clean, but we all know there's so much more to intensive detailing than just cleaning - concours detailing is all about striving for perfection in paint and every other surface.
Here, as it's a full-on detail we're after (featuring machining paintwork to refined perfection), we'll be getting the car wet. Now, while that may sound obvious, it's worth noting that on occasion - chiefly for maintenance at and in-between events - some choose to "show wash' their vehicle using a solution of Finale Quick Detailer and water. This is a process that works extremely well on very lightly soiled cars, although it's not a replacement for a full detail when trying to achieve a truly concours finish. If you're looking for a great way to maintain your finish down the line, and prefer to carry out your maintenance in your garage (or with the car stripped down for cleaning) you can check out our full article - How To Perform An Indoor Wash And Show Car Detail.
Chances are you know your own show car inside out, but in our case (as it would be with any professional detailer cleaning someone else's vehicle) a little research and a full inspection is in order. This is always the first part of any detail - the planning. For example, we know that this car hasn't been driven any further than a couple of miles in good weather, and that it's always cleaned after any driving. We know that a closed trailer has been used for any extensive transport, so it's fair to say that the heaviest particulate contaminants and soiling like salty road films, mud or excessive embedded metal contaminants - even on the wheels - are likely to be extremely light if not non-existent.
We also know that the paintwork isn't original and excessively polished over a number of decades, the car was actually freshly-painted before the last show season, so there will be plenty of clearcoat on there for any cutting or refinement that may be needed.
Other considerations include the materials used in the interior and under the bonnet, the spec of the wheels, the air ride (we need to raise that up for the best wheel/arch access) and we can also see that the engine bay has been trimmed with Alcantara, so getting in there with a pressure washer wouldn't be the best idea… not that it's necessary here anyway.
These are all things we'll double check of course but there's no doubt that these points will come into play for adapting our detailing plan to this specific job. Something that has to be considered, job-by-job, on every car you detail.
As always, we clean the wheels first, normally because they're the dirtiest part of the vehicle, and deep cleaning them first prevents cross contamination (spreading potentially harmful contaminants to other areas, especially the paintwork). It's true that, in this rare case, aside for a little grime and brake dust, there's hardly any soiling but we'll still clean the wheels first, just in case there's any particles we can't see.
It's also true to say that, when it comes to processes, Detailers are creatures of habit, but that's a good thing. Following the correct procedures and adapting them to your own routine every time you detail will always yield the best results. This can be anything from how you lay out your buckets, to where you start when cleaning wheels (we always start at the 12 o'clock position), to the path you take around the vehicle on the contact wash. When you follow the same process on every job, it not only becomes natural, but helps ensure that parts of the car, and various procedures, are never missed.
Anyway, about those wheels. There's no doubt that these custom-made, 3-piece forged rims are a little on the special side… a far cry from the many painted and powdercoated wheels you'll come across on daily drivers. In fact, for most show car owners, wheels are an understandably expensive concern. They come in a variety of sensitive finishes, and the cleaning products and procedures need to be suitable not just for the amount of soiling on there, but they have to be non-damaging to any delicate surfaces and finishes, too.
Now, it goes without saying that we love these sort of wheels, you've only got to look at our own show cars to see that, so we've developed our Imperial Wheel Cleaner and Revolution Wheel Soap to be safe on all types of finish. They work by using a blend of special surfactants along with degreasers and cleaning agents to chemically remove contaminants, lifting them from the surface and encapsulating them in the solution. This allows them to be rinsed away safely and, most importantly, without scratching. These products are effective on everything from road grime and salt to brake dust, no matter the concentration.
Obviously, your overall plan of attack (including the dedicated brushes and wash mitts you use) will always depend on the wheel design and the amount of soiling. But, even here on the lightest amount of grime we'll use both products for the most thorough clean. A little Imperial spritzed over the whole wheel and agitated using a solution of Revolution in our wheel bucket is all that's needed. The idea is that wheel soap acts as an extra cleaner and lubricant to help sharp contaminants, such as grit and brake dust, to slide safely across and off of the surfaces. Rather than physically scrubbing, here the agitation is to refresh any spent solution (cleaning agent already encapsulating particles) on the dirtier areas, and to ensure maximum penetration, or making sure the cleaning agent physically contacts each and every part of the wheel. After that, it's a case of a simple rinse and on to the next one.
For more information on deep-cleaning, decontaminating and protecting all the different types of wheels you'll come across, see our article - The Definitive Guide To Cleaning Alloy Wheels.
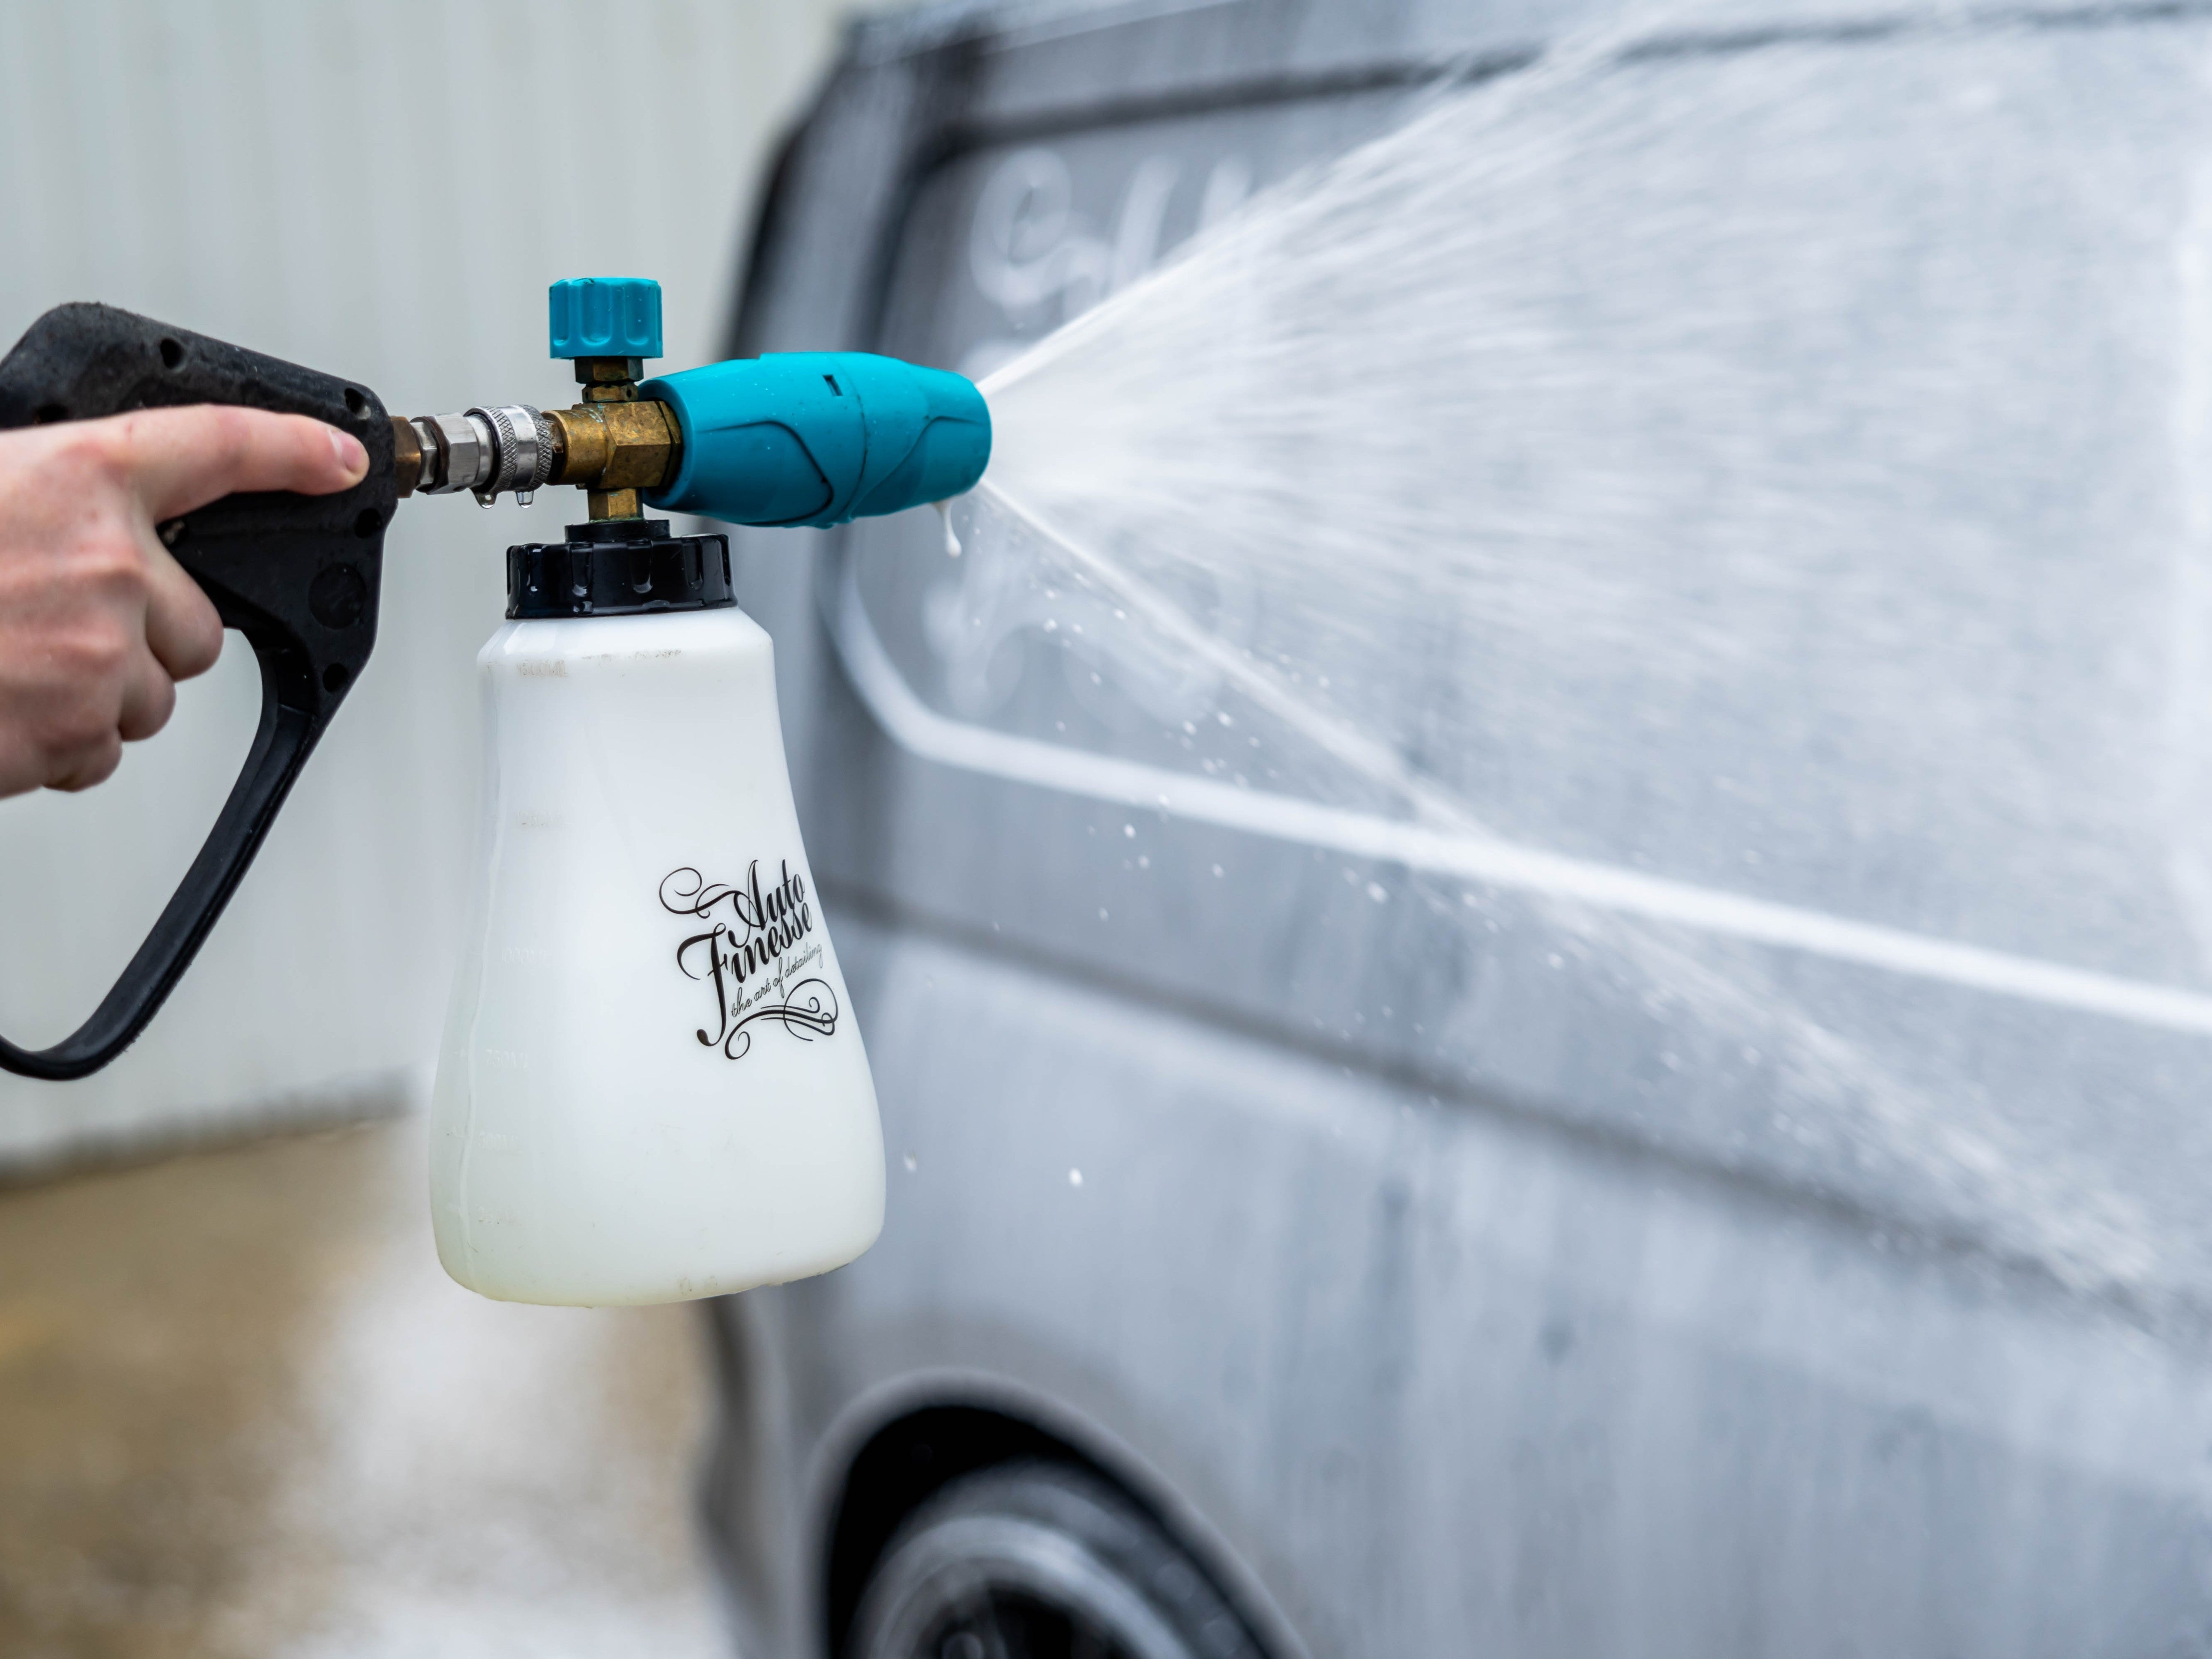
So, the car isn't all that dirty, so we can go straight in with the contact wash, right? Wrong. The real question here, and one we're always asked, is should you pre wash a relatively clean car? Well, the simple answer is yes, you should always, always, prewash. Even if surfaces appear to be clean, there may be sharp particles and dust that has settled or become stuck to surfaces, and you'll usually find a whole load of hidden contamination built up in the door jambs and panel gaps. These particles can cause swirling and other defects when dragged across surfaces during the contact wash stage, they may even be blown out of gaps in the later stages, interfering with your polishing or finishing, so to make sure you're not inflicting defects that will require more polishing to remove, you'll want to get rid of these first - and that's all down to the pre wash.
The first step is a good rinse, being sure to flush out any panel gaps, wing mirrors, door jambs, grilles, fuel flaps and any other dirt and dust traps. This ensures that the cleaning agent you use next is working, where it's most needed, on any stuck-on grime, rather than dirt and dust that can be easily removed with your pressure washer.
Next, your pre-cleaner, here we're using Citrus Power Bug & Grime Remover over the whole car to break down, lift and suspend any grime away from surfaces, before safely rinsing away the contamination. This ready-to-use, spray on cleaner is effective on the heaviest soiling, but it's still an important product to use on the lighter stuff, after all, any soiling at all can cause swirls through the use of poor wash techniques. One great thing about this powerful cleaner is that it's also formulated to be gentle on any previously applied protection layers, not that it's a major issue here of course, but this characteristic is extremely handy during routine maintenance.
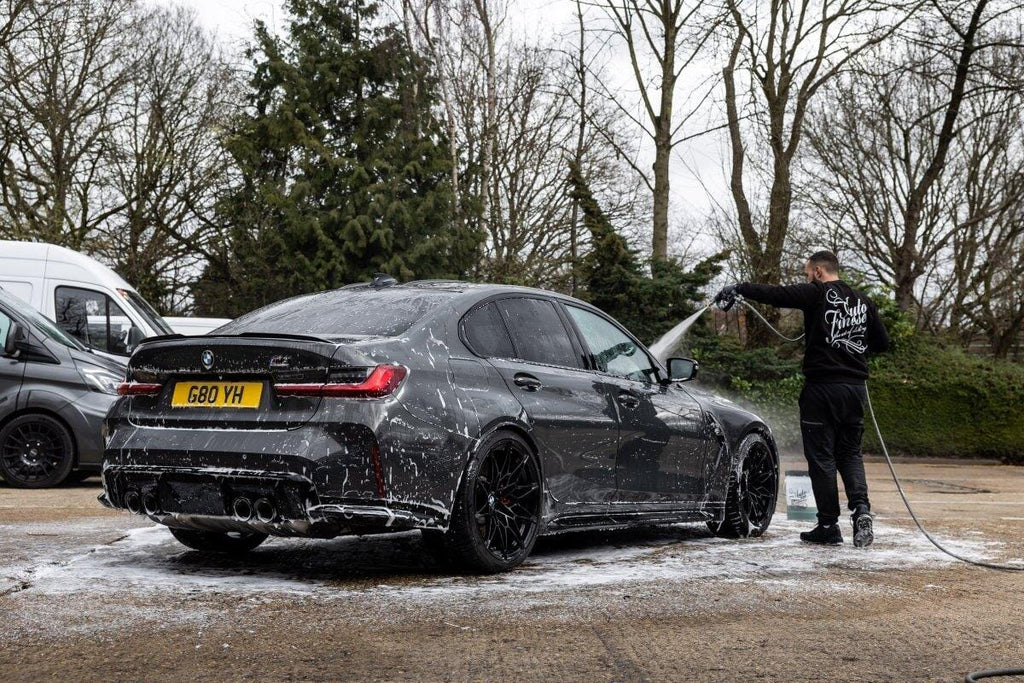
Another pre wash essential that won't degrade wax or sealant layers is Avalanche Snow Foam. Again, this product is a citrus-based cleaning agent used to break down, lift, lubricate and encapsulate grime (check out our article All Car Cleaning Products Explained to see the science behind how these kind of cleaners work) but, because Avalanche whips up into a thick foam, it dwells on the surface for longer to help break down the hardiest, stuck-on particles. It also works its way into all the gaps, for further removal of any hidden contaminants that may be lingering.
Assuming the large particles of grit and grime are removed in the previous pre wash stages, Avalanche can be safely agitated into the more awkward areas and recesses using a Detailing Brush. The idea here of course, is to get any trapped particles out and off of the vehicle before you perform your contact wash.
Only when the pre wash stages are complete, is it safe to get in there with your Wash Mitt. As with any contact wash it's important to use two Detailing Buckets - one for your shampoo solution and the other for plain water, to wash out your mitt after every pass. This simple measure significantly cuts down on the chances of inflicting swirls, because you're never putting dirty, contaminated solution back onto the vehicle. Using large 20-litre detailing buckets (like our Pro Bucket Combo), also has the added advantage that the increased water capacity and grit guards, make almost impossible for any potentially damaging particles to be recirculated back onto your mitt during your wash.
Speaking of mitts, there are a couple of other considerations when it comes to keeping your contact wash swirl-free. These include the shampoo and wash media you're using, along with the path you take around the vehicle.
For a start, a good wash mitt will be designed to lift and trap sharp particles away from paintwork deep within the pile, where they will stay there until you clean them out, letting them drop to the bottom of your rinse bucket. Here we're using our Plush Wash Mitt, which is ideal for keeping potentially harmful grime away from surfaces.
We use Lather Car Shampoo as our cleaner here, a product that's also classed as a lubricant to help grime move off of surfaces safely and make your mitt glide across the paintwork. It's worth noting here that your mitt isn't there to scrub away grime, it's merely to ensure that the cleaning solution is worked into every surface. Lather is also a "pure cleaner' meaning it contains no waxes or fillers, so it won't create a false finish or interfere with any subsequent stages.
Finally, when you touch the vehicle with your mitt, always work from the top down, gliding across the cleaner areas first. This measure will stop you dragging any soiling back to cleaner parts of the car. It's also crucial to wash in straight lines, as opposed circular motions, to further decrease the chance of inflicting swirls… and obviously, to ensure you make contact with every part along the way.
Onto the all-important drying stage. In fact, many don't quite realise how crucial this step is. It's not just the fact that the water you'll be using to clean your car will be packed full of mineral impurities, and if left to dry naturally will deposit these all over your paintwork, it's more that these need to be removed (along with the water) safely without inflicting defects along the way. It's why we use extremely absorbent towels, specifically designed to do the job, our Aqua Deluxe and Aqua Deluxe XL Drying Towels, are super soft, and they work by sucking up the water and the impurities together, keeping them safely away from your paintwork without simply pushing the water around the panels.
What's also important here is to be extremely thorough. Put simply, you don't want water dripping out from recesses and interfering with your polish. Compounds and water don't mix well, it not only makes the product congeal and clump together, lubricating the abrasives and reducing their effectiveness… but much more than that, you'll make a right mess!
This is one reason why detailing professionals like to use an air blower, to ensure that all the water is blasted out of recesses, so it can be mopped up quickly with a towel. If you haven't got a blower, you can simply keep on drying, and giving yourself a bit of extra time to make sure you pick up all the drips along the way.
Now, regular visitors to our site and socials will have notice that we haven't carried out any decontamination before drying the car, whereas normally we'd be knee-deep in Iron Out and ObliTARate by now, wouldn't we? So, is it actually required on a car like this? Well, the answer is yes and no.
The decon stages are where we remove any embedded contaminants that washing alone can't, and we'll usually carry out this multi-stage process prior to any paint correction. It's an important part of the detail because any sharp particles left in the paintwork may be lifted out with your polishing pad and, as you can imagine, a shard of metal or piece of grit whizzing around on your machine pad is going to inflict damage.
The first part of the process is using Iron Out Contaminant Remover to ensure that any heavy ferrous metal deposits that have embedded themselves in the paintwork are chemically dissolved and safely rinsed away. These pieces of metal shrapnel mostly come from hot brake dust coming off your brakes or floating around in the air on A Roads and motorways. We always say that this process isn't optional - it should be carried out every time before polishing because these tiny particles are easy to miss. But, in this extremely rare case, there simply isn't any metal fallout to remove - the car hasn't really been anywhere to pick any up. That said, don't forget that our professional detailers have huge experience in decontaminating show cars and can guarantee that skipping this stage isn't harmful this time around. So, if in you're in any doubt, always use Iron Out during the wash stages, it's safe for use on all painted surfaces, so you simply can't go wrong.
Another part of the decon process - the only one that is actually optional - is using ObliTARate Tar & Glue Remover to eliminate sticky residues. This powerful solvent-based formula is designed to melt away hard tar and other contaminants that will interfere with your polishing, and has been developed solely for targeted use. In other words, only use ObliTARate as and when it's needed, and on the small area of contamination where it's required. Again, with no sticky residues on the vehicle, we could skip this step.
So, our paintwork decontamination here comes down to the final step - using a Clay Bar, along with Glide Clay Lube over the whole vehicle to physically pull-out bonded contaminants such tree sap, overspray, mineral and protein deposits along with light tar and iron deposits. Admittedly there wasn't a great deal of those to worry about here, but claying is a process that's absolutely vital for damage limitation, so we'll always clay all the paintwork before we carry out any correction. We'll reiterate the point here - any stray contamination left in there can end up inflicting damage when you polish, especially when you're striving to achieve a flawless, concours finish. Luckily the claying process is as easy as it is satisfying, you can actually feel the difference.
Sometimes we're asked why we always go through the rigmarole of masking up a car before polishing, and again, the answer is that it's down to damage limitation. There are a few areas on any car that won't respond well to abrasion from your machine polishing pads. Rubber window trims and weather strips being a prime example, using detailer's masking tape to cover these prevents any accidental compound transfer which causes staining that can be a nightmare to remove.
Other areas, like emblems, grilles and door handles can have relatively hard edges and catching these with your pad, or even worse your backing plate, can cause damage to both the part (which can be pretty much irreplaceable on a car like this) and the actual pad. It's worth remembering that to do their job, machine polishing pads spin at extremely high speeds, and it's easy to get caught out if you're unprepared. On this particular vehicle we have a whole load of extra brightwork to contend with that could be damaged, too.
So, basically any areas that don't require polishing, but are dangerously close to the areas of paint that you will be cutting or refining with your DPX or MPX Dual Action Polisher, should be masked up or removed.
It goes without saying that your correction will always depend on the extent of the defects in the paintwork on a job-by-job basis. The whole process is designed to level down the top layer until the bottom of the deepest defect is reached, therefore making the swirl or scratch disappear, giving a smooth, level surface. For more on how a polish or compound can achieve this, you can check out our full article - The Basic Guide To Machine Polishing.
For the purposes of this post though, the one underlying rule is to never carry out more polishing than you need to. An all-too-common mistake in detailing is going straight in with a compound that's far coarser than required, which itself leads to even more polishing with finer and finer compounds to refine the finish. This could be because the paint is softer than initially thought, or the defects looked more serious than they actually are, but either way it's almost impossible to tell exactly what combination you need without a little testing.
During the testing stages you have to work up from fine compounds to coarser and coarser compounds until you find the very first polish and pad combination that will cut out the defects effectively. Once you've found the correct combo, it's time to stop and work back in the reverse order with progressively finer compounds to refine down your paintwork to flawless.
Here of course we're dealing with a show car that's well-painted and in great condition, without a whole load of defects. So, with just a few minor swirls and light scratching in places, this job is mostly about refining down to the best possible finish using a fine compound, such as Revitalise No:3 Refining Compound. Although this is mostly a single-stage correction process though, we would have to step up to a medium compound Revitalise No:2 Polishing Compound) on certain areas where there were defects that needed a little more cut to remove, before moving onto the finer compound to finish back down.
Like all polishing, particularly when it comes to getting a perfect, concours finish, the idea is to get the clearcoat perfectly flat on a microscopic level. This means that light bounces through the paint and back to you uniformly instead of being interrupted and diffracted in different directions by swirls and other defects, which essentially highlights these flaws to your eye. When the light is uniformly reflected by a smooth surface, it makes the surface appear to be deeper and glossier, and the smoother and more level that surface is - which can only be achieved through using the finest abrasives - the more refined and flawless it will look. This is the concept behind all paint correction, and the reason we can make this Porsche paintwork appear to be absolutely flawless.
As this one is a show car, we immediately know that we'll be using a hard wax for our post-polish protection layers, and we'll get onto the reasons why in the next section. But, as we know we'll be applying a wax in the next step - in this case we've chosen our Illusion Show Wax (specifically because it's packed with synthetic polymers and gloss-intensifying oils designed to give a dripping, wet look finish and contains 48% T1 Brazilian carnauba for 2-3 months of durability), for the best possible finish, it's essential to prepare the surface making sure that the wax layer can form the firmest possible bond without interference.
The perfect product for the job here is Rejuvenate Paintwork Cleanser, a glaze-based abrasive that has been specifically developed to lay a foundation for, and therefore enhance the beauty of, our Signature Hard Waxes. In normal circumstances at least, we can use Rejuvenate to remove stubborn paint oxidation, but as oxidation wasn't an issue on this car (and any that we did have would have been removed in the polishing stages anyway), why utilise Rejuvenate here? The answer is simply that the abrasives and the deep cleaning solvents in Rejuvenate make short work of any leftover oily polishing residues, cutting through these and perfectly preparing the surface for the ultimate bonding and a concours-level finish.
The concept of light refraction also applies to protection layers. We all know that adding a layer or two of paintwork protection is important after polishing, because it safeguards your work from the elements. And, while that part isn't quite so vital for a show car as it would be on a car that's used regularly, it's still vital to protect the surface from contaminants that may try to bond to surfaces. Even dust and light contaminants can cause surface damage on extremely refined, but unprotected, paintwork, especially through all that wiping down at events.
The other part of the deal with protection layers of course, is their ability to make your paint look deeper and glosser. This is because waxes and coatings are designed to create a surface layer that's even more smooth and level, in this instance the light passes through the protection, into the paint, and bounces back to make the surface look even deeper and shinier.
On a microscopic level you can imagine paintwork, even very well refined paintwork, as a rough surface full of ridges and ruts - perhaps the best analogy is a miniature mountain range. Now, while this roughness is undetectable to the eye, there are slight variations in the way that light is refracted from the surface, it'll still look smooth, shiny and deep to the naked eye, but there's still room for improvement. What a wax or coating does is fill these ridges and make the surface even smoother, the light bouncing to your eye will become even more uniform, therefore making the paint look even deeper and glossier. Although, technically at least, waxes and coatings physically leave a layer making the surface deeper, the way which the light passes will always be the most important in regards to how glossy the your paintwork will appear.
As for the argument of why not use a coating after polishing this one? Well, the hardest, glass-like protection isn't needed here for a car that's not driven regularly and, besides, nothing will ever beat the warmth of a wax on a show car. It's rather ironic then, that it's the natural impurities in waxes that absorb and deflect light in different ways that give the trademark warm glow. Unlike coatings and sealants, which are engineered to be as clear as possible - often making them appear extremely shiny but sterile - waxes are slightly off coloured, which tends to make paintwork look even better.
Finally, we can get our wax on there. The key thing to remember here is that a little goes a long way, just a quarter of turn of a Waxmate XL in the pot will be enough for a whole panel, any more and, well… you're just wasting wax when you buff off. To create the most even coat, and get the best wax coverage, we also layer on multiple coats, waiting at least 4-hours in between each.
When you're getting to this level, a brand-new Micro Tweed Microfibre Buffing Towel is a great investment, too. This cloth features a unique microfibre weave that deals with wax residue in the same way as a wash mitt works on grime. The Micro Tweed will safely lift and trap residues in the fibres to help deal with the issue of wax clogging, reducing the risk of scratching and marring.
When we finished the paintwork, we moved on to waxing the wheels because, well, wheels (especially those of this calibre) need protection and acres of added shine, too! For this we broke out the Mint Rims Wheel Wax, a special high-temperature blend of synthetic waxes, specifically designed to repel the harshest contaminants, including brake dust.
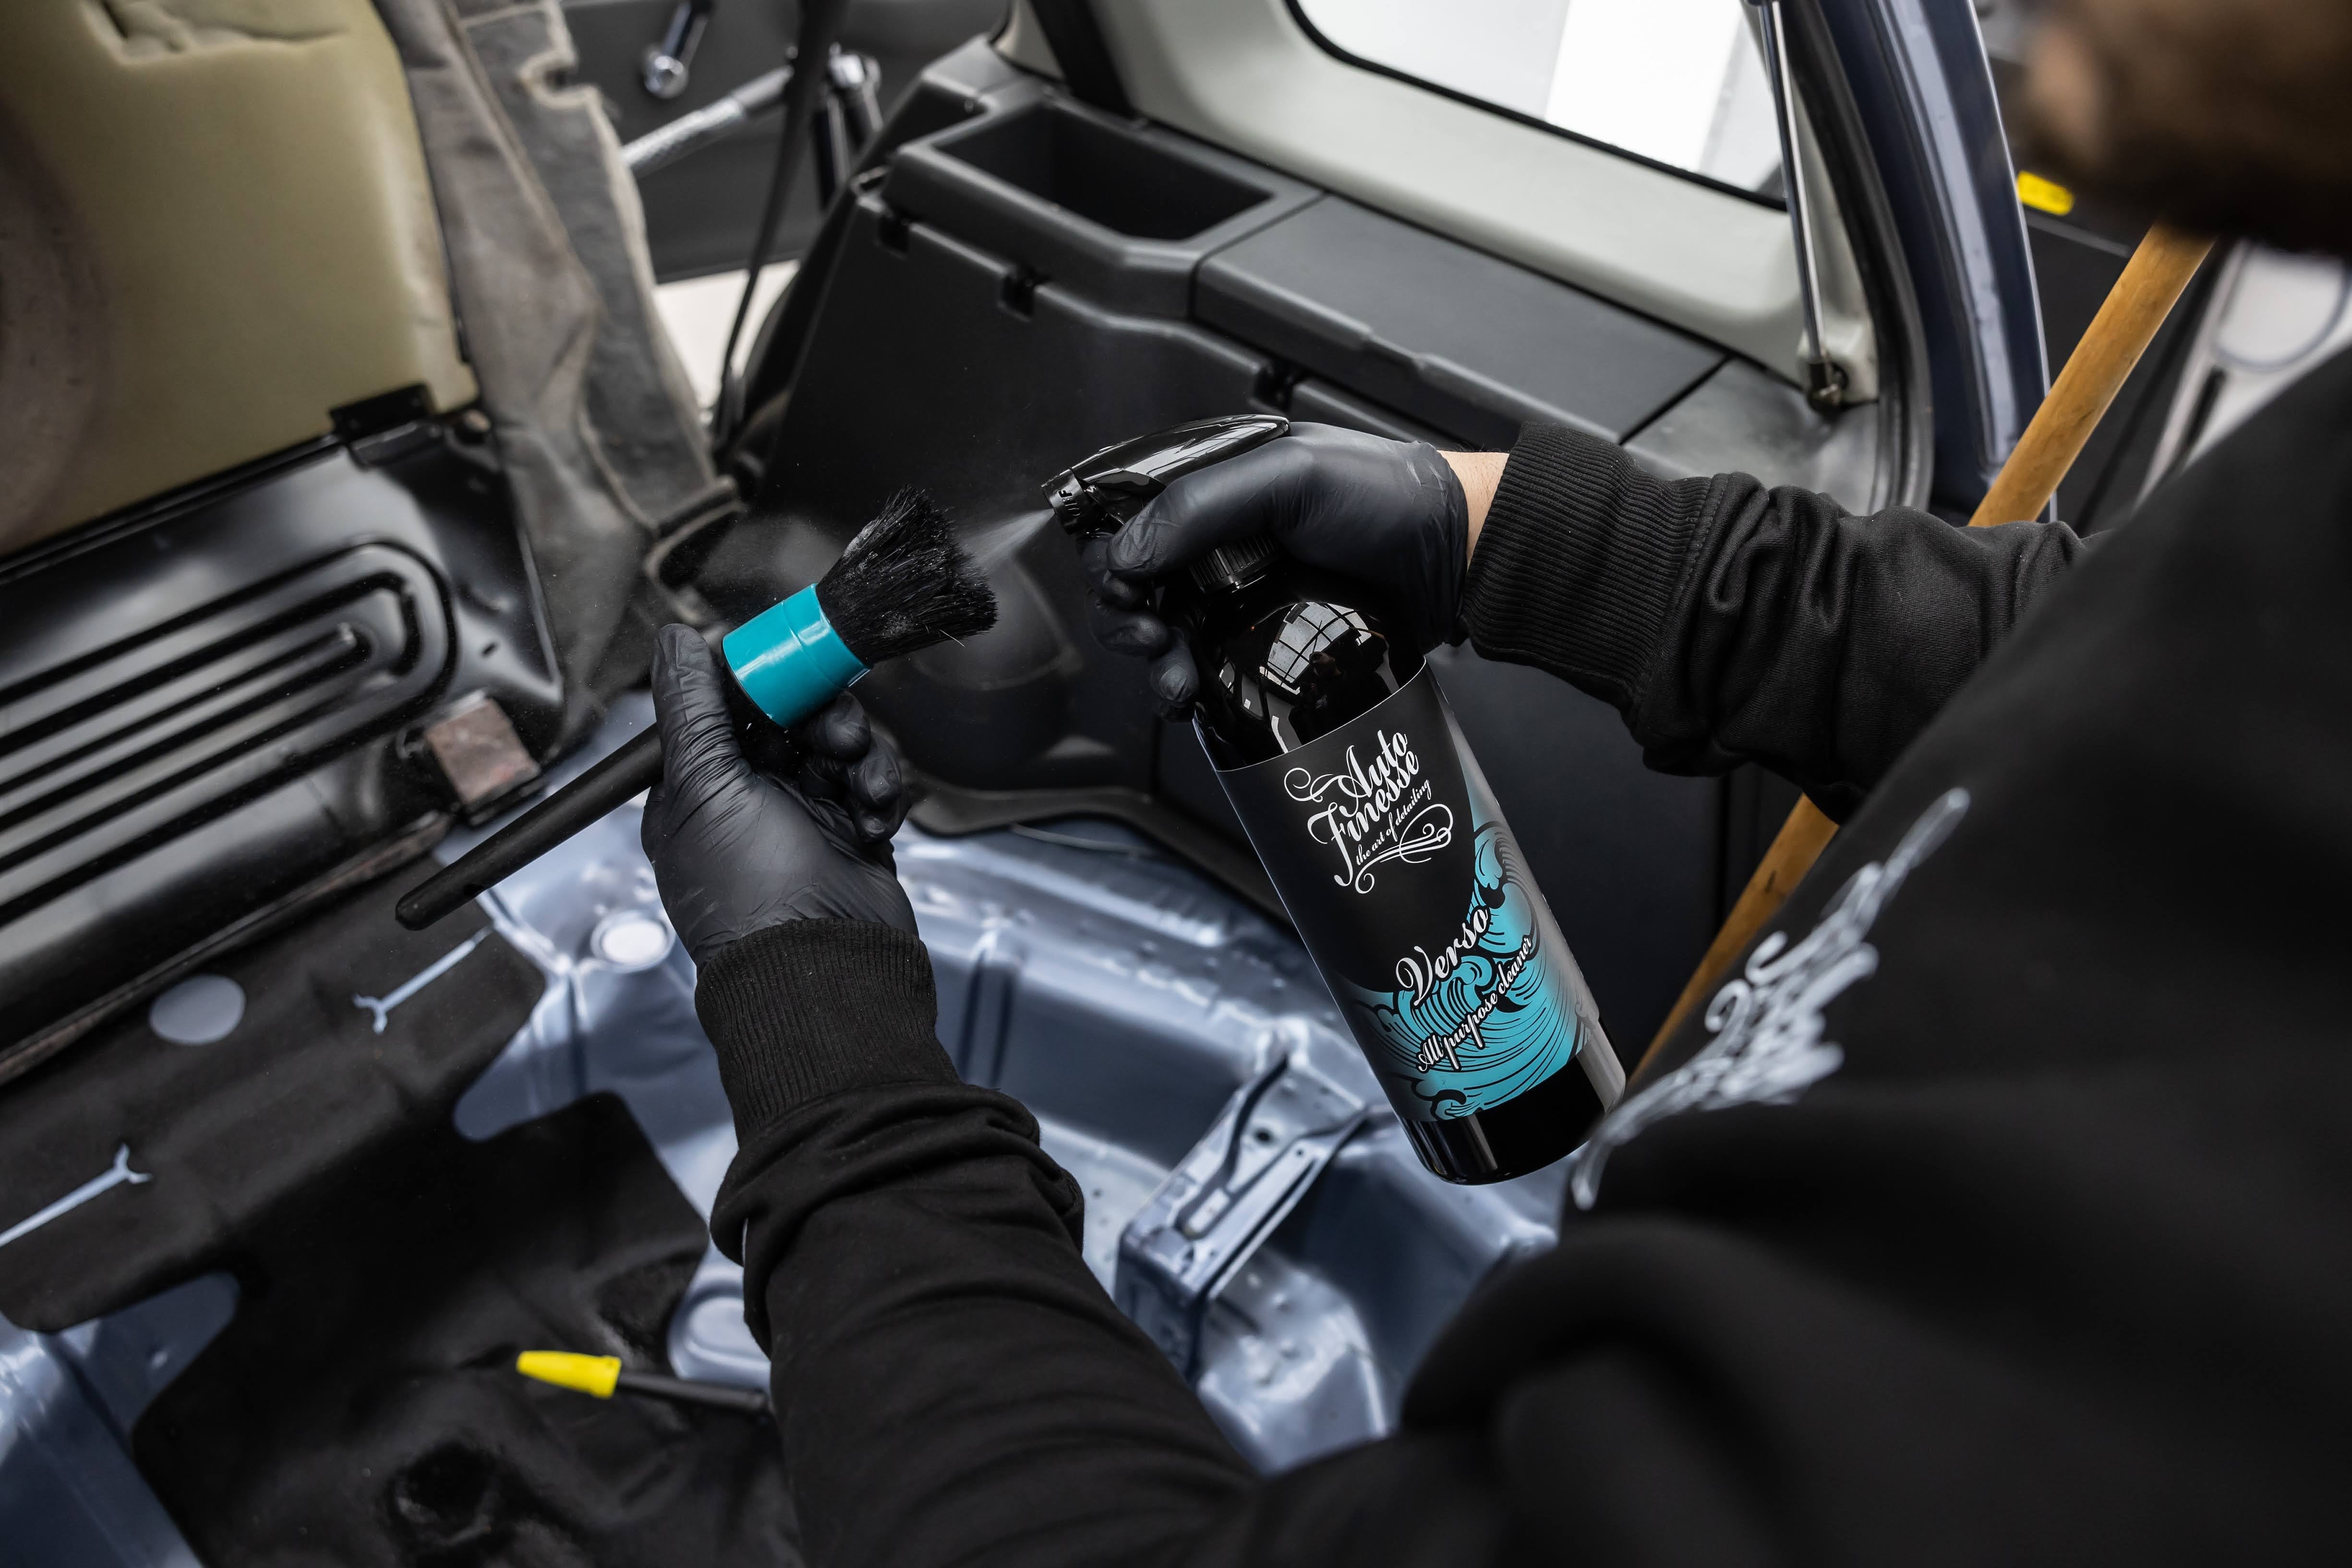
Sure, your paintwork may now be immaculate, but what about all the other surfaces? The truth is that for that overall concours finish, everything has to be considered. Put simply, any noticeable imperfection that draws the eye is bad - but these can be ironed out using a selection of essential finishers like Crystal Glass Cleaner, Revive Trim Dressing and Satin Tyre Crème. Once the big jobs, or more specifically the paintwork, are complete there's no denying that show cars are all about the finishing touches - you can't have faded plastics, streaky windows and dull, undressed tyres detracting from all your hard work, can you?
Of course, on this particular vintage show car, there was a whole load of extra brightwork, the exhaust and other metal parts, both inside and out, to contend with, too. But, that's where our cleaner polish - Mercury Metal Polish comes in. This product is packed with light abrasives and cleaning agents, ideal for removing tarnishing and oxidation, and cutting through the most ingrained contaminants exposing the original reflective finish and restoring the shine to any bare metal parts.
Finally, a little finish with our carnauba-infused Finale Quick Detailer to remove any settled dust or fingerprints - and to further boost the wax - and the job is complete. Always finish with Finale.
So, that's how you can push your show car to an even higher, concours standard. We think you'll agree, the results speak for themselves on this little Porsche… for more on show time detailing, including the best way to keep maintain your car at the event - check out our guide - How To Prepare Your Car For Any Show On The Go.