Getting The Most From Lavish Ceramic Foam
Lavish Ceramic Foam is one of our most popular protection products, here's how it works and how you can get the best hydrophobic performance
 Skip to content
United Kingdom

The new car treatment
When a shiny new car hits our fleet, the first thing we perform is a new car prep. This is a walk-through guide to that process.
Those of you that have acquired a new vehicle will be familiar with the immediate excitement you feel, but more often than not disappointment shortly follows. The condition of the paint and overall finish is never as good as you'd hoped for or expect. It's no secret most new cars turn up in what most of us would class as a substandard condition of finish - now don't get us wrong, not all brands and dealers are the same, there are some exceptions and companies leading the way on delivering a new car the way we would expect it to be. However, for the most part, mass production of vehicles and the high-flow nature of most mainstream car dealer franchises means they simply don't give your new car the same care and attention you would yourself.
Here's the low down on what to do when ordering your new car; all you have to do is simply ask them not to prepare it. Don't even let them wash it. If possible, take it home with the protective coverings still in place (we get that this is not always possible, mind).
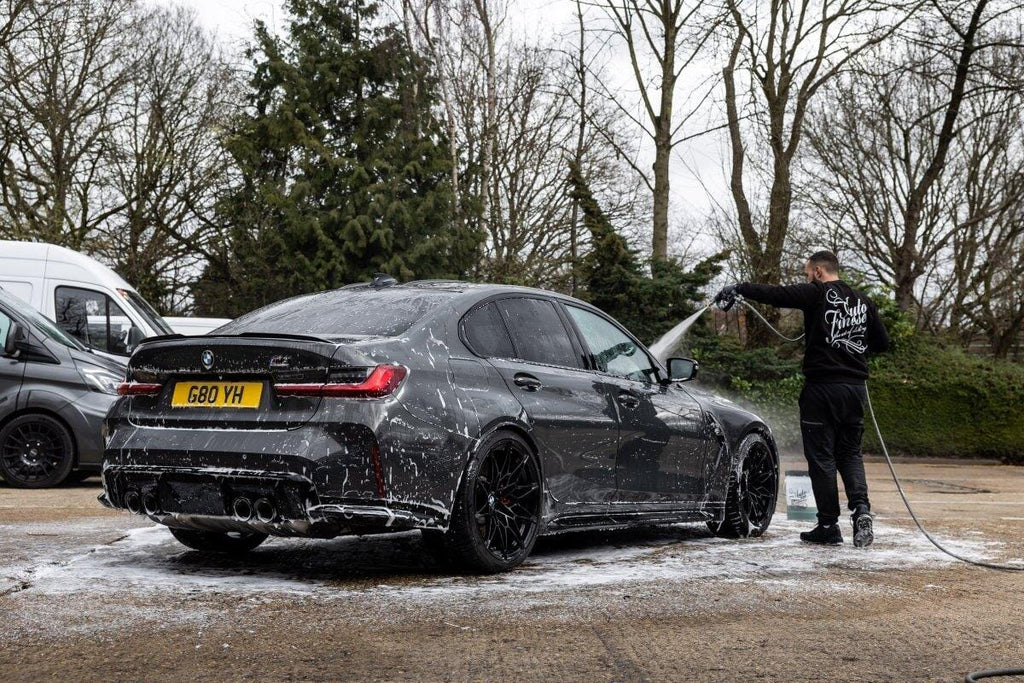
The problem we have here with this BMW 3 Series is it was a pre-reg car that had been sitting around in the dealership for a while, 4-6 months in fact and had been subject to its fair share of quick washes and the odd forecourt wipe down. None the less, we got it for a steal and let's face it if it turned up perfect we wouldn't have a lot to show you.
So, we picked the car up with just 200 (delivery) miles on the clock. First thing's first, we changed the wheels and fit some new adjustable Bilstein suspension.
To kick things off we begin at the wash stage, it's worth noting our wash on a pre-detail differs from that of a normal routine maintenance wash.
Starting with the wheels, we first cover the entire wheel face, barrel, callipers and tyres with Imperial wheel cleaner.
Using an array of brushes, woolly trios and a microfibre mitt will ensure you get to every part of each wheel. Leave the solution to dwell for a minute before jet washing off.
Repeat this process to each individual wheel. It's worth noting we also clean the tyre walls at this point.
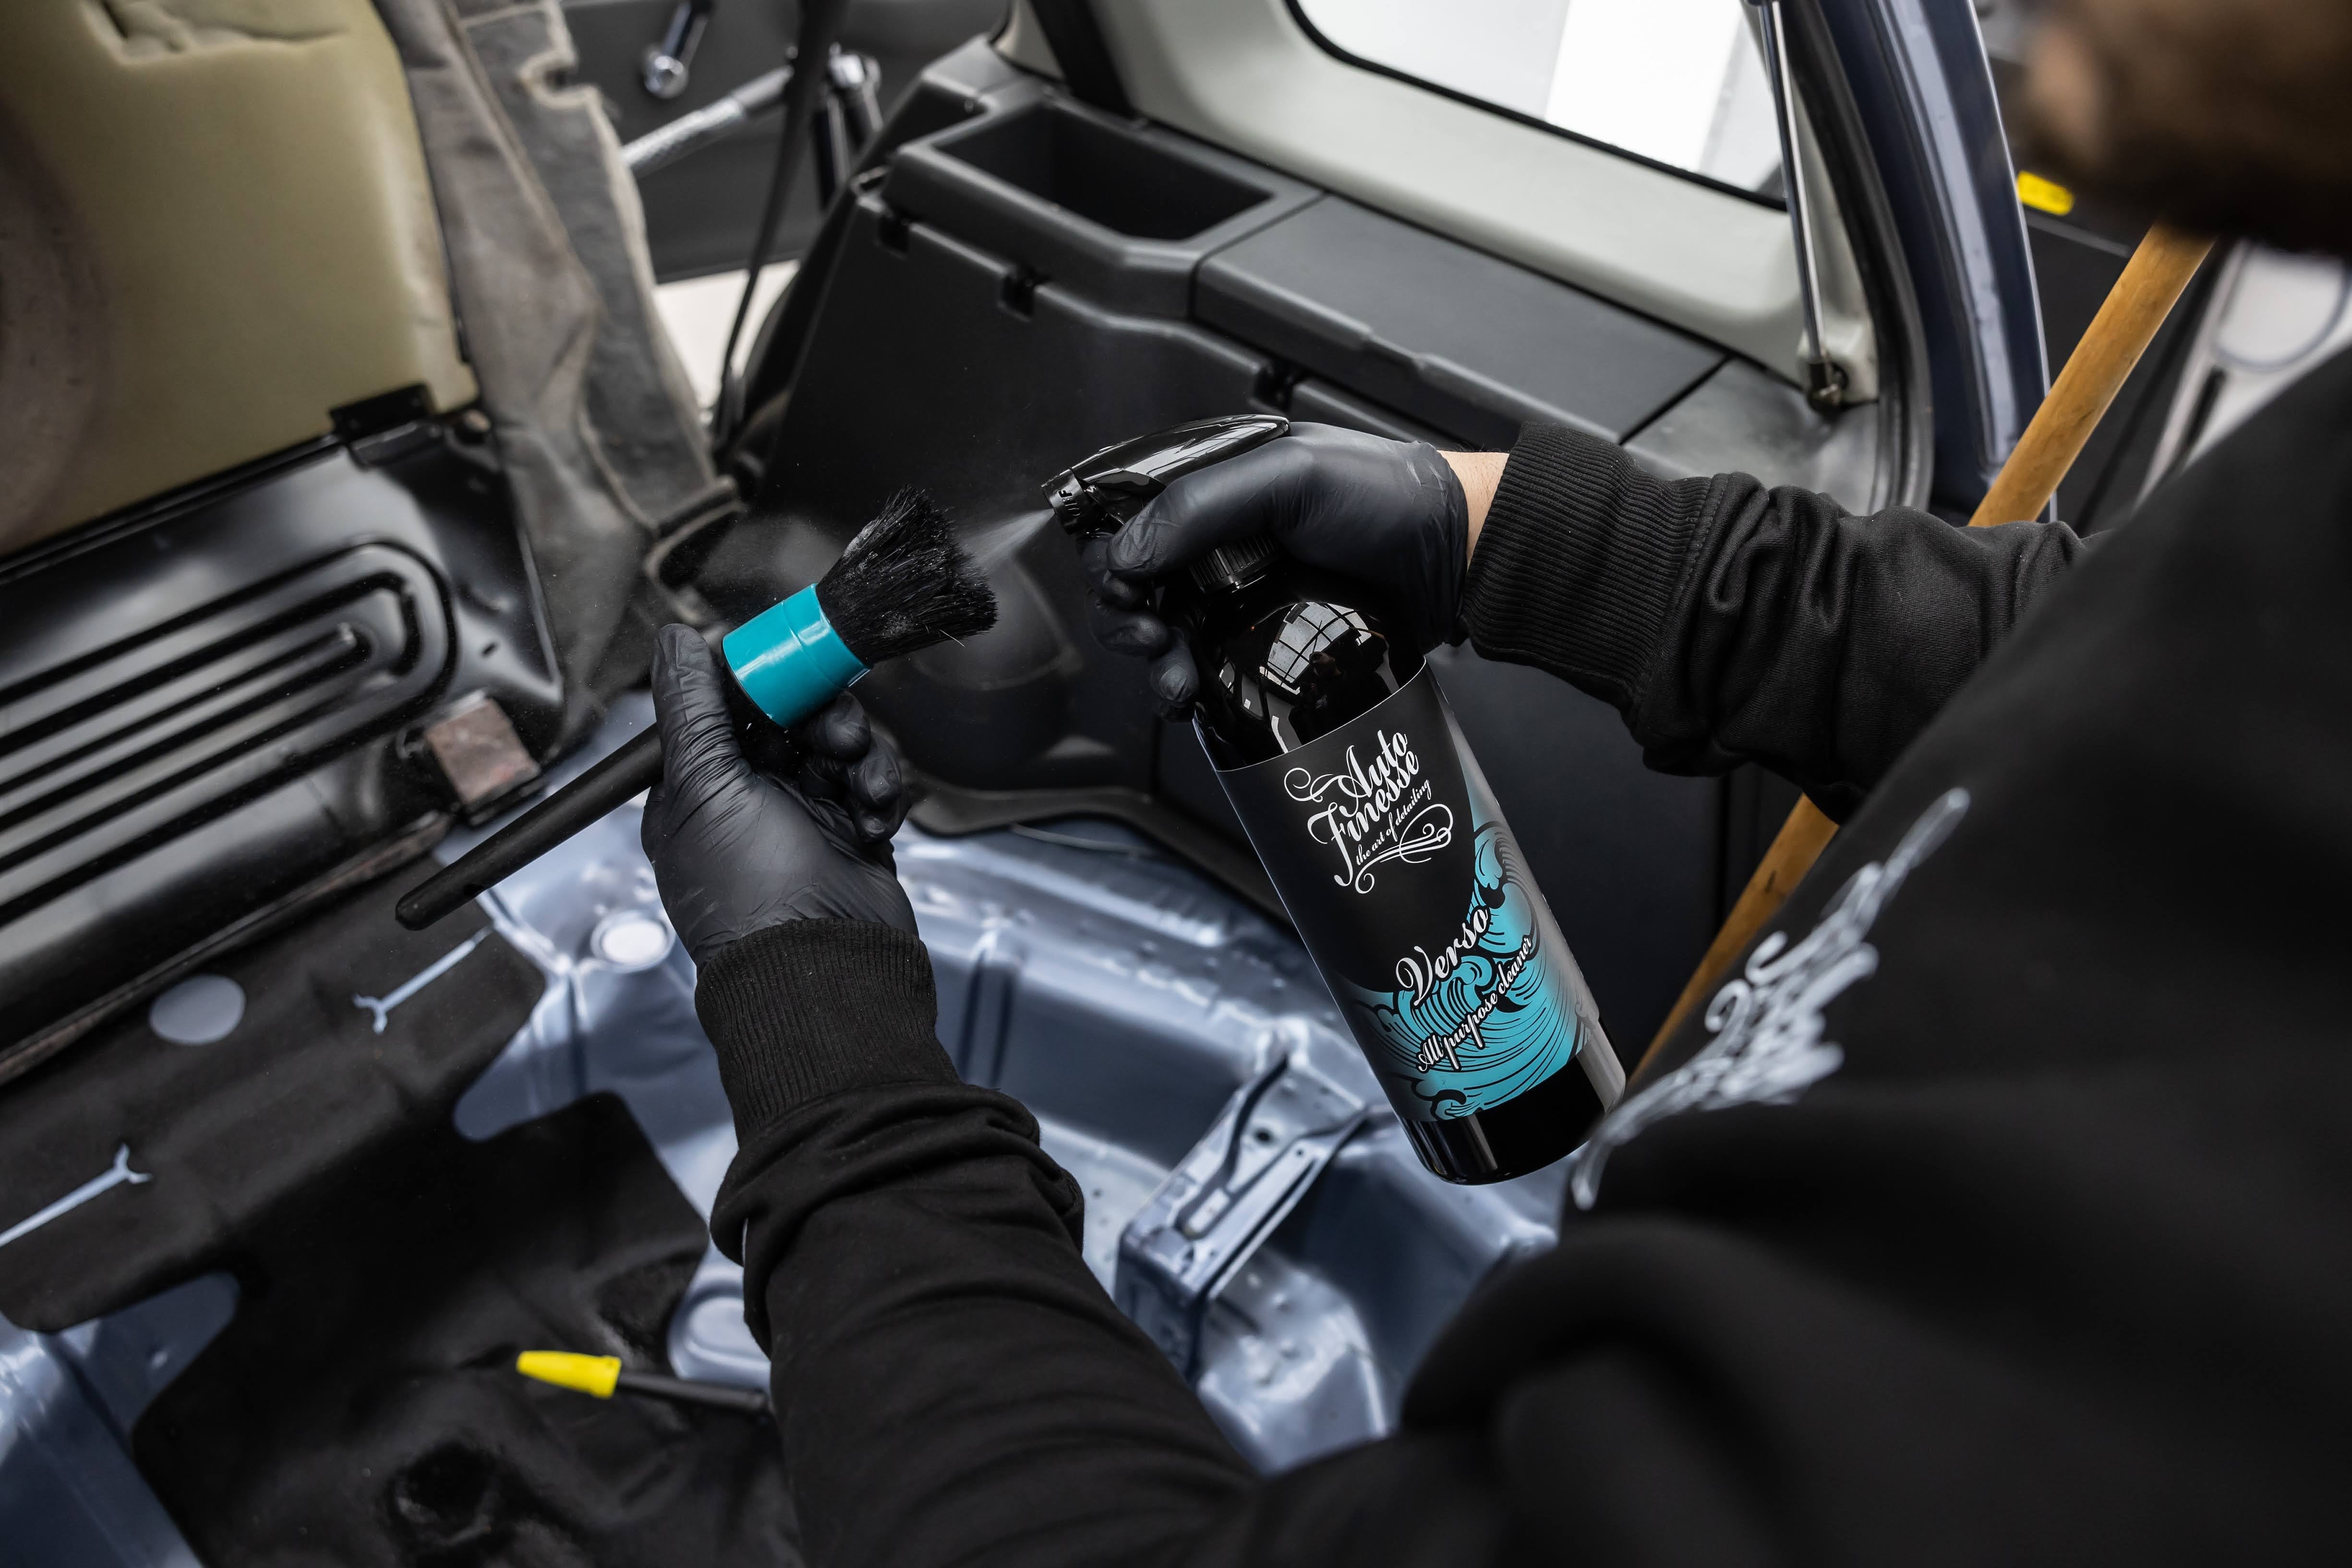
With the wheels clean we move on to washing the rest of the exterior of the vehicle. The first step is using our pre-cleaner Citrus Power on the grubbier areas, such as lower seals, wheel arches, front, and rear sections, before jet washing. This helps to rid bodywork of as much of the larger particles and loose dirt as possible.
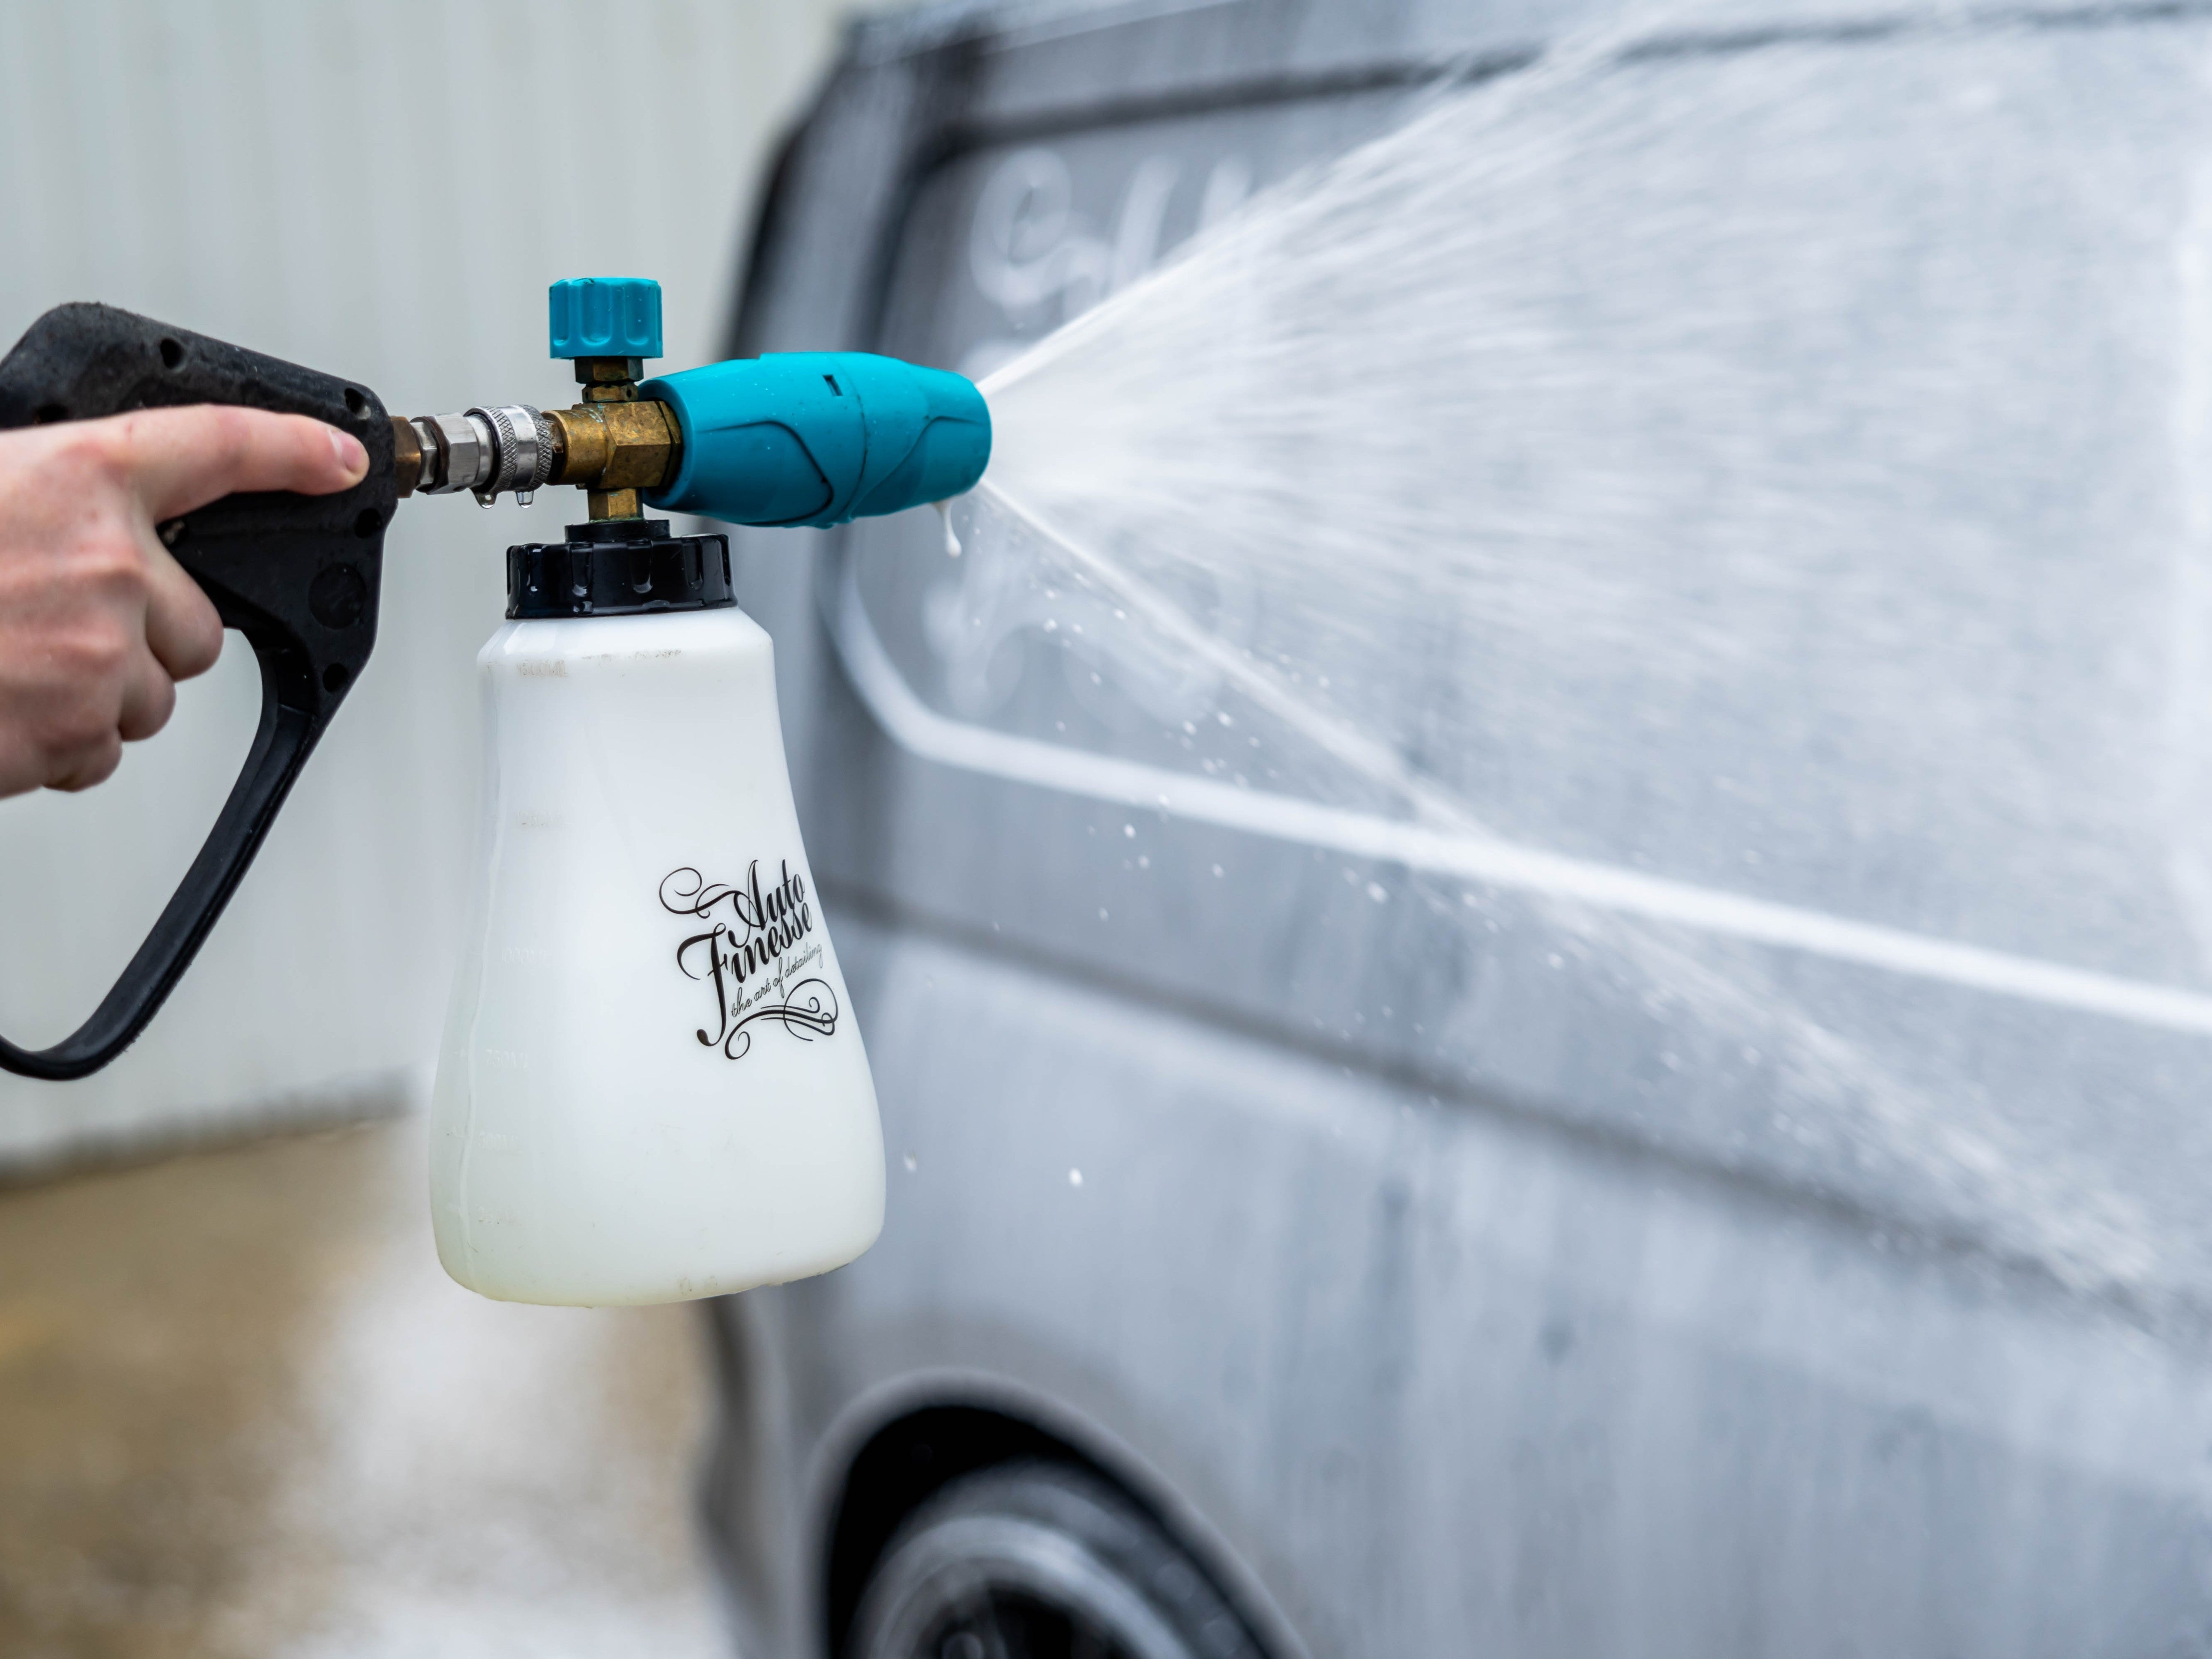
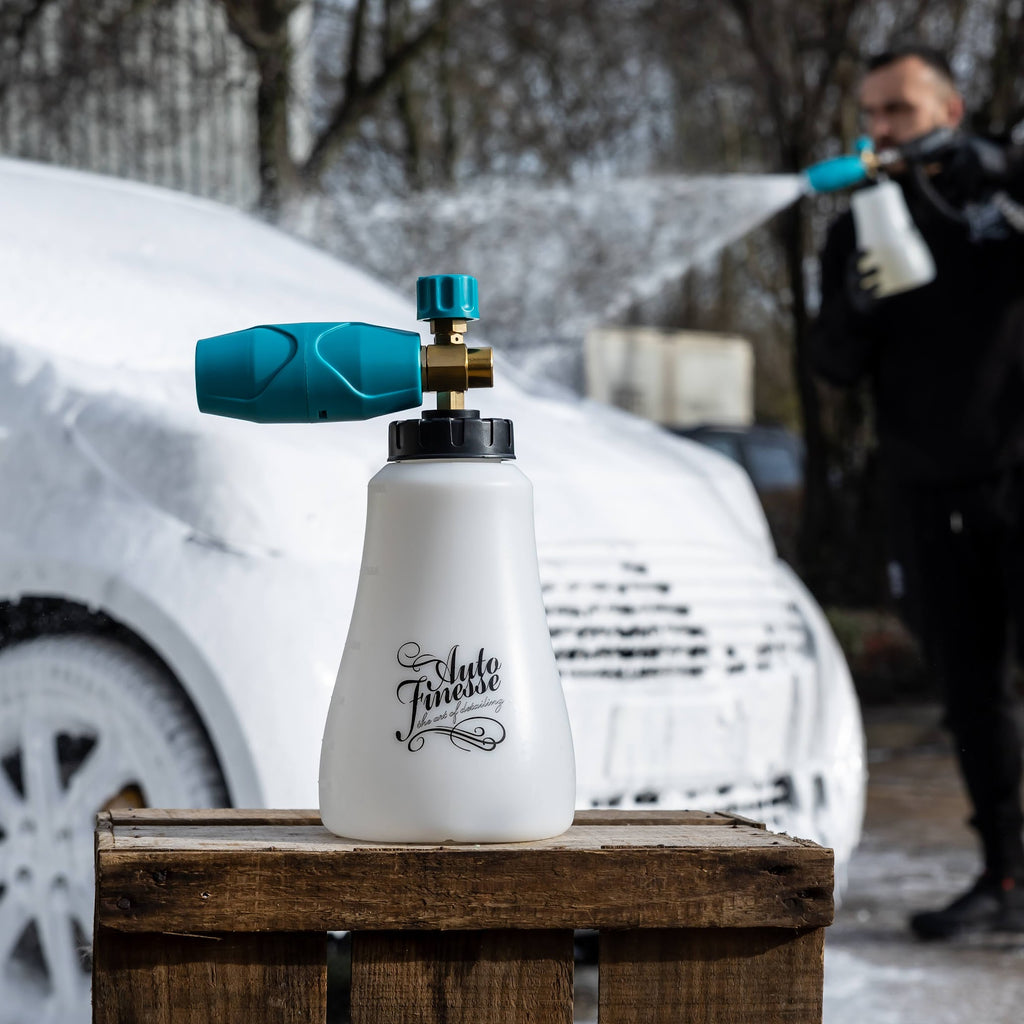
Before we go on to contact washing, there's another vital step to removing as much dirt and road grime (ahead of making contact with it). This is important because the majority of paintwork swirls and scratches are caused at the wash stage. Snow Foam helps to break down a further 50-90% of road grime present, we apply this to the entire vehicle from top to bottom and leave to dwell for as long as possible - rinsing off before any drying out begins to occur. We also use this as an opportunity to work on intricate areas such as grills and panel gaps, using our specialist brushes.
With the car now almost clean from the previous two stages, we now move on to the contact wash. Using two buckets (both filled with fresh water), add our Lather shampoo to just one of them.
Using a lambswool wash mitt, we take fresh shampoo to the bodywork. Ensure to work from the top of the vehicle down. Focus on small sections at a time, before going back to the fresh water and rising any dirt from the mitt. Once rinsed, dip the mitt back into the bucket with shampoo to take fresh shampoo back to the car. This ensures you only ever use fresh clean shampoo on the vehicle. Working around the vehicle in the following pattern; roof, bonnet, upper wings, upper sides/doors and quarters, front bumper, rear, before swapping to a microfibre mitt that we use exclusively on the lower/grubbier areas around the vehicle. This is done to minimise contamination for future washes. Finally, we thoroughly rinse the vehicle down.
With the car still wet from the wash, but all soap/suds residue thoroughly rinsed, we set about ridding any bonded contamination from the paintwork. Firstly, spray the entire vehicle with our Iron Out iron contamination remover - this dissolves any ferrous contaminants that are present. It's best to dissolve these as opposed to removing them with a clay bar as they are among the sharpest type of contaminant found on a vehicle, and removal with a clay bar can lead to these sharp contaminants being dragged across the paintwork causing fine minor scratches known as marring. Once the car is covered, paying particular attention to the upward facing panels along the rear and sides, a top tip is to lightly agitate Iron Out into these areas with a microfibre or foam applicator.
Using ObliTARate, it's time to dissolve another of the commonly found contaminants stuck to our vehicle's paintwork; tar. More often found gathered along lower areas and behind wheels, simply spray ObliTARate tar and grime remover onto the lower half of the car and leave to dwell for just a couple of minutes before wiping away with a microfibre towel.
Now we rinse and re wash the areas that have been treated with the tar remover to avoid it interfering or dissolving the clay bar (the next stage).
This leads us to the final stage of decontamination, the mechanical stage using a clay bar. Clay baring your paintwork is a vital step in detail preparation and it's important to carry this out meticulously.
Working in straight lines, and using plenty of clay bar lubricant, work small areas approx 400mm x 400mm, in the same order we carried out the wash stage; so, uppers, top sides, front bumper, back, and lower sides.
We quickly carry out a final rinse down to remove the clay lube, then dry the vehicle thoroughly, including, gaps, grills and door jambs.
After the wet work is all done, we get the car in the detailer's den (basically a storage barn we can tuck ourselves away in and detail to our heart's content). We start by taping off any sensitive areas that we don't want to hit with polish, such as trim, rubber and other exposed parts.
Now we get on to polishing the paint. Our vehicle is suffering from only very light defects, all be it lots, but none of which are very deep, the combo opted for was our Revitalise No:2 with the according pad. Working on areas of around 400mm x 400mm in overlapping slow passes, starting at speed 1 to spread the polish, and stepping up to speed 4-5 to work the polish in and break it down, before returning to a final slow speed pass at speed 1.
Follow up with our Revitalise No:3 and the red finishing pad to refine the vehicle's surface further.
With the paint now looking sharp, we set about laying some protection down. As this particular car is a metallic finish, we opted for a gem in the range often overlooked by many; Spirit. Our Spirit wax has been specially developed to enhance metallic flake and it's also very durable in day-to-day situations.
Finish up with the finer details such as dressing grills, trims and tyres, and finishing off the glass.
All that's left to do now is roll it outside and admire the finish...
So there you have it, a new car now looking the way it should from the dealership. It's also now fully protected, meaning that it should only take a careful wash to return it back to this condition.
We hope you found this guide to detailing a new car useful, and please feel free to contact us for further information on the techniques and products used in this process.