50 Top Detailing Tips
A full half-century of professional tricks and tips put together specifically to push your detailing to the next level.
 Skip to content
United Kingdom

When starting anything, it's often hard to know where to start, never mind detailing. Car detailing can be a maze, there are a number of different stages of detailing, with a number of different techniques and theories, but we're here to start you off on some of the basics. Basics that probably sound too detailed to be basic, but we can assure you this is as basic as a proper detail gets.
This is our 12-step programme to a beginner's detail:
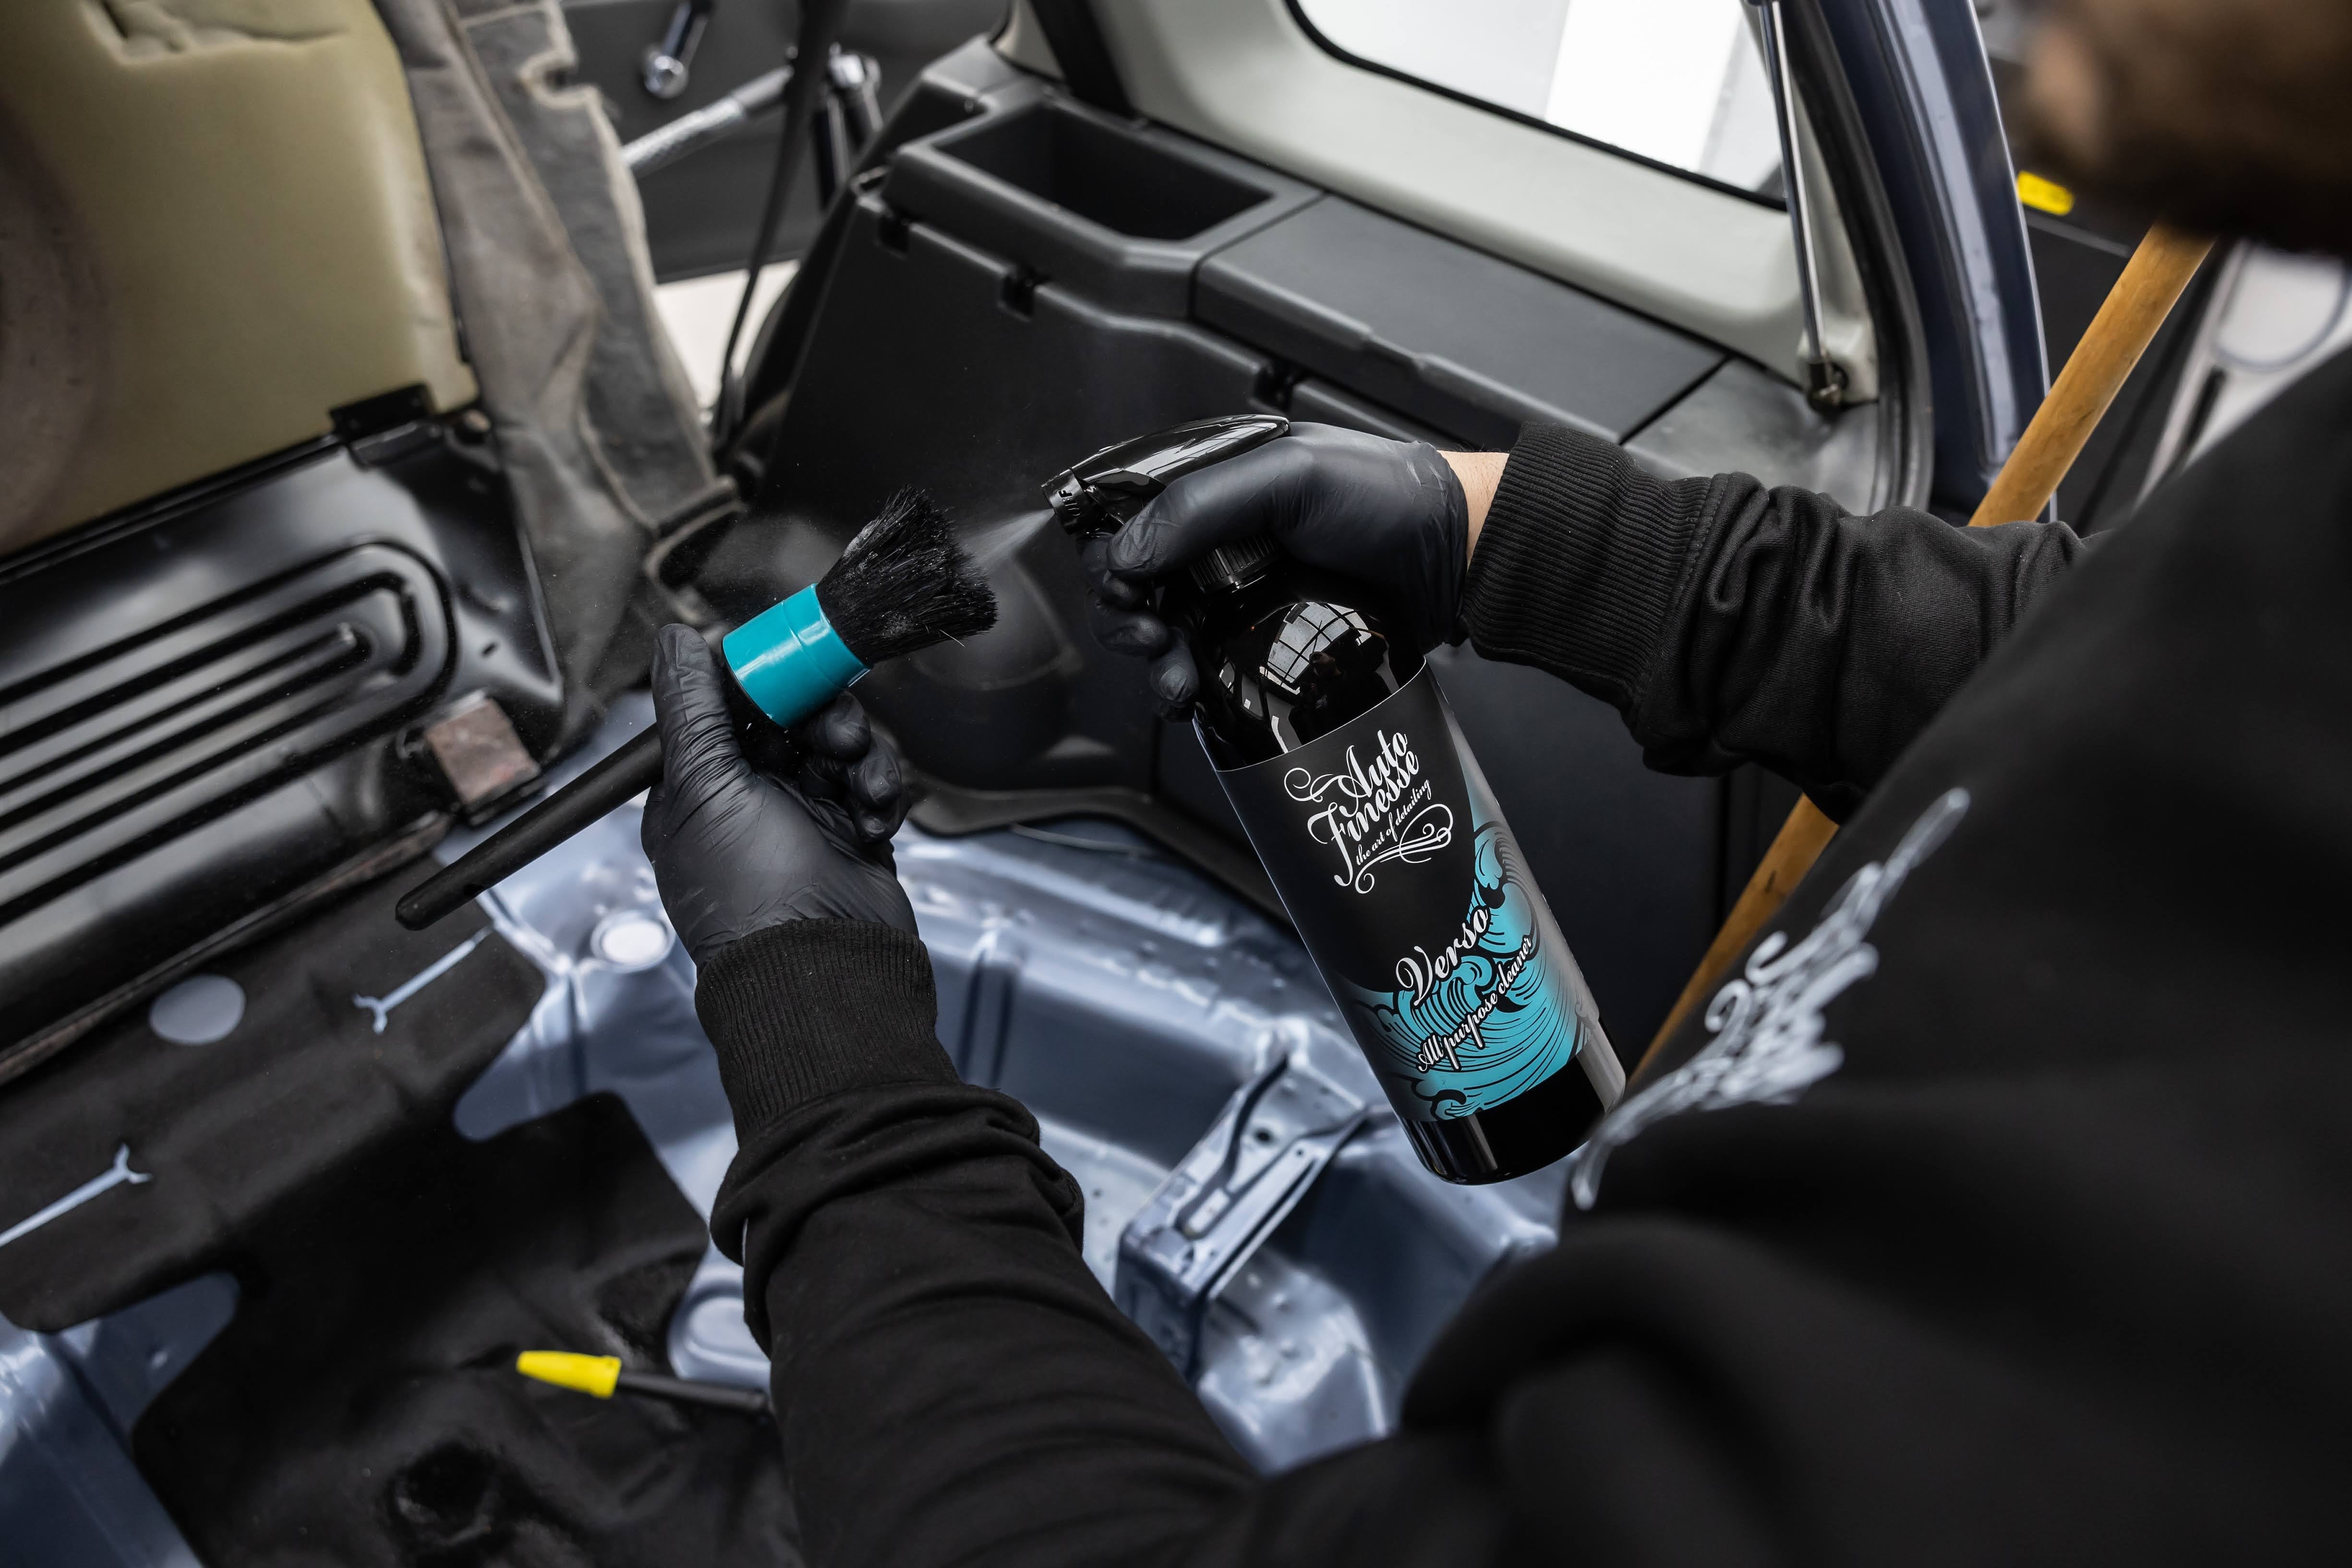
Always, always, always start with the wheels. We can't say it enough. Your wheels are the grubbiest area of the car so will require a good pre-soak with a quality wheel cleaner. You'll need brushes to get to the hard-to-reach areas, along with a separate wash mitt and detailing bucket than you'd use on the paintwork.
Always use a pre-cleaner. One specifically formulated to remove bugs and stubborn grime. We'd recommend our Citrus Power Bug and Grime Remover, which is infused with citrus cleaning properties to safely but effectively lessen road grime with the benefit of being gentle to car wax or sealant layers, something that will come in to its own on washes later down the line. Spray this on the lower areas of the car, as well as any areas that have become bug-splattered.
Citrus Power bug & grime remover is a versatile citrus pre-wash an essential that no car detailing kit should ever be without. Designed to aid the perfect... See product details More
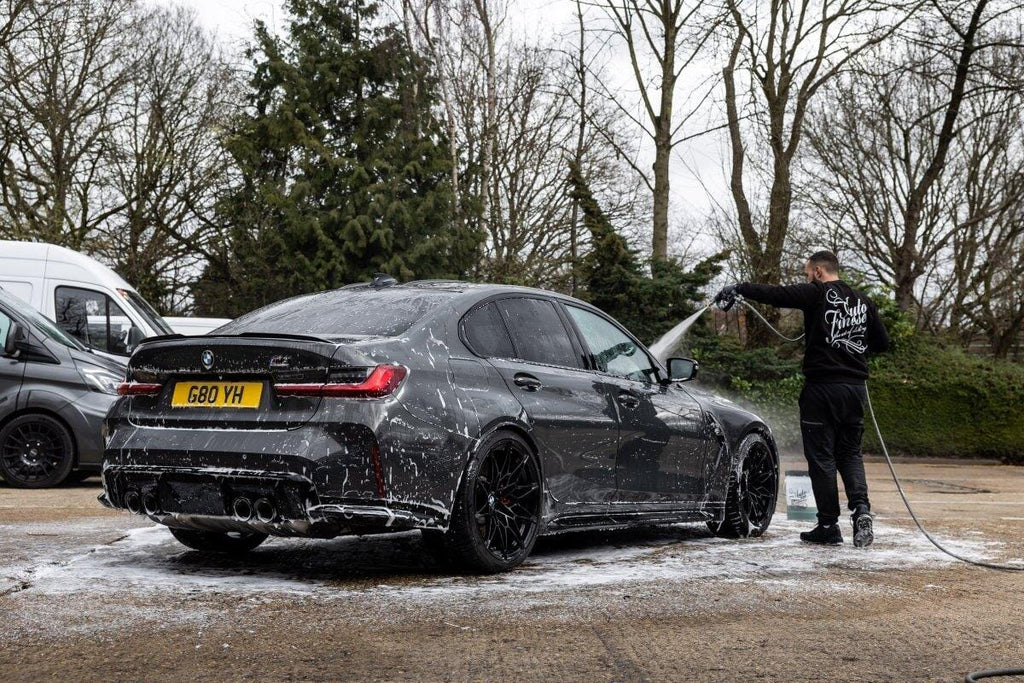
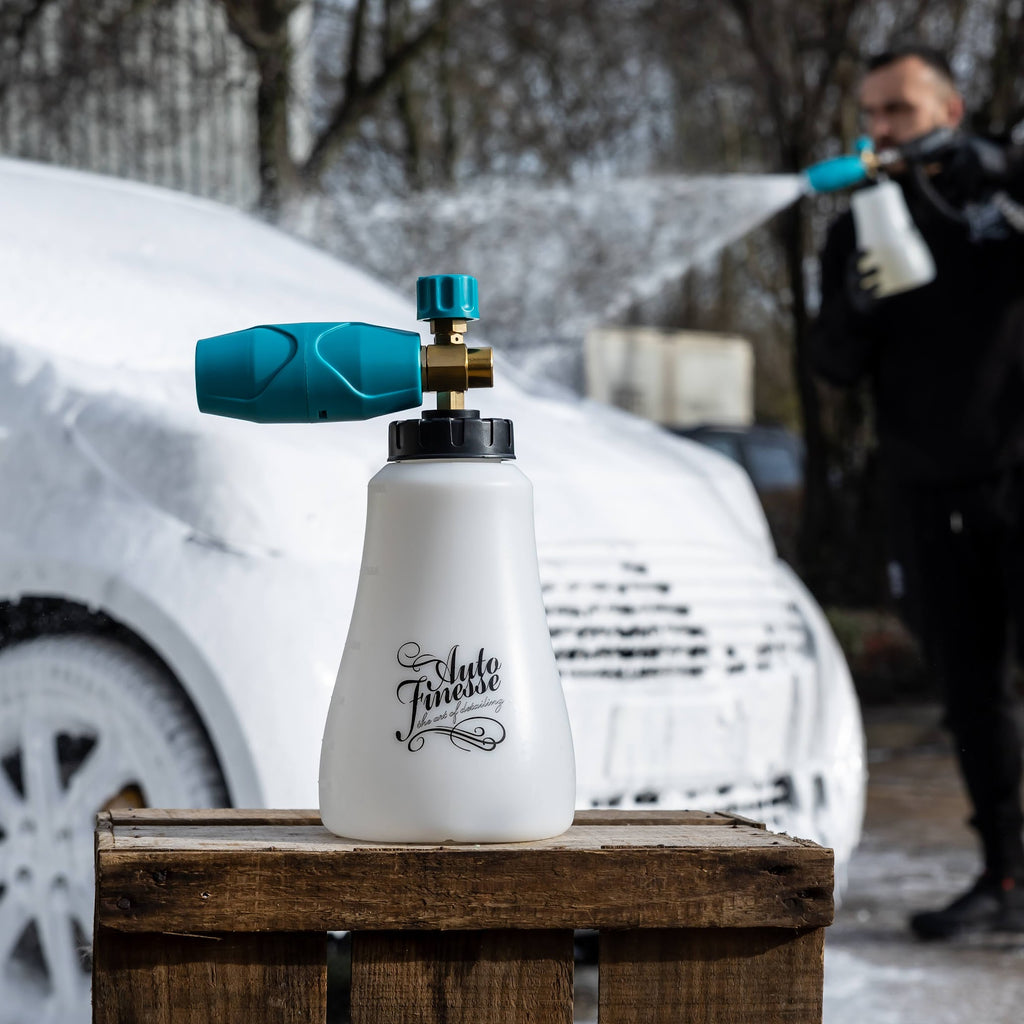
Snow foam help to break down any stubborn dirt, as well as remove any loose particles from the vehicle, before the physical contact wash stage. Removing as much dirt as possible before contact washing will help to reduce the likelihood of inflicting swirl marks to the paint finish (most swirls are caused at the wash stage).
The Snow Foam Lance works to create a thick clinging foam by pushing the flow of water through our citrus-infused snow foam. It’s this clinging foam that allow... See product details More
Did you ever think it'd be step four before even putting mitt to paint?! It's important to use a good-quality car shampoo, further reducing the likelihood of any marring or light scratches or swirls, the deep pile allow any particles to be absorbed in to the mitt as opposed to pressed and dragged across the surface. Fill one bucket with wash solution, the other with plain water. Apply wash solution to the vehicle (washing from top down small sections at a time) - Rinse the mitt first in the water bucket before taking fresh wash solution to the car. This method ensures you don't contaminate your wash solution and are always using clean wash water on your car.
First off, before doing anything, you'll need to spray on an iron dissolver first - Iron Out our fallout remover product is perfect at this stage - this will dissolve any ferrous contamination such as industrial fall out and rail dust that has fused itself to the paintwork. Next, you'll need to use a solvent tar and glue remover to soften any tar that may be stuck to the paint. An important step here is to re-wash the vehicle, or at least the areas treated with the solvent, as solvents will melt Clay bars and really interfere with the next step. Detailing clay is brilliant, just rub the block over the paintwork using a slip or clay lubricant and it does the hard work for you, effectively shaving off any remaining contamination such as tree sap or even overspray in its path. Following the previous two stages, though, there shouldn't be too much for the clay bar to pick up. Remember to use a lubricant such as Glide clay lubricant with any clay bar! Then wash and rinse again.
Start at the top of the vehicle and work your way down. Tackling it panel by panel will be the easiest way to make sure you get every area streak free. It's important to work quickly (to avoid water spots), while being thorough so not to leave any streaks from the drying process. If you are left with any water spots, a quick detailer is a great product to clean them up with after.
The ultimate luxury microfibre car drying towel, our Aqua Deluxe is constructed from ultra-dense 1200GSM pile microfibre which smoothy glides over paintwork an... See product details More
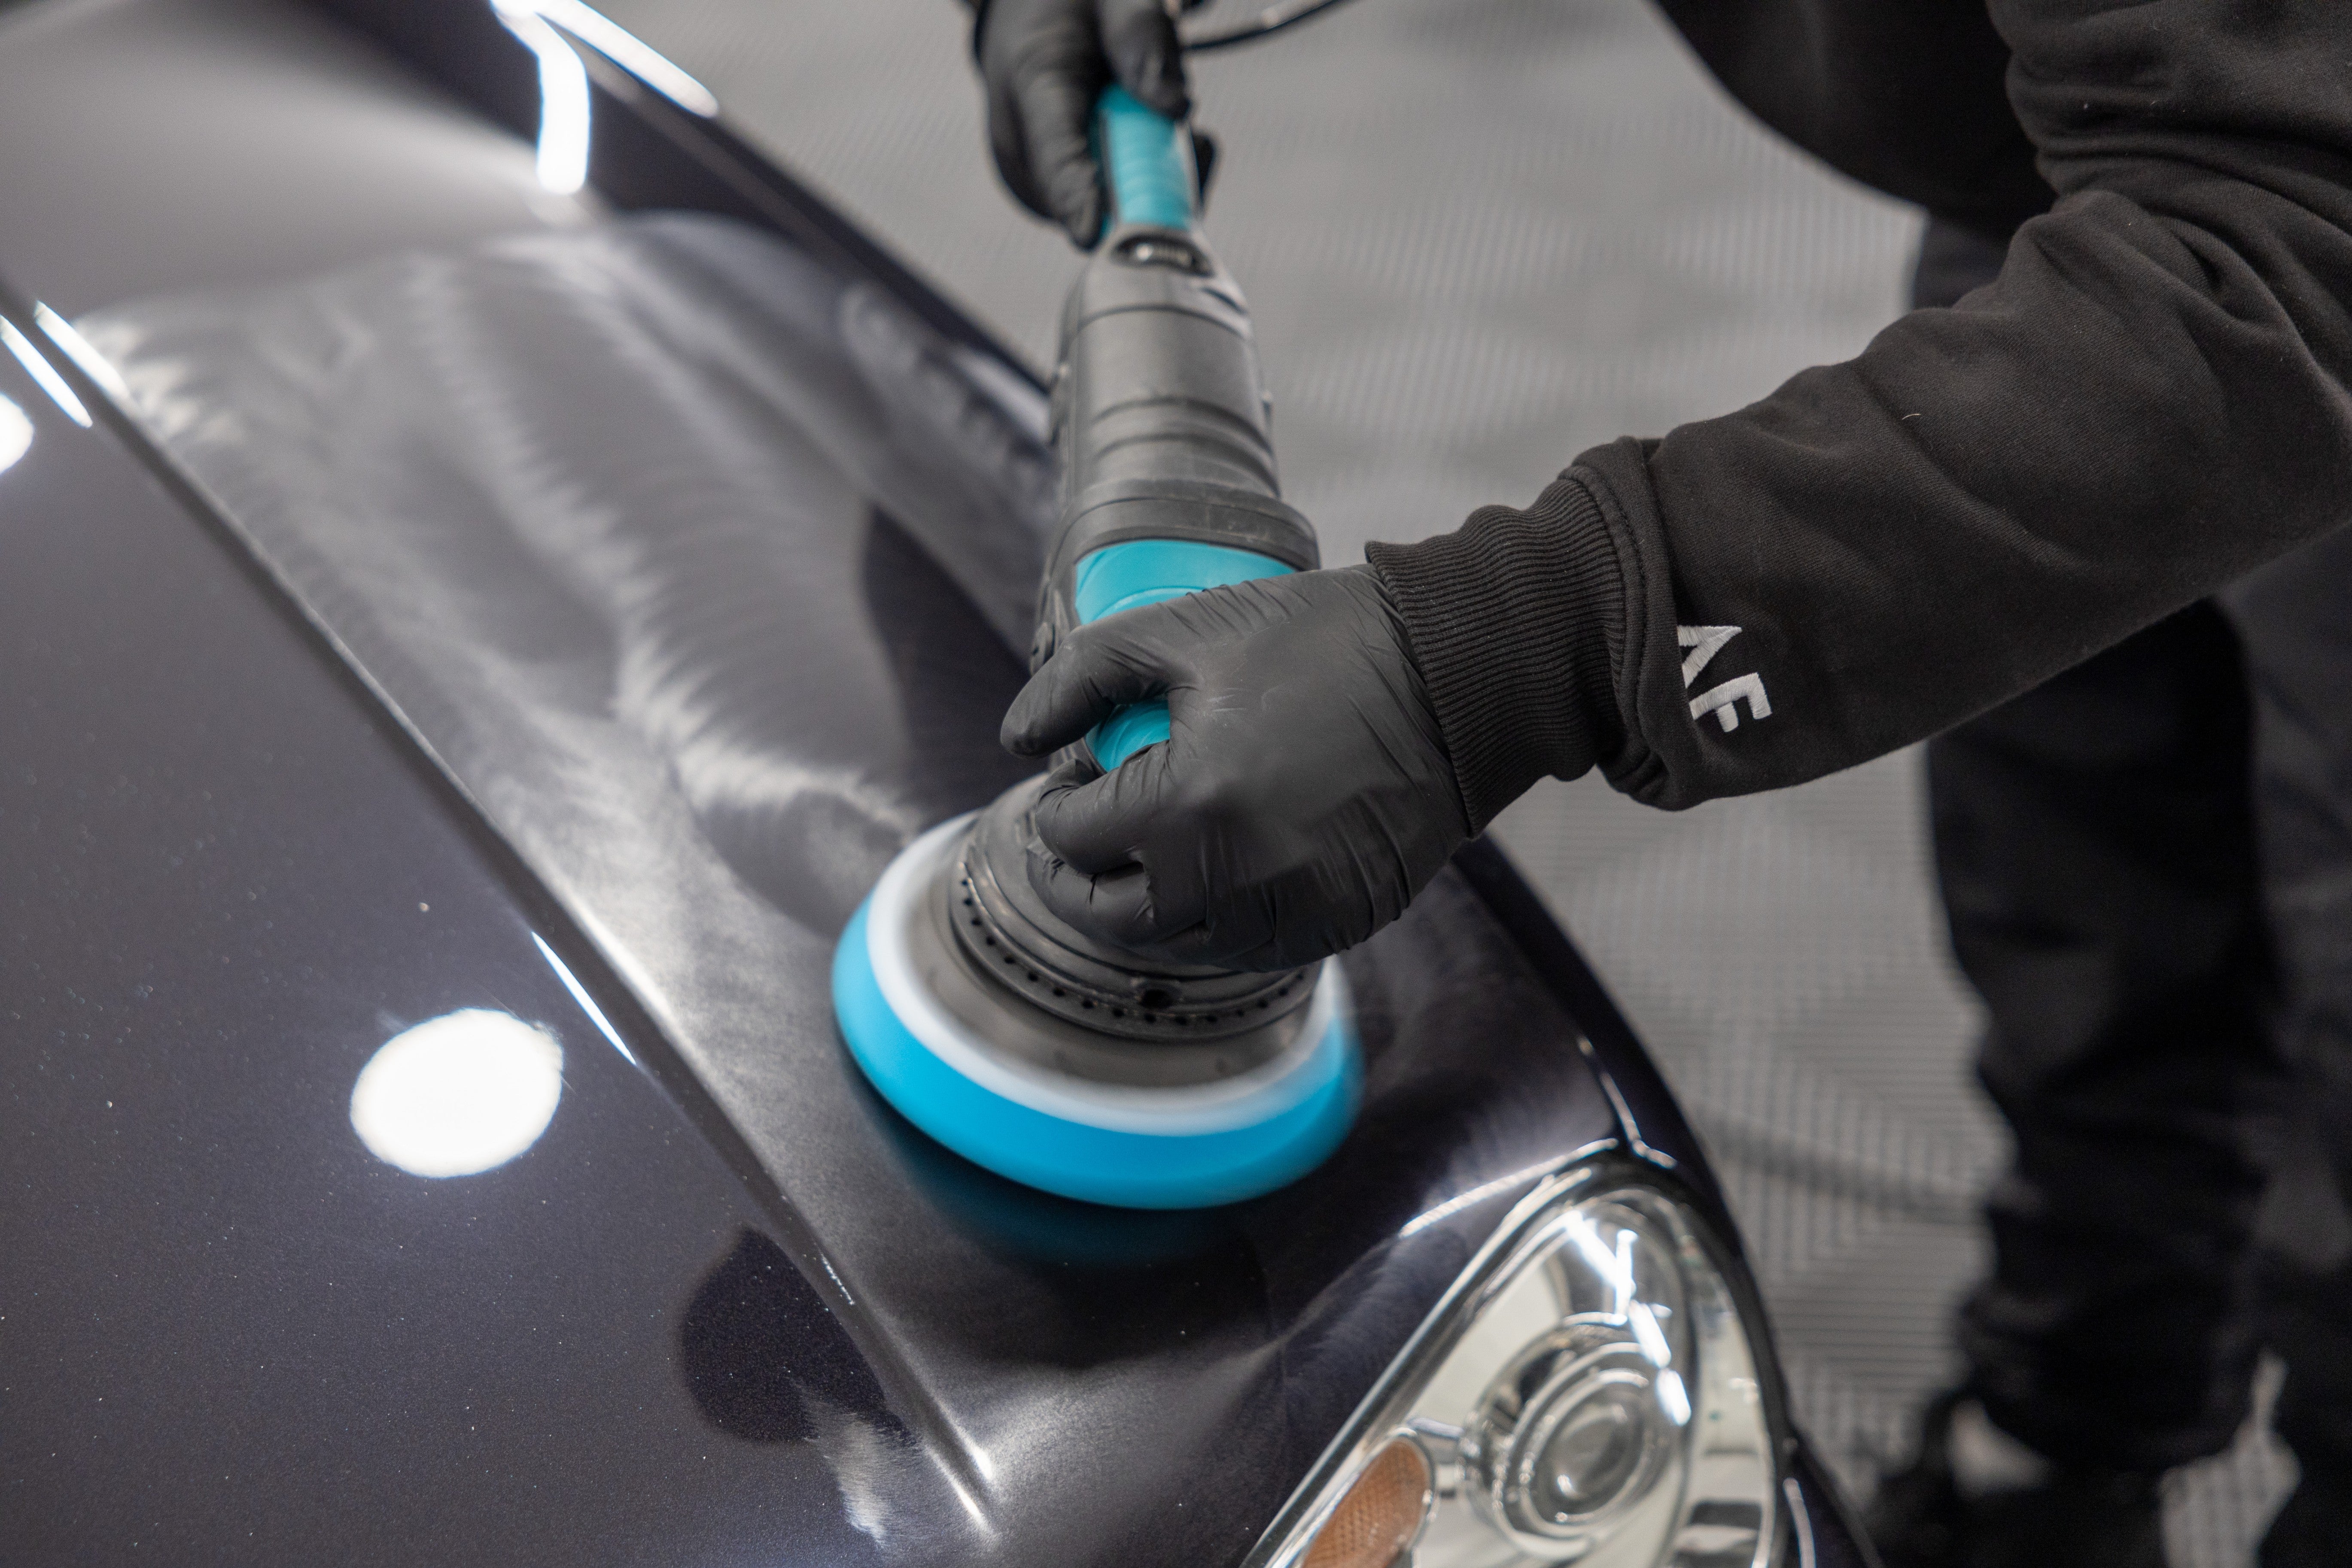
You can either use a hand polish or you can use a machine polisher. Polishing by hand will give you a good finish, but it won't be anywhere near as good as using a machine polisher (if you know what you're doing - try our Basic Guide to Machine Polishing to get you started). We have products for both applications. We'd advise against putting any machine polisher to your car without any experience. Our top tip would be to practice on a separate panel first. These are easy enough to pick up from scrap yards. Better that, than burning through the paint on your car, resulting in a full panel respray or even a whole car respray.
Between the polishing and waxing and sealant stages, we would add in our paint glaze. Ultra Glaze is our non-abrasive acrylic, polymer-enriched, glaze designed to enhance paintwork and reduce the appearance of fine swirls. Top tip; it's particularly good for darker colours and metallic.
Each one of these stages is as important as the other, but waxing or sealing is right up there in the must do list. Applying a layer of car wax or sealant will protect all your previous hard work from step one through to eight. If you're unsure of what car wax to use on your paint, take a look at our car wax explained piece.
Following the cleaning of your tyres and trims, now it's onto the preening. There are products to get plastics back to their true colours, as well as things that will spruce up your tyres without making them greasy.
Glass is something people often forget. Whether it's light scratches or just finger prints (all Titanic style), a good-quality glass cleaner such as Crystal is a must in any car detailing kit.
Offering the ultimate finishing touch for any detail, Crystal Car Glass Cleaner has been specifically formulated to cut through greasy films, water spots, dryi... See product details More
Final touch-up and wipe down with a quick detailer will finish off all the previous hard work. A good quick detailer will rid the surfaces of any potential residue left from waxing or sealing, as well as any finger prints perhaps left from you going around your vehicle, and generally tidy-up any missed bits or trim dressing that has strayed. It's finishing touches like this that often get overlooked, but can be the most important, especially for that show-finish we all so desperately want to achieve.
So that's our 12-steps of detailing for beginners. If you've got any additional questions, or you're not sure on any aspect, drop us an email at and we'll get back to you.